Here we go with a biggy, big battle - big report - loads of pictures. This one is for DidgeH who called me up for not posting this months ago, apparently he's a student of 1809. Here you go, hope you like it and that it meets your expectations & expertise. This is a colossal report so make a tea or coffee, pour a glass, pull up a chair and enjoy.
 |
| Arch Duke Tony of Austria looking smug about his deployment. |
 |
Uh oh! Round peg, round hole!
Homo-erotic tomfoolery in the cellar, funny but not the basis of our friendship. It is important you understand this. |
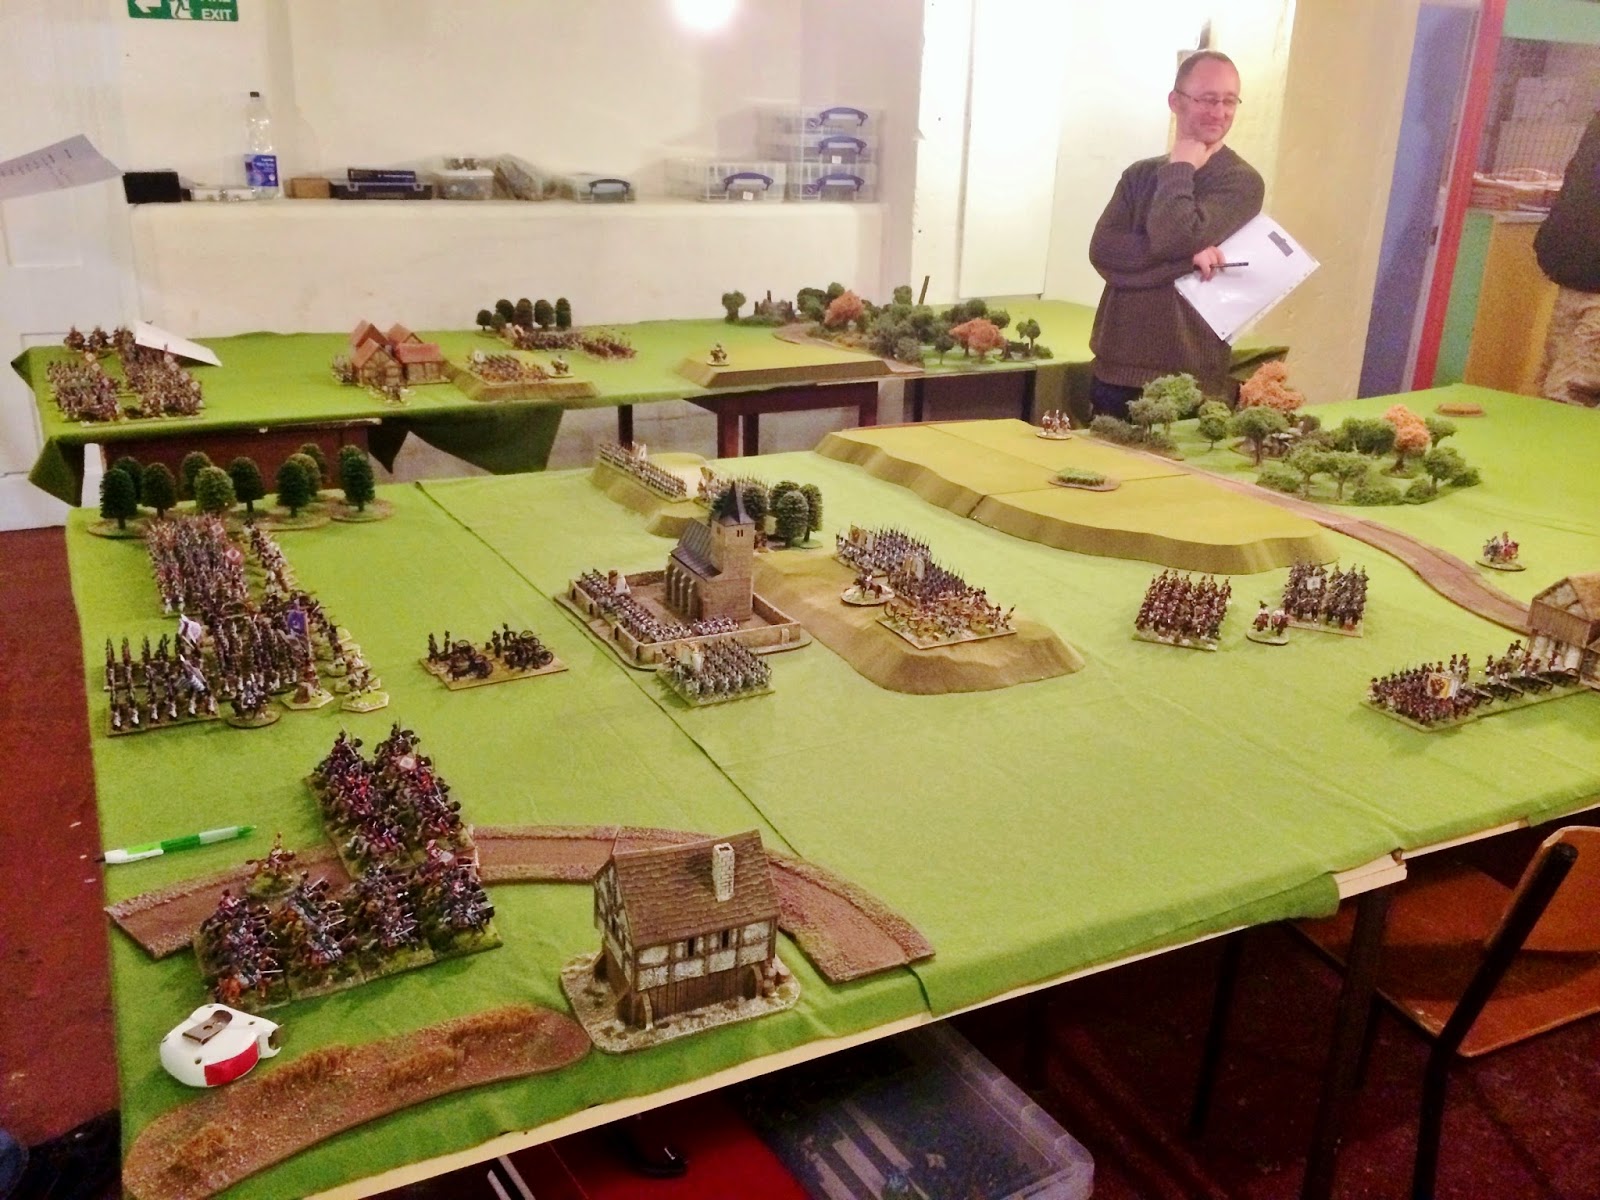
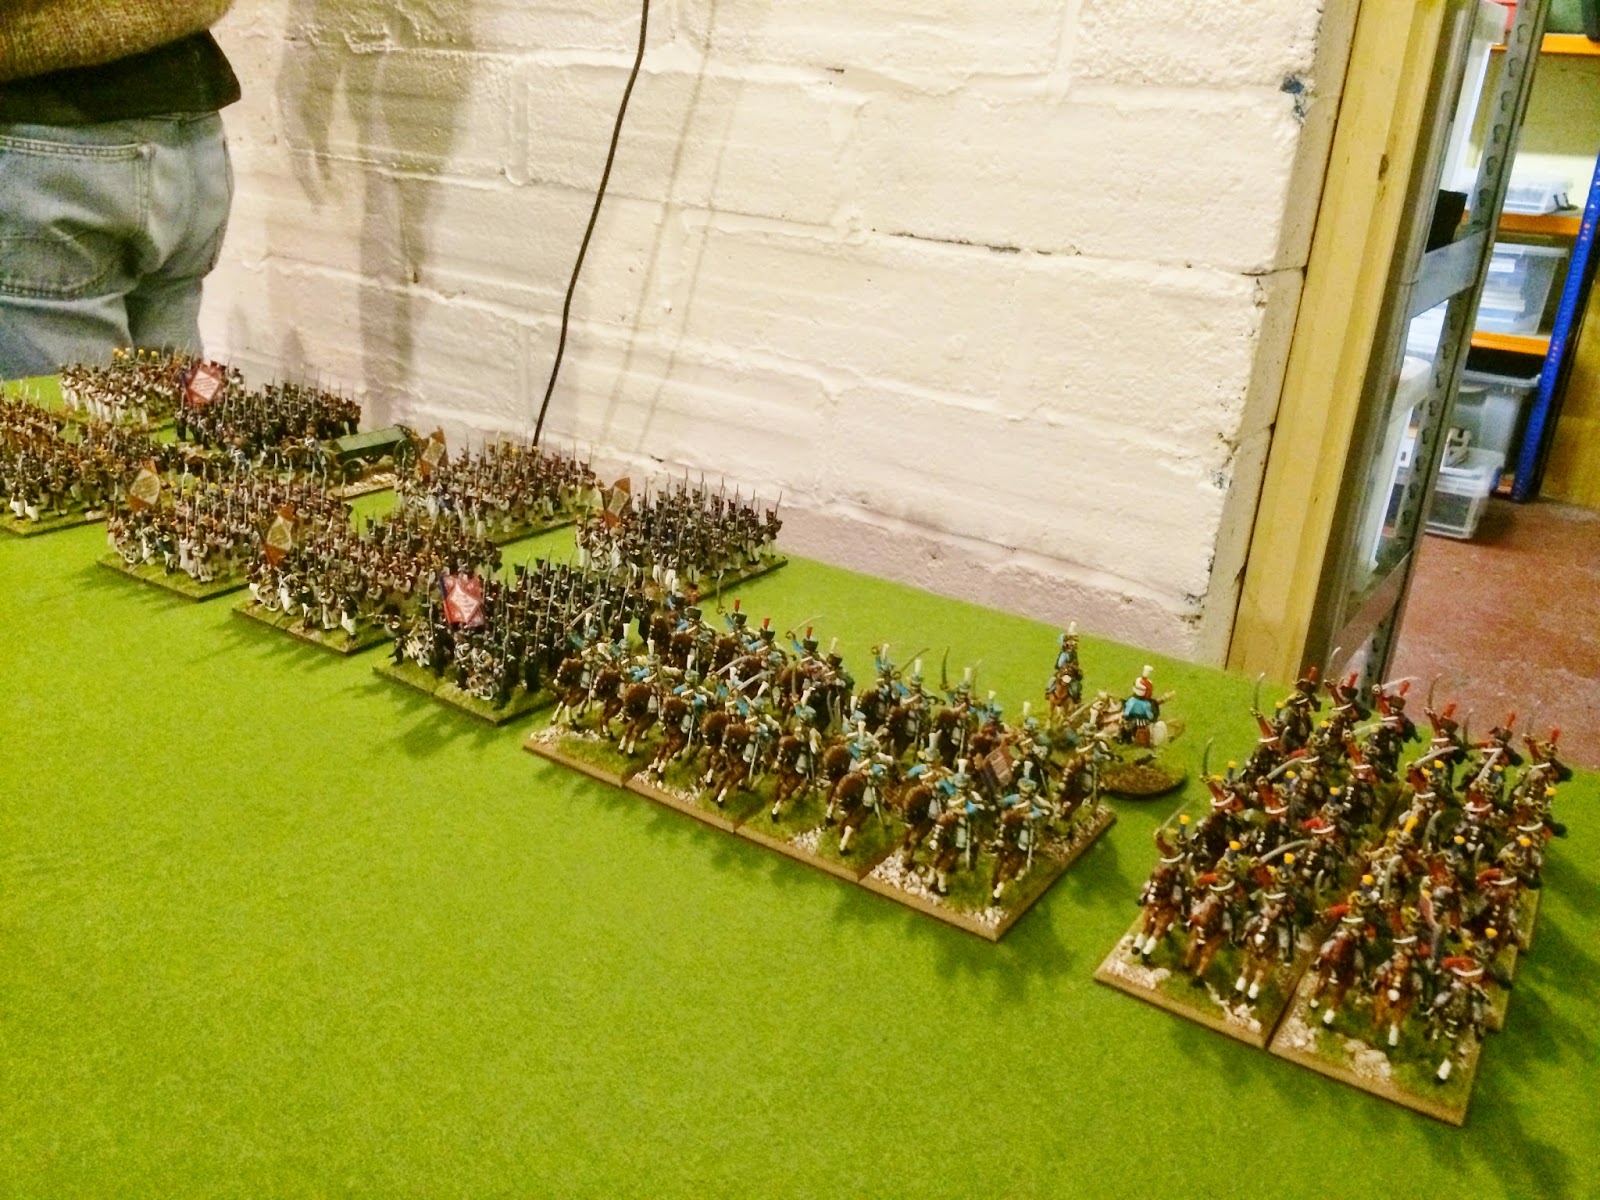
The scenario comes from Peter Anderson's 1809: Blunders on the Danube scenario book. Whilst the scenarios are written for Piquet's Field of Battle they are easily altered to accommodate General de Brigade which we presently play. I'll give you the orders of battle we used later but in summary the game requires 58 French infantry battalions, 13 cavalry regiments, 9 artillery batteries, and for the Austrians 38 infantry battalions, 9 cavalry regiments and 9 batteries. This is a shed load of troops and for my money too dense for the frontage available even though the table top area could swallow them up.
The situation
Napoleon has happened upon an Austrian force near Eggmuhl/Eckmuhl and sends Davout to deal with it. He soon realises that this is actually much of the whole Austrian field army and Davout has his hands full! He also realises that he can reinforce Davout with another Corps, pin the Austrians and send the dashing Lannes dashing down the Gross Laber river to out flank and encircle the whole Austrian army who have a only a narrow corridor of retreat to Regensberg/Ratisbon.
The Austrians enjoy an initial advantage numerically and are well positioned at first until Lannes arrives. Lannes arrival was variable and based on an order of march the French commanders were required to write down at the outset, this worked well in my view.
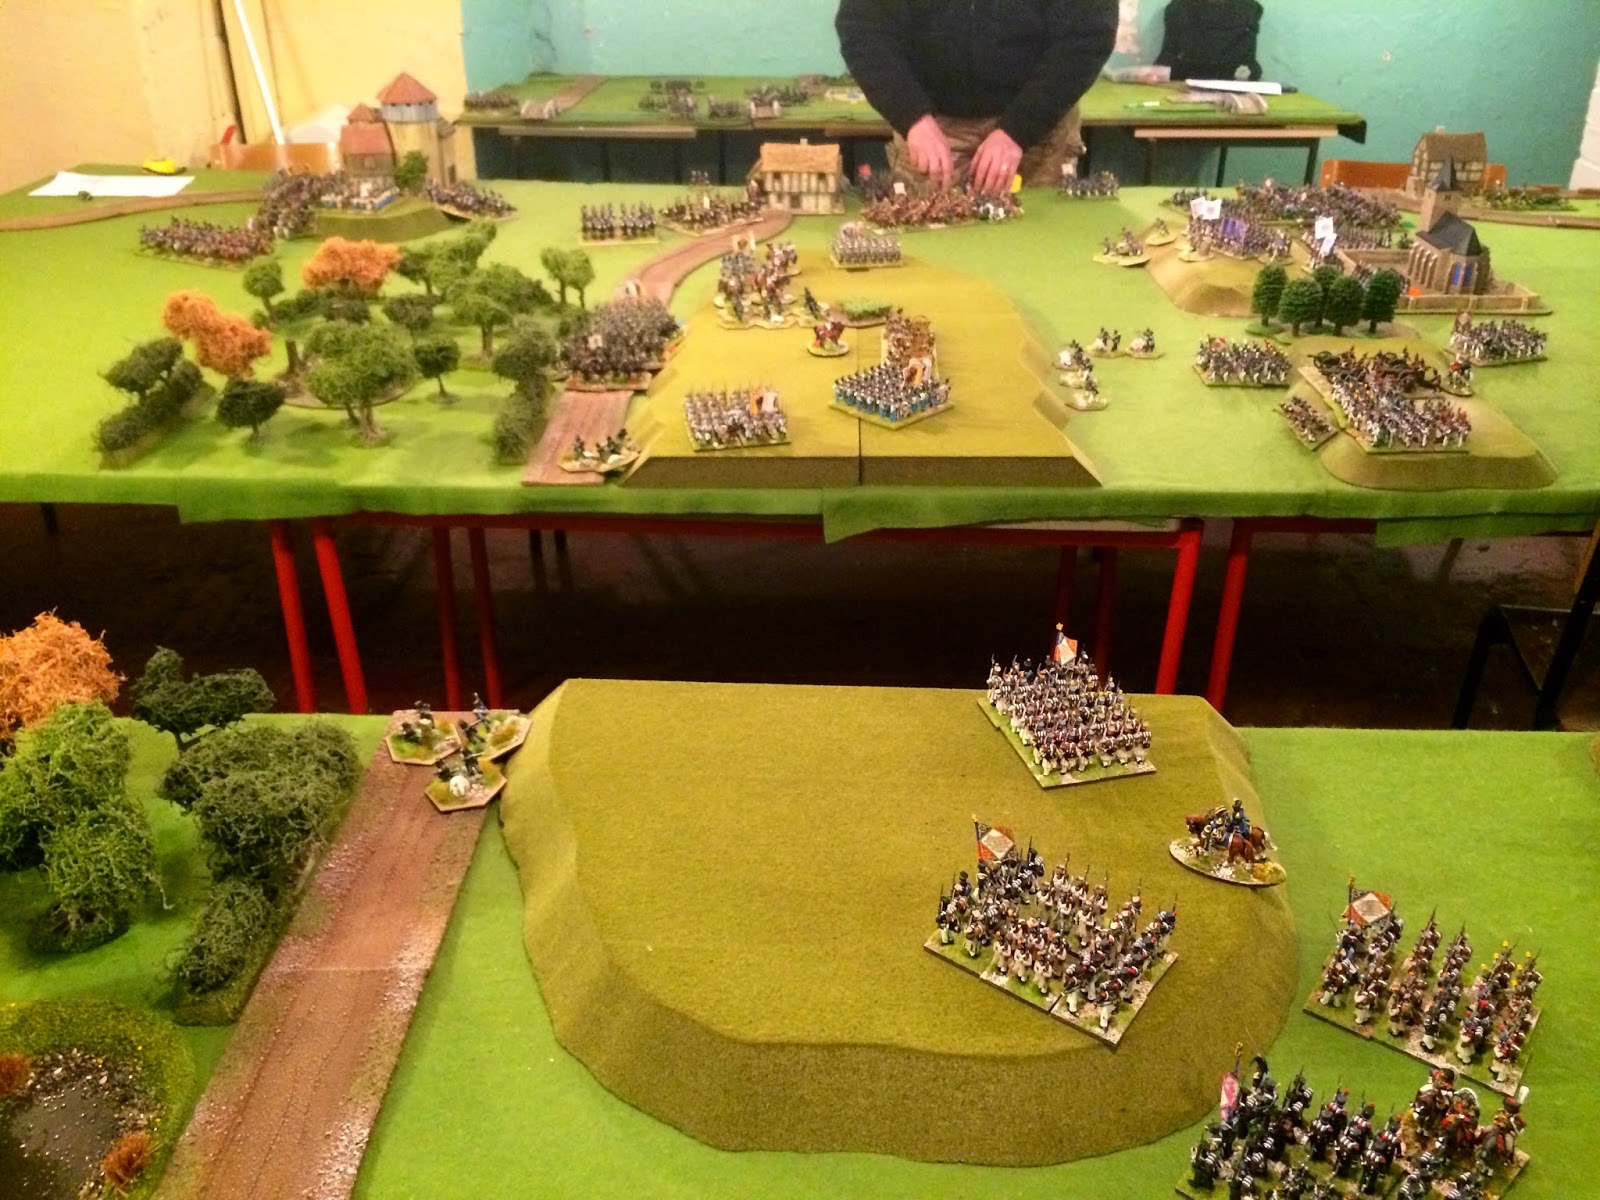
Herewith the battlefield tour.
This is a fairly complex set up so pay careful attention, there may be questions.
 |
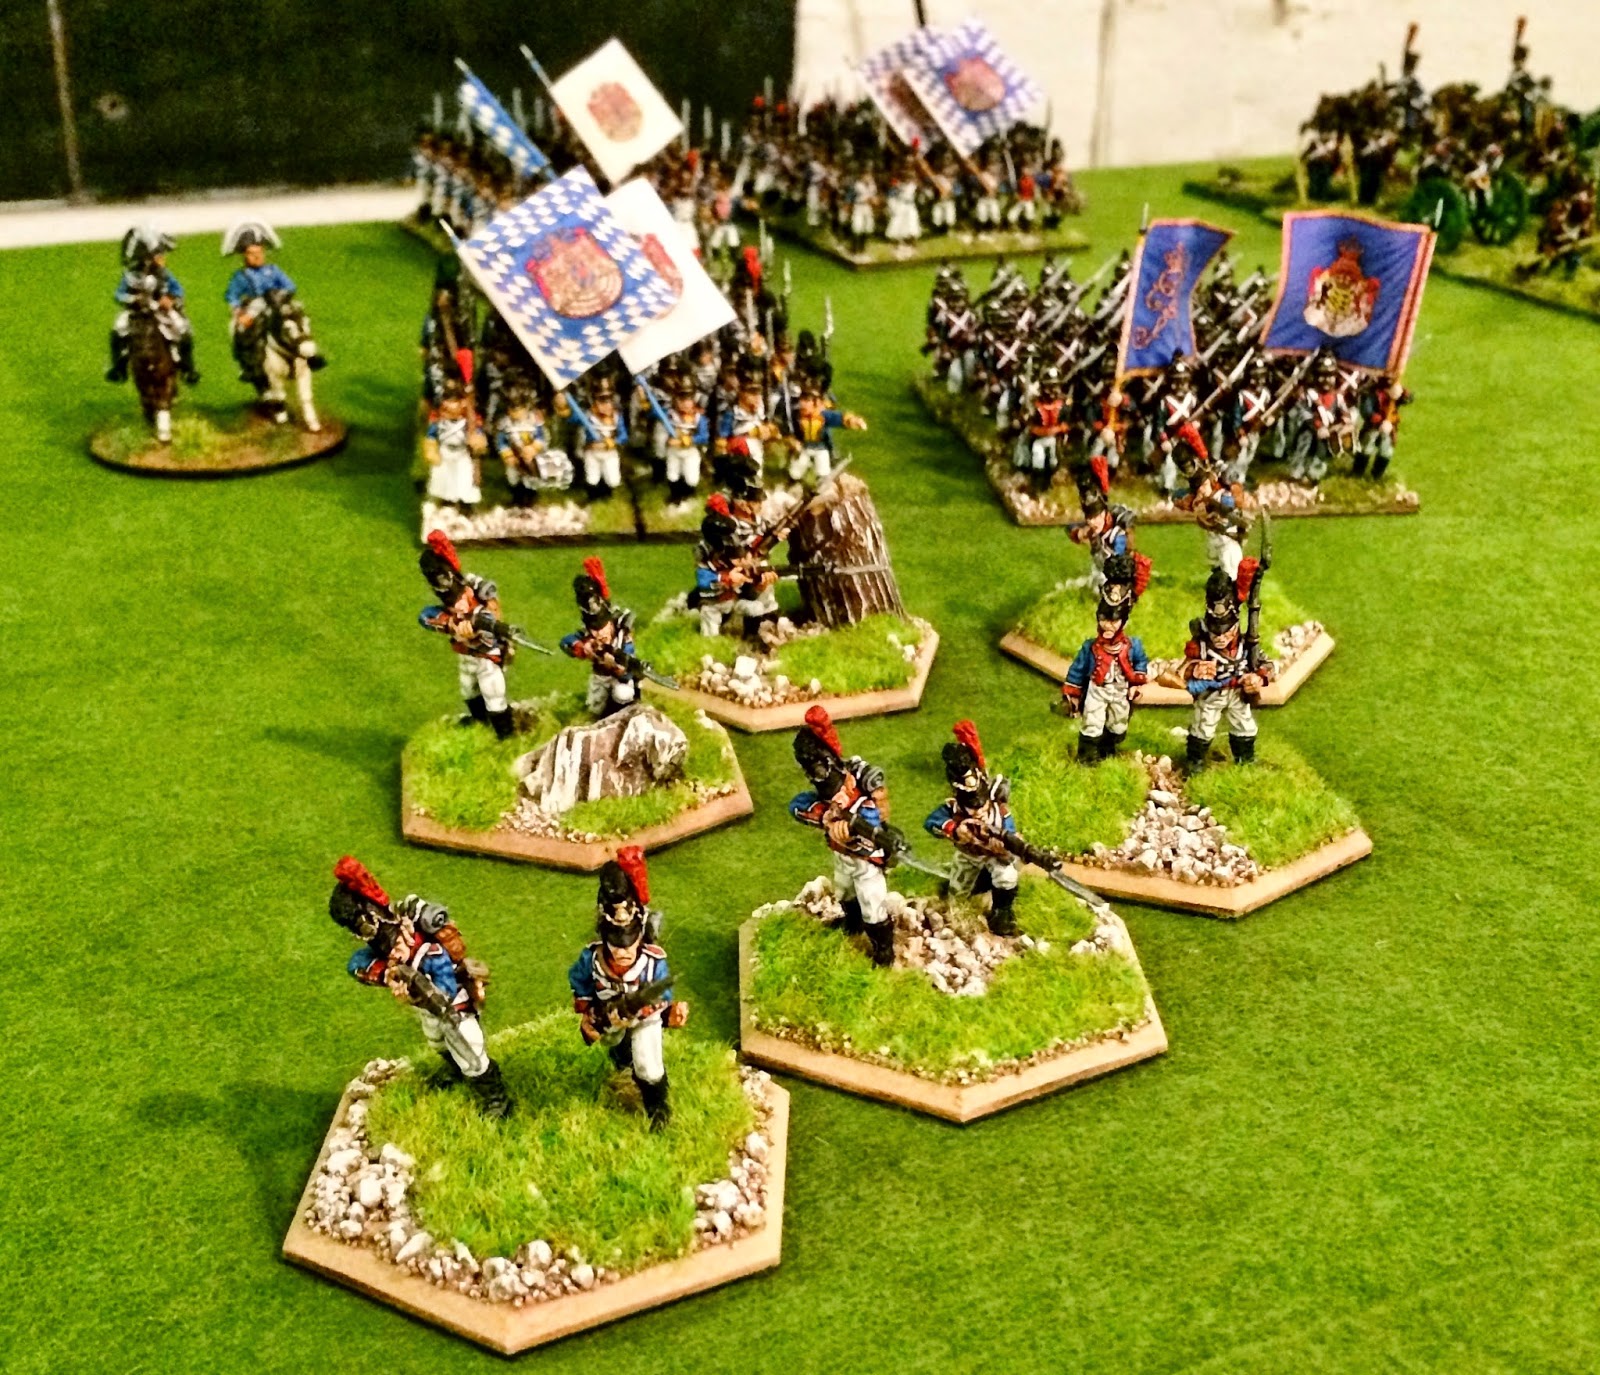
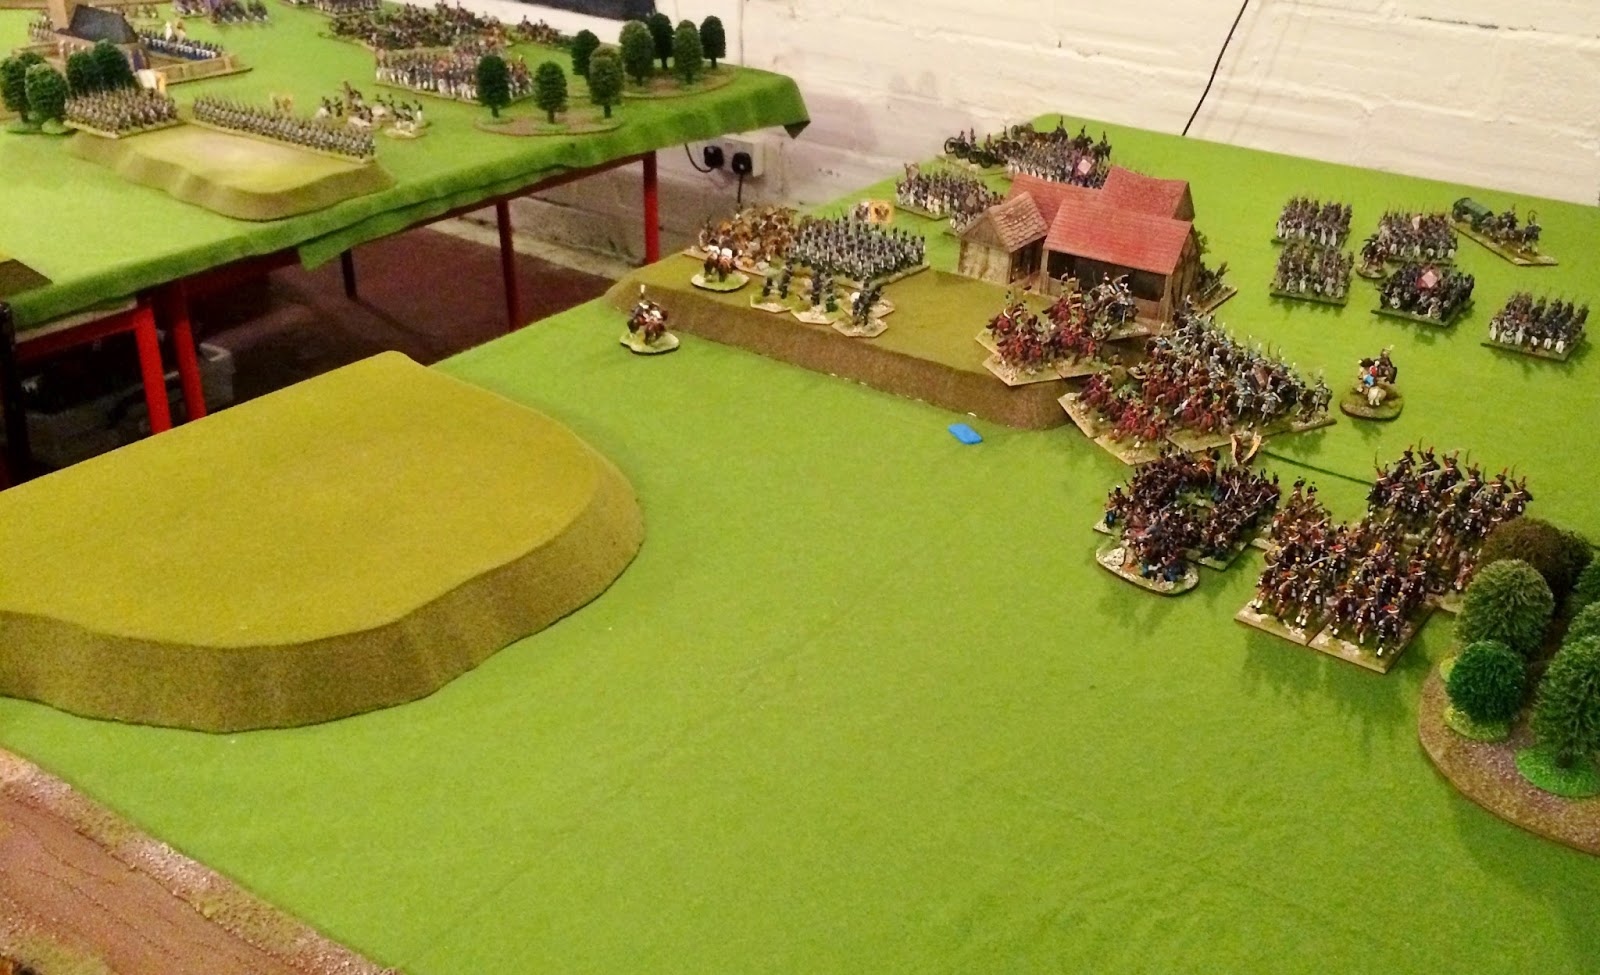
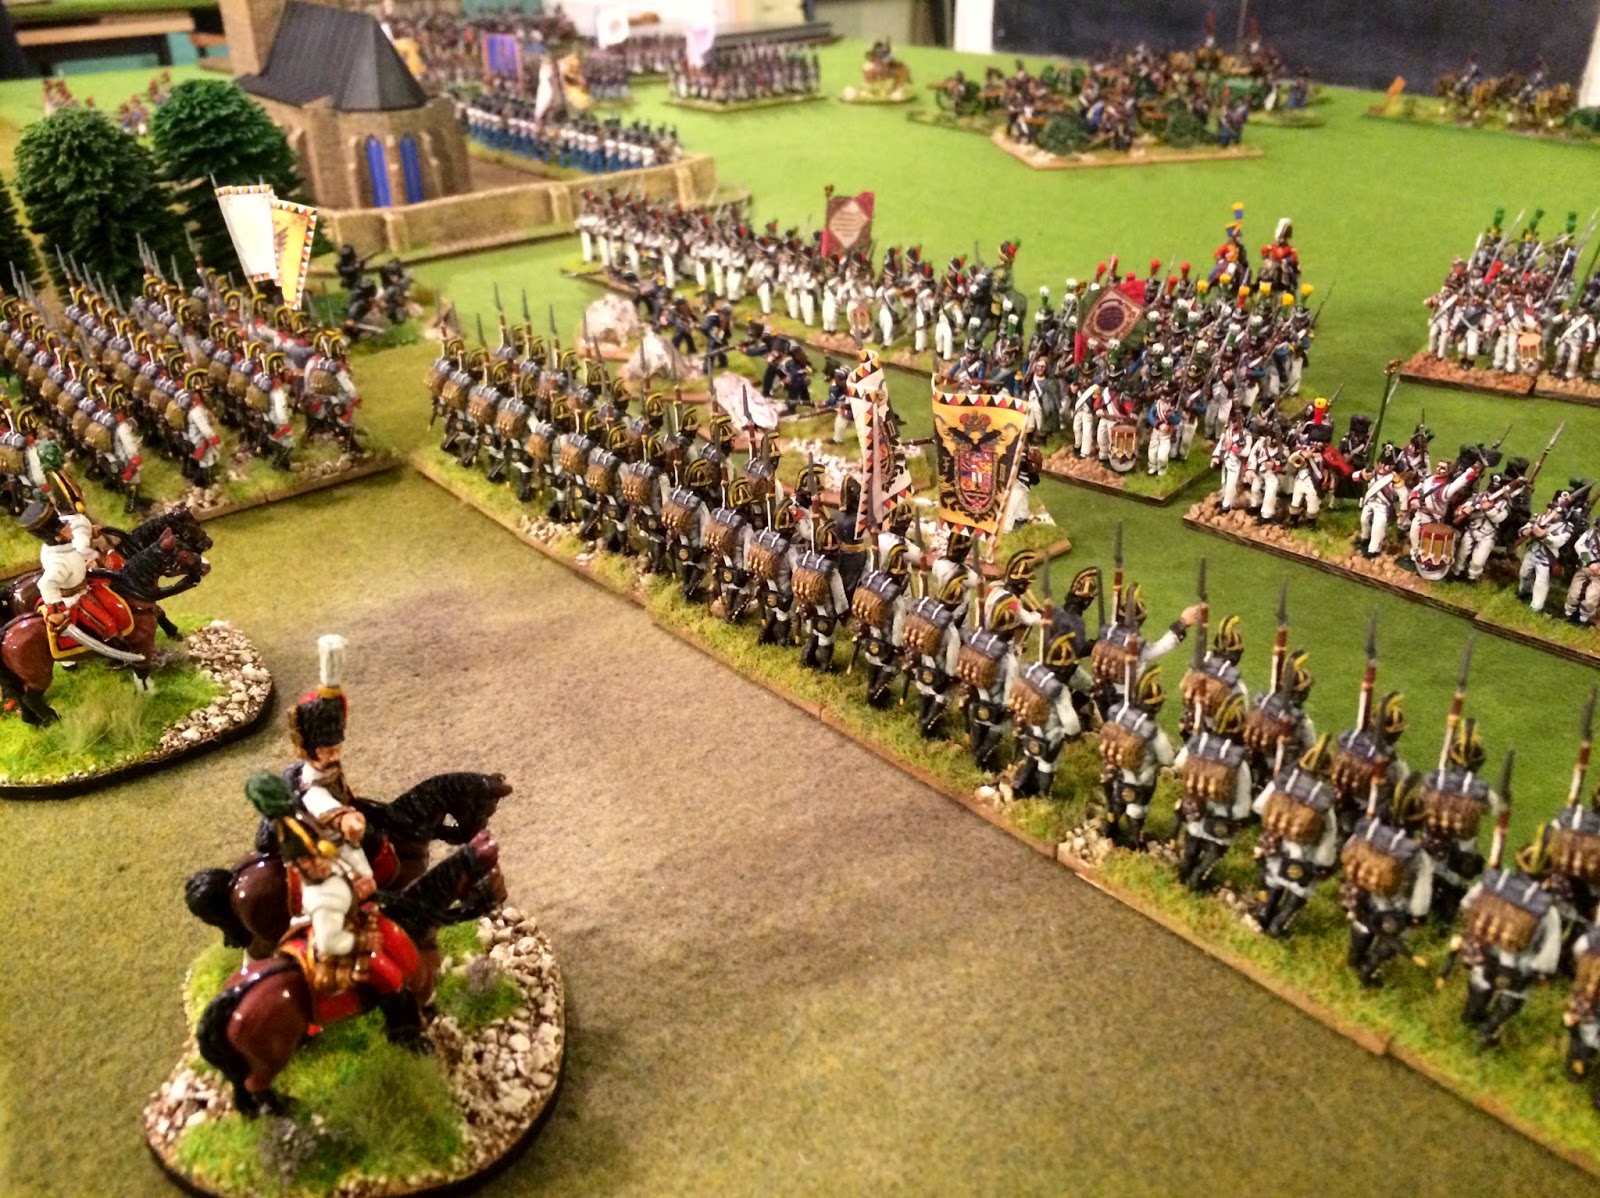
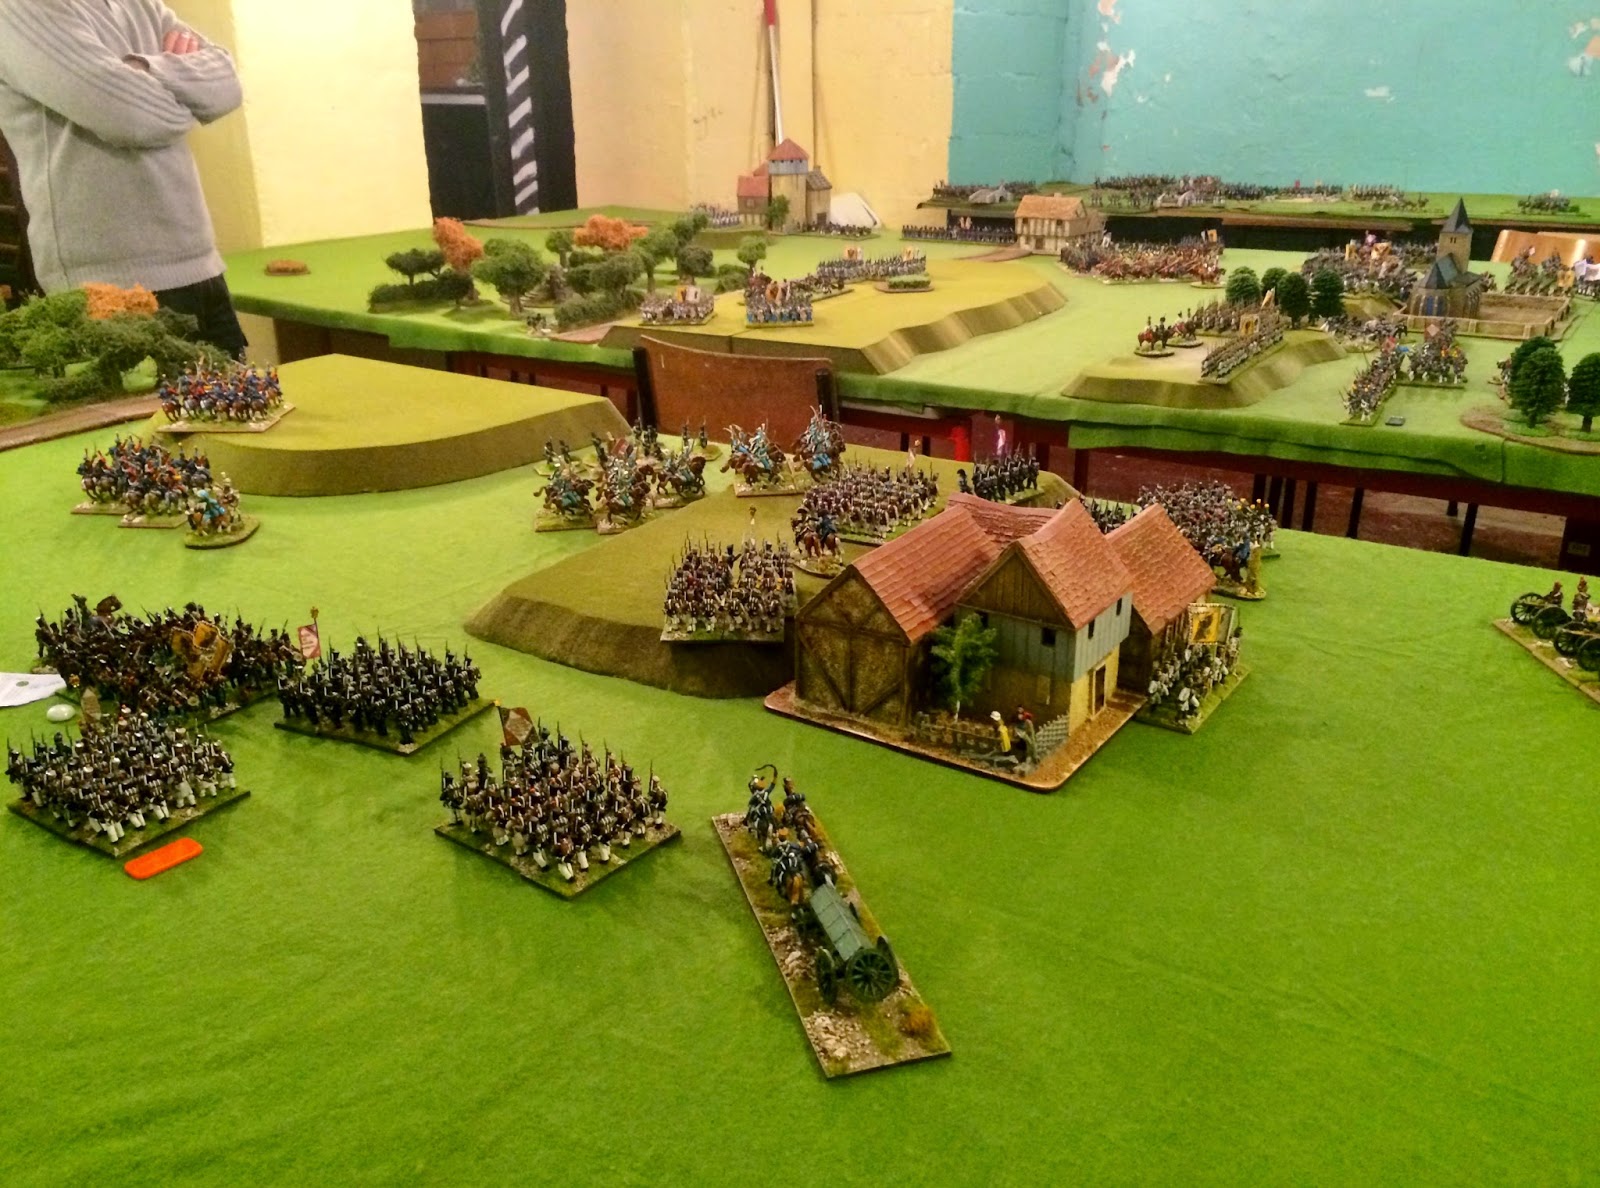
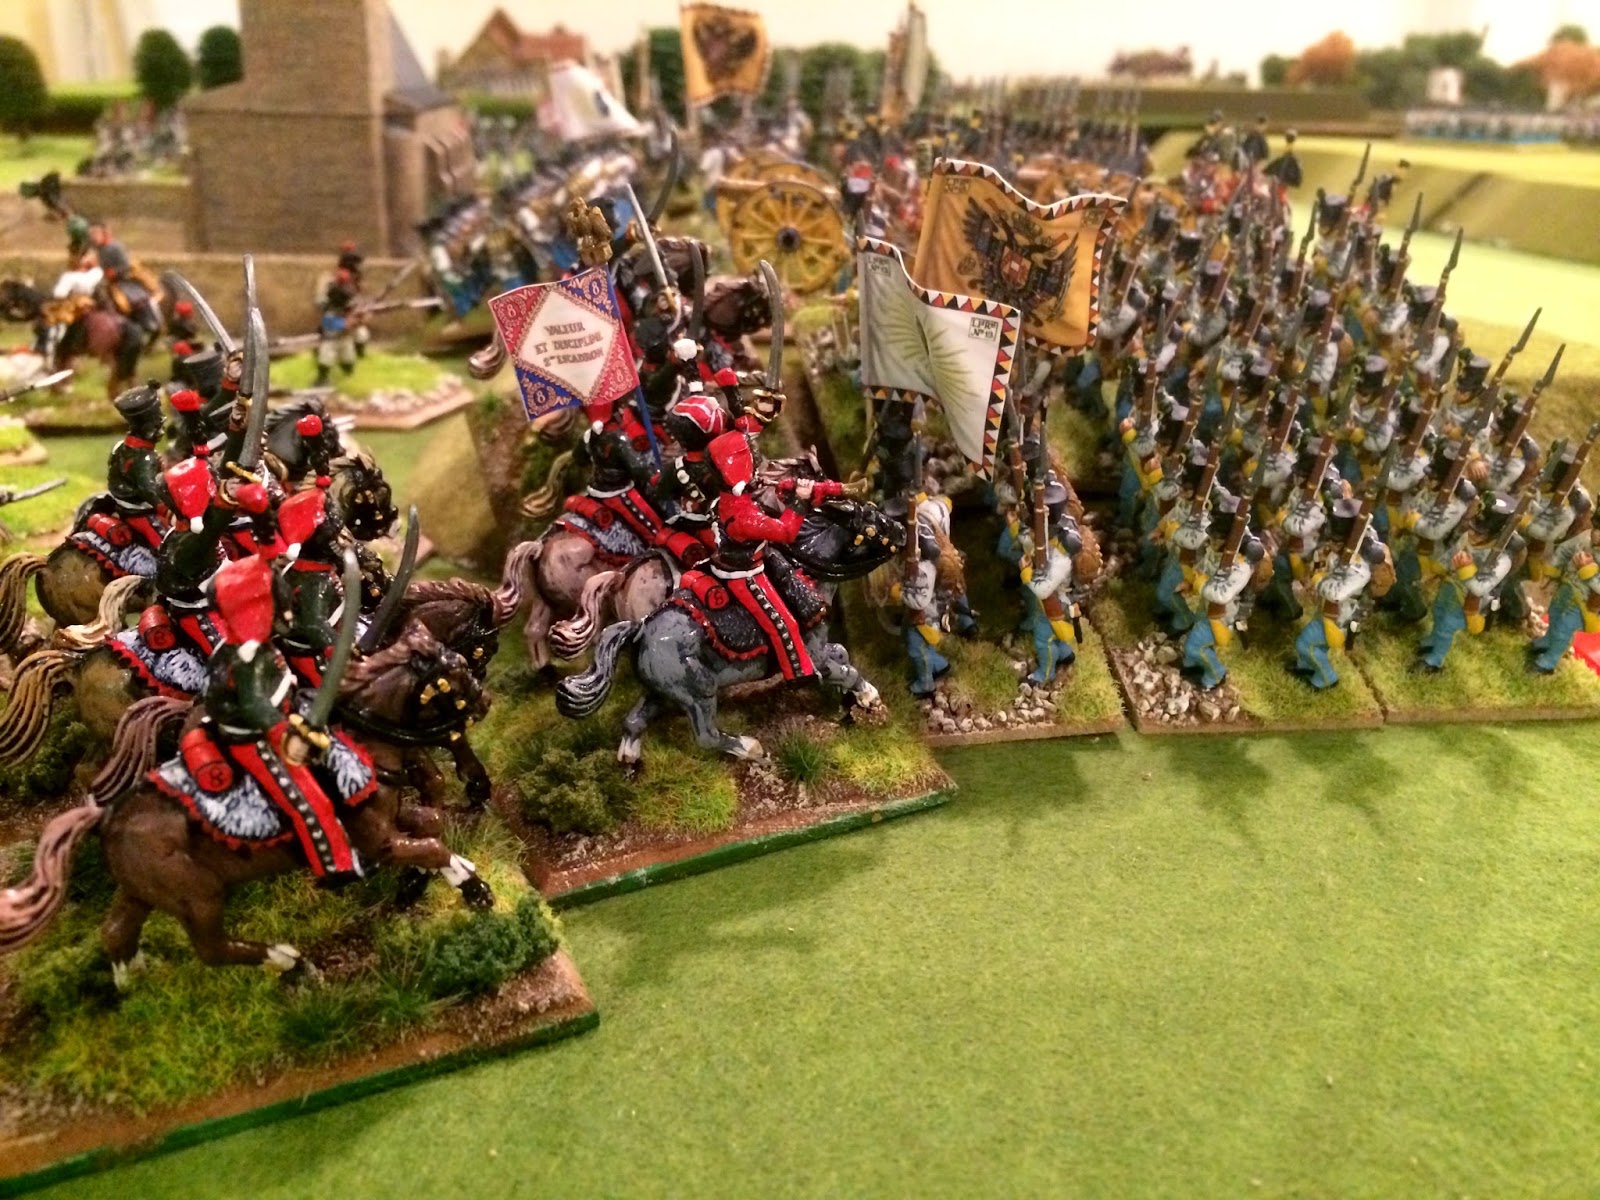
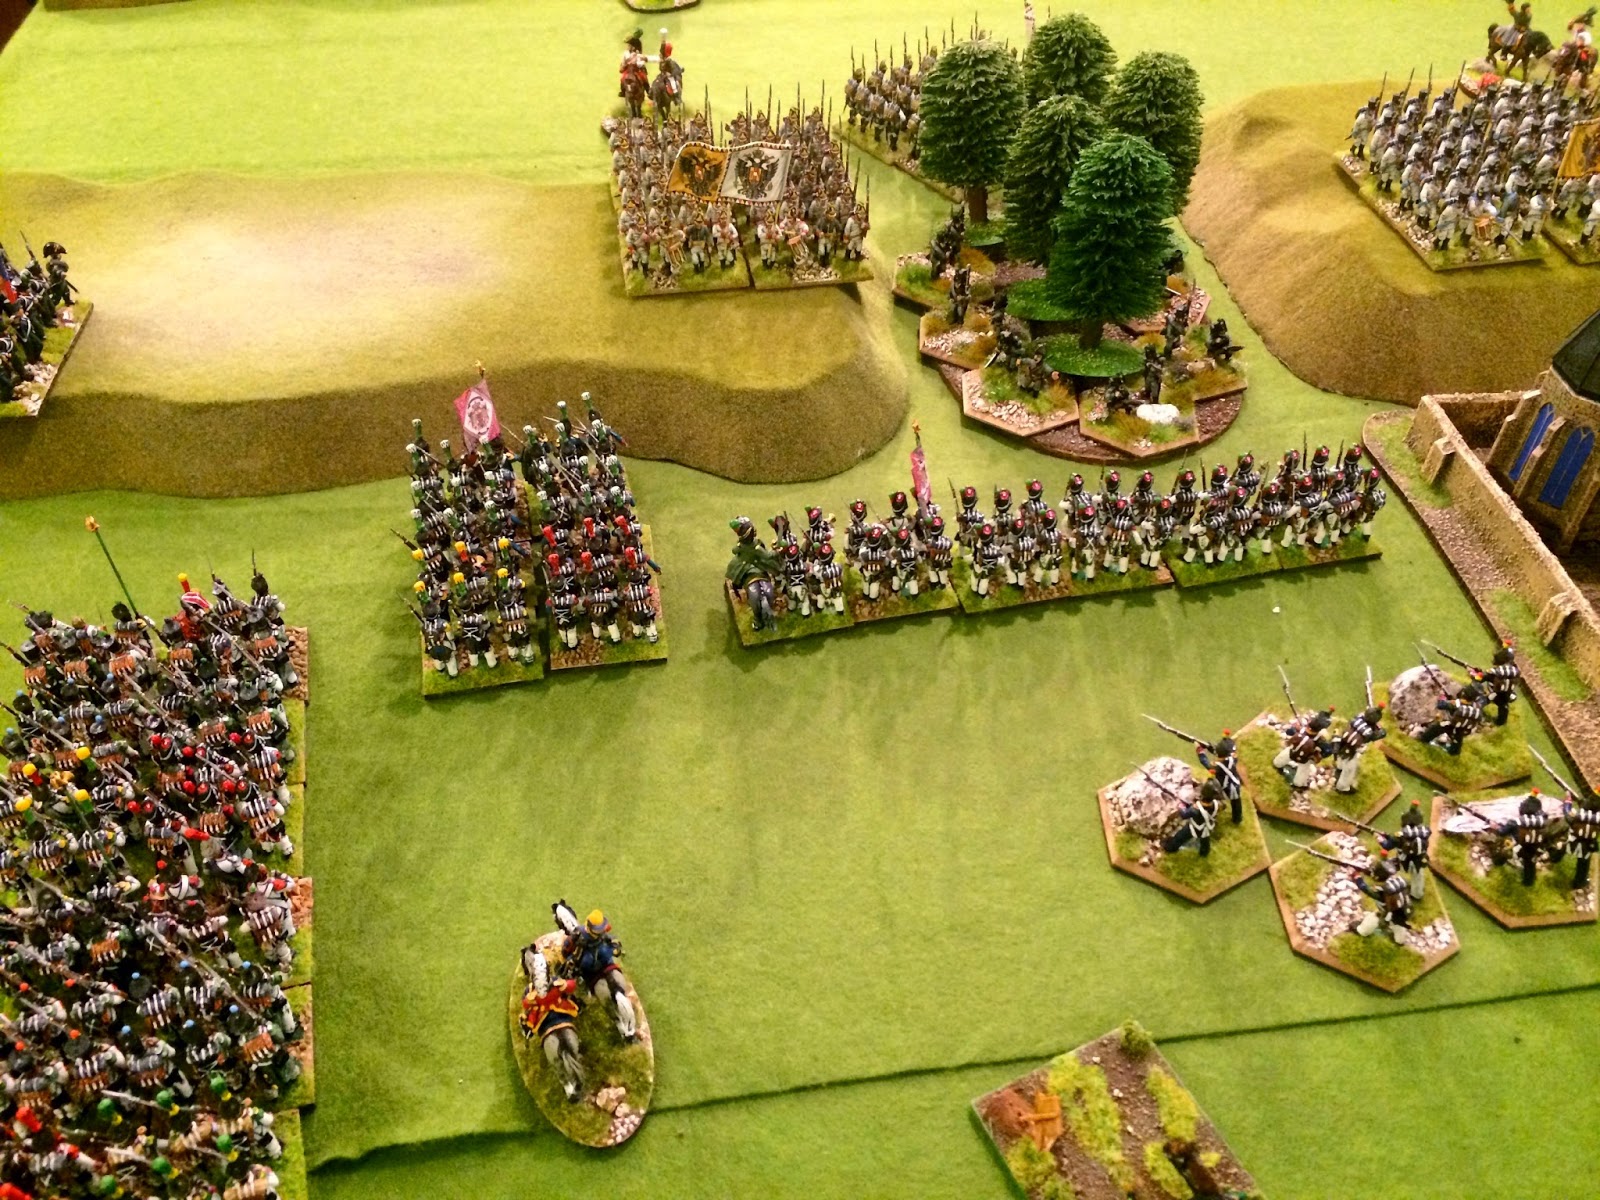
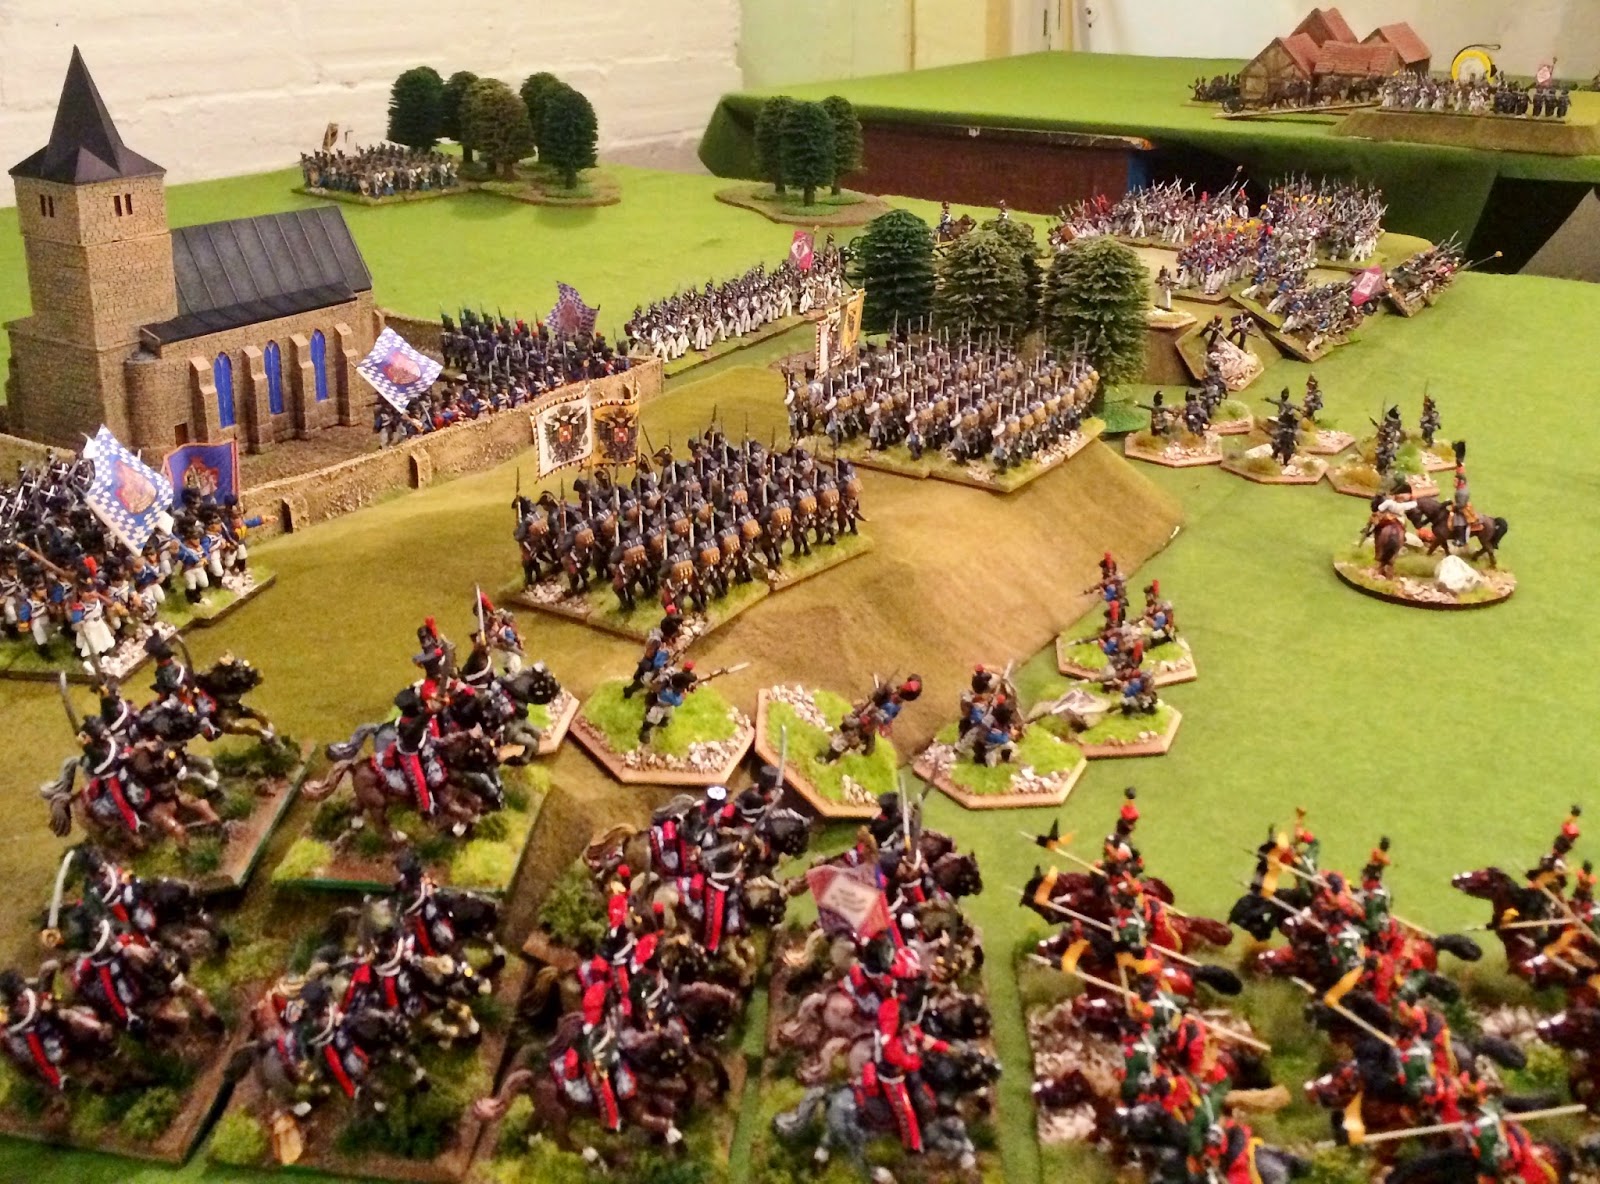
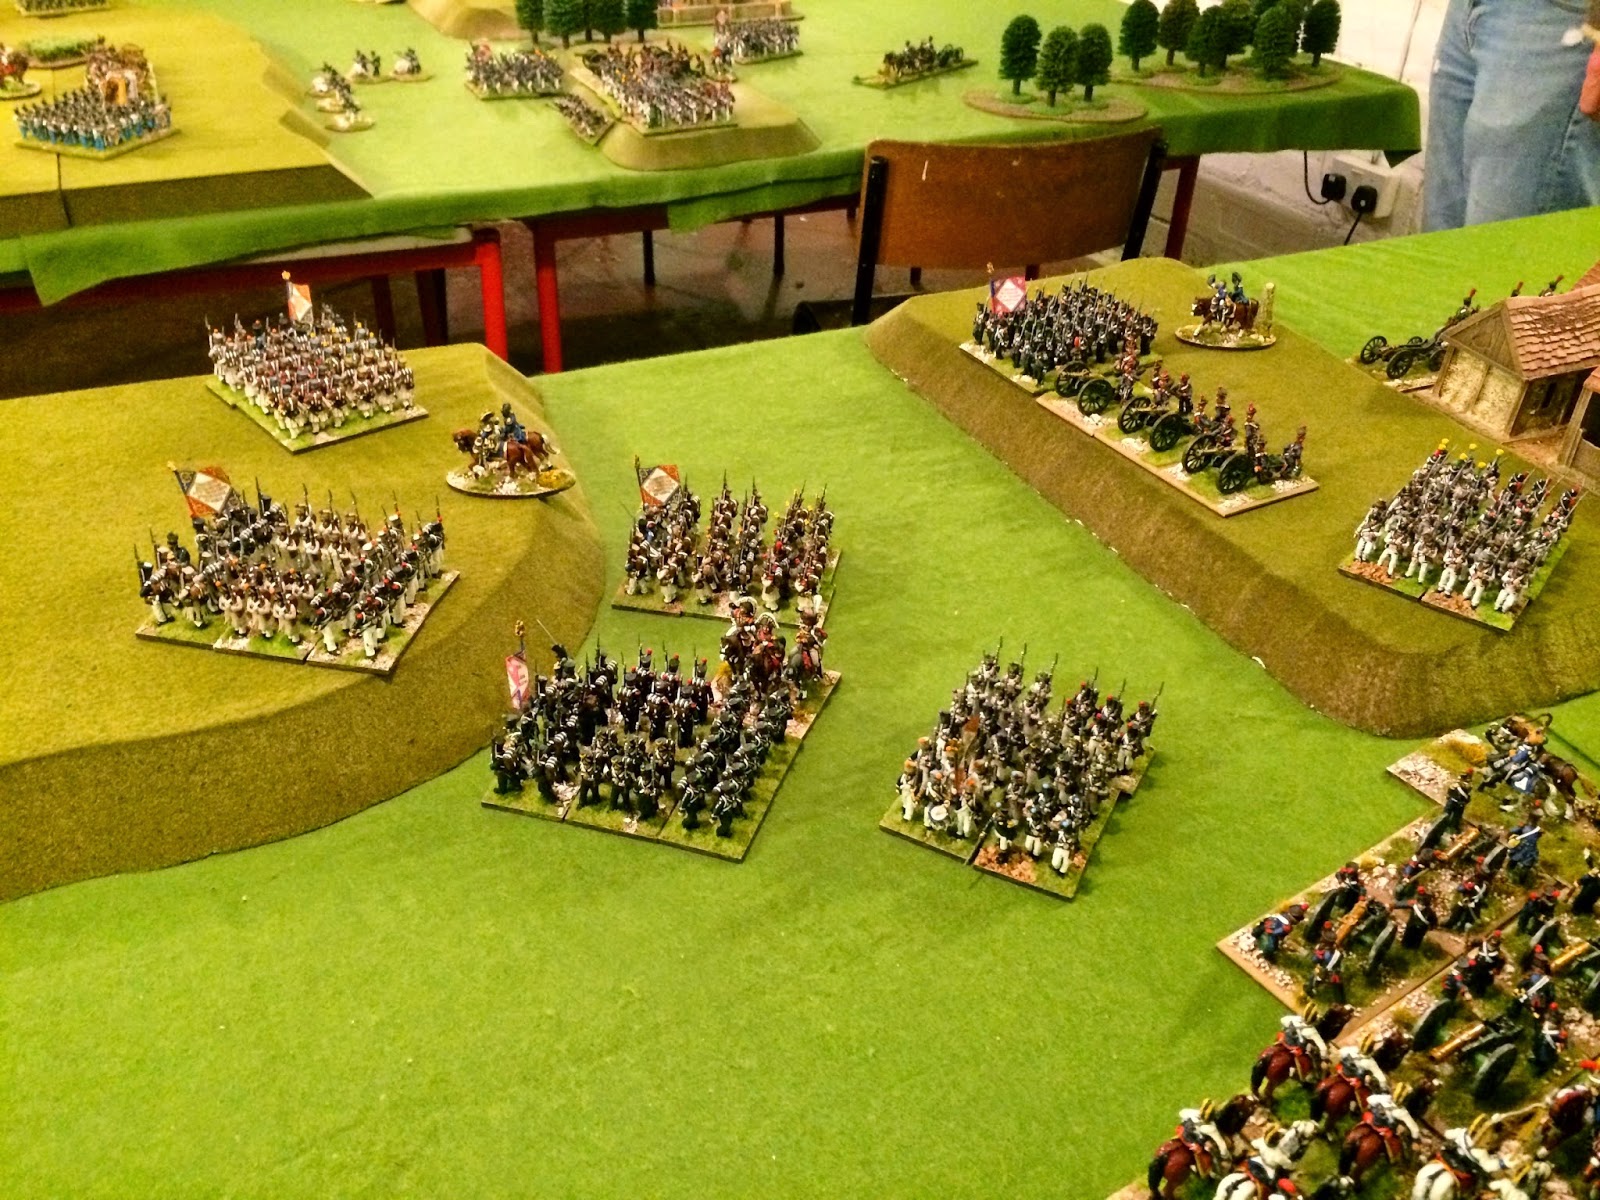
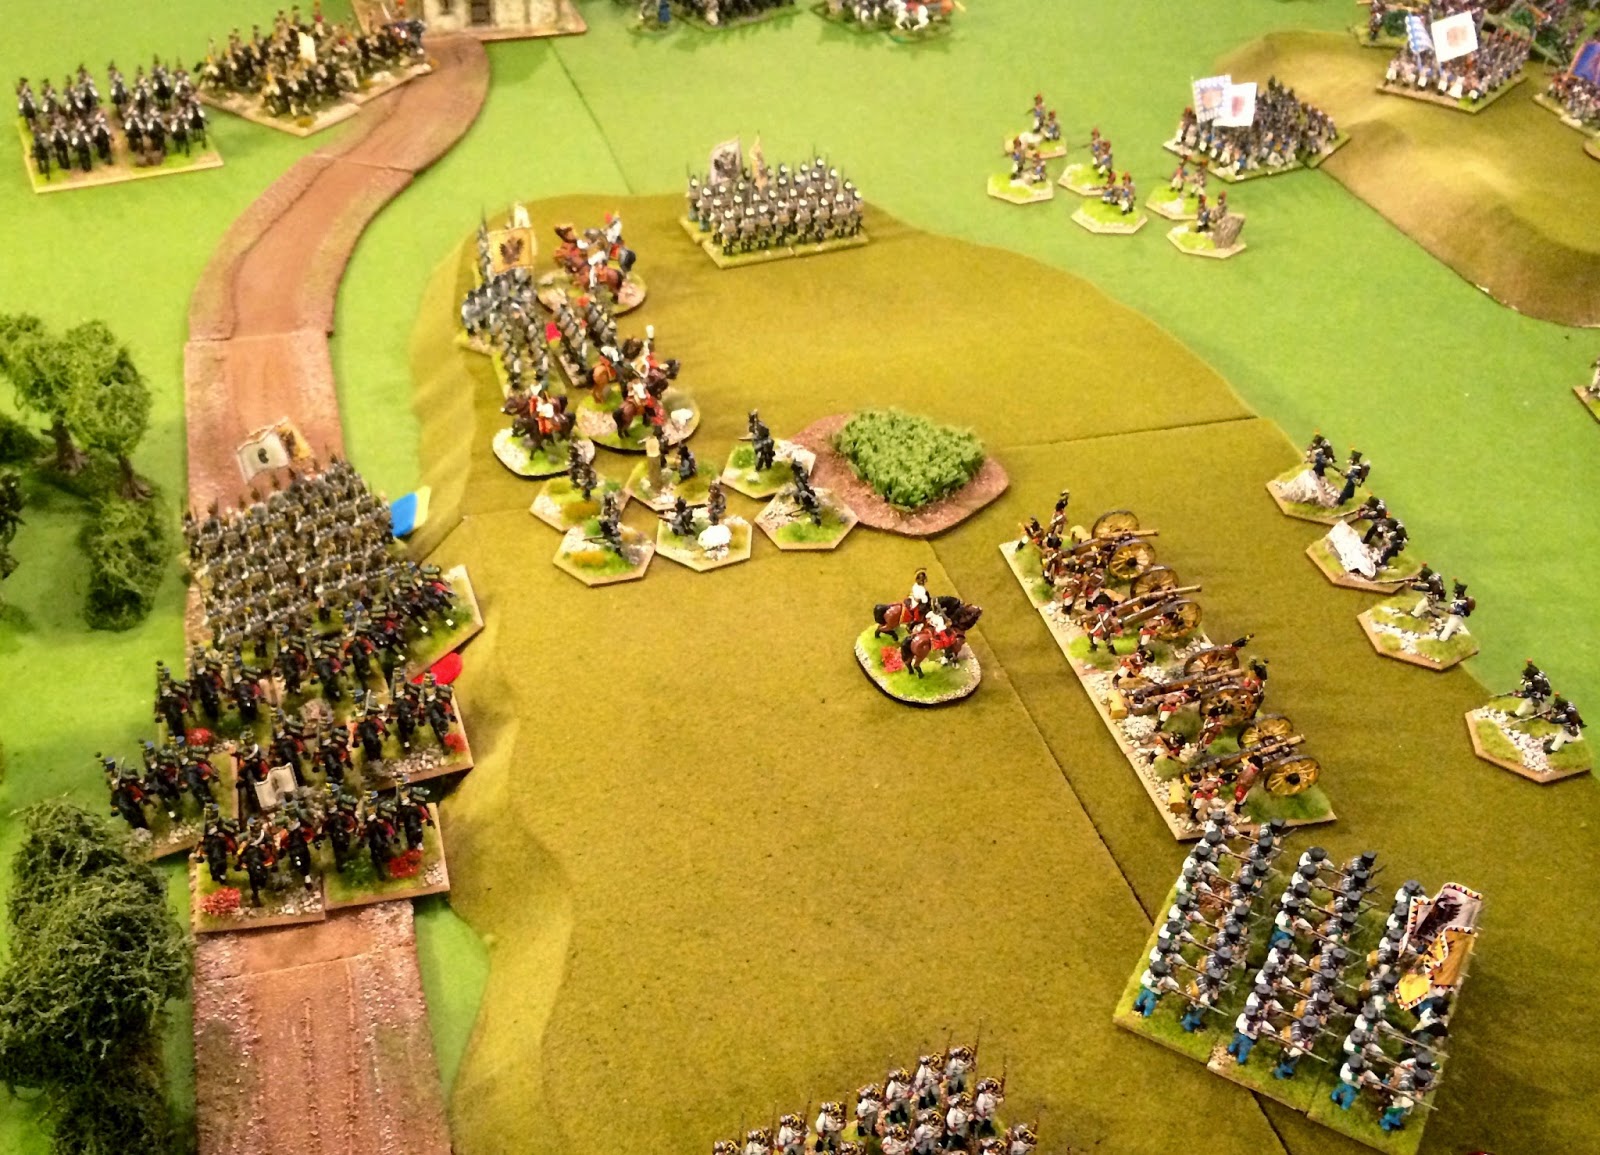
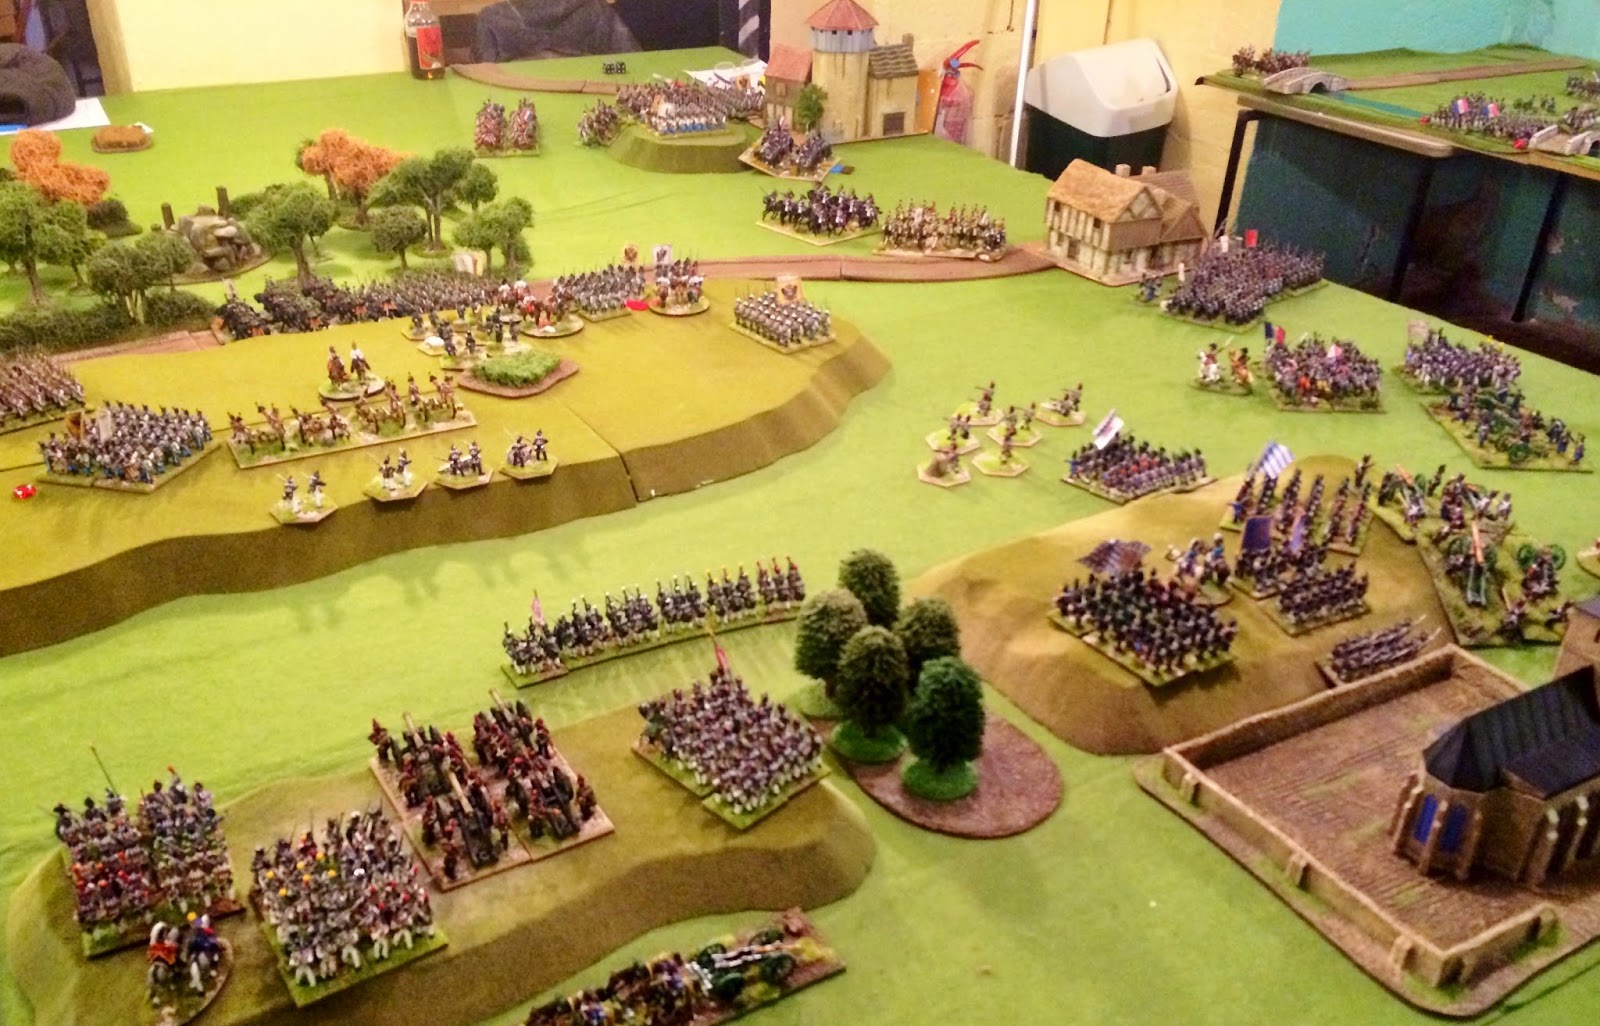
| Here we look along the meadows on either side of the Gross Laber River with three crossings at three villages, in the fore ground is Rugging held by Austrians under St Julien; next is Eggmuhl held by Austrians under Vukassovich although Huegel's Westphalian light brigade holds the opposite bank for the French.. In the distance is Schierling where French Marshall Lefebvre has deployed his Bavarian 7th Corps. |
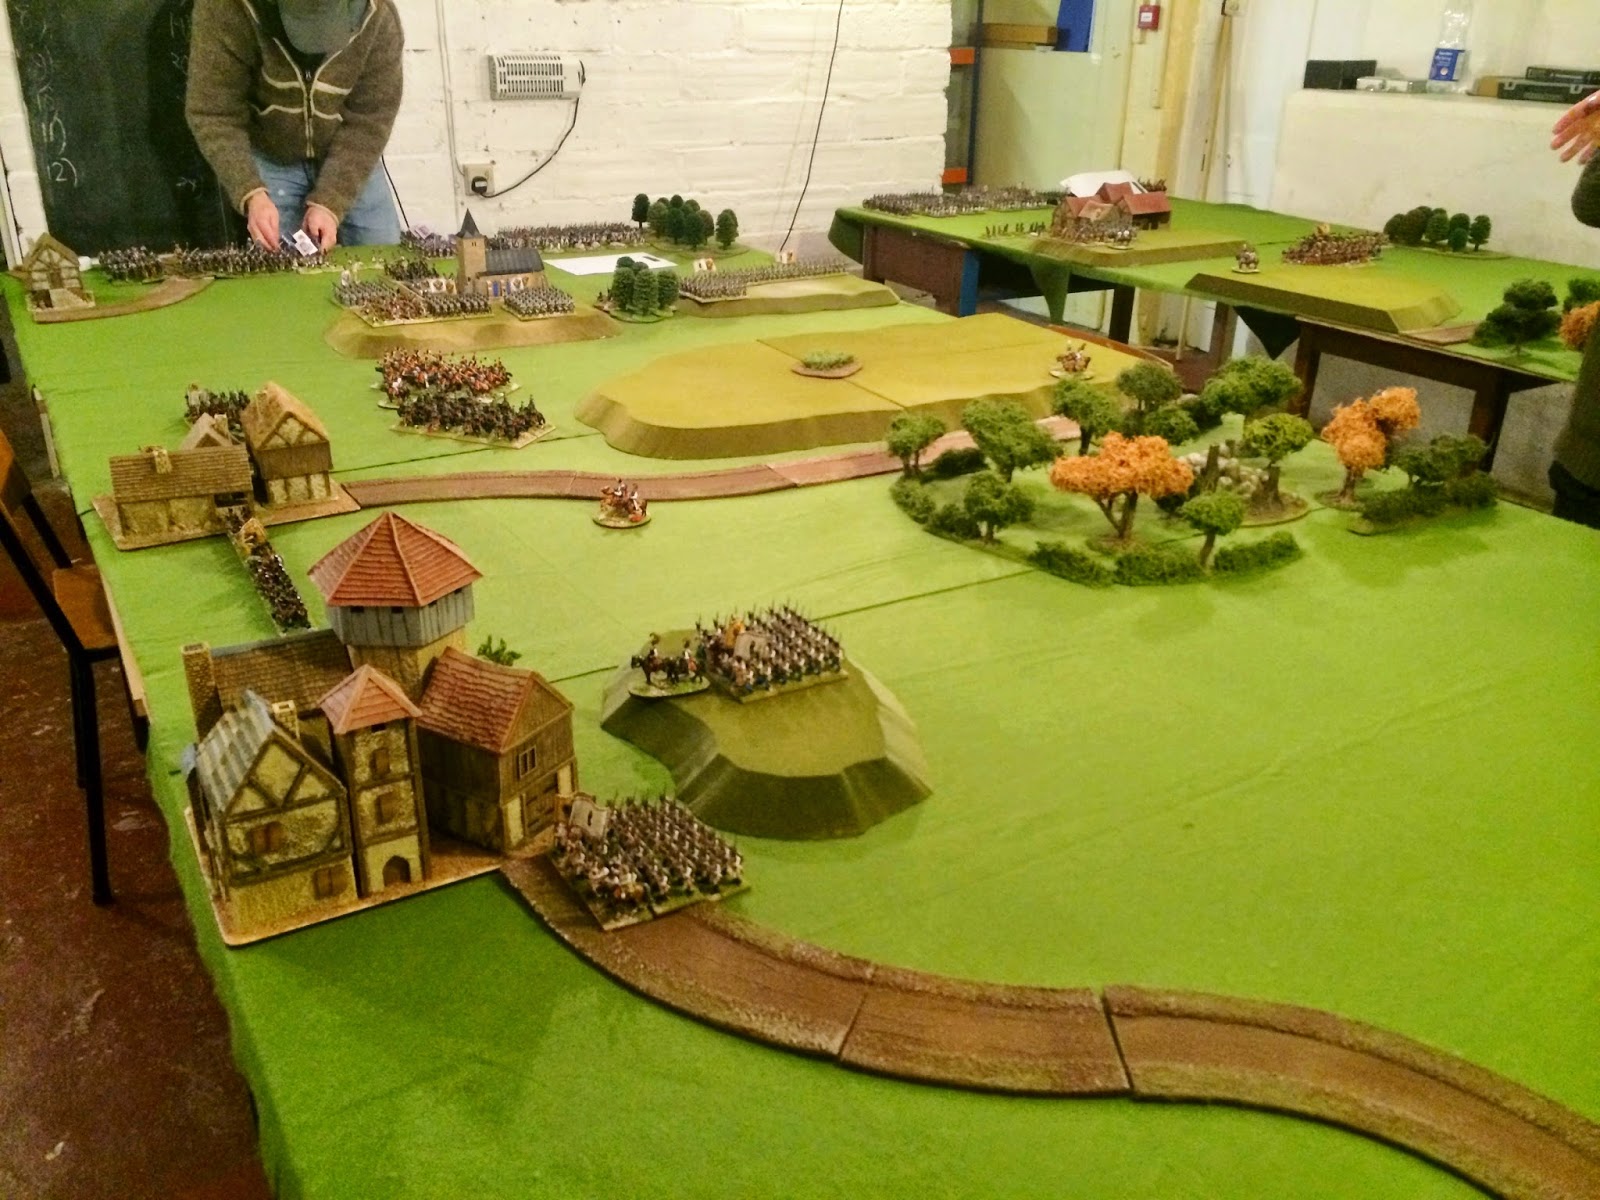 |
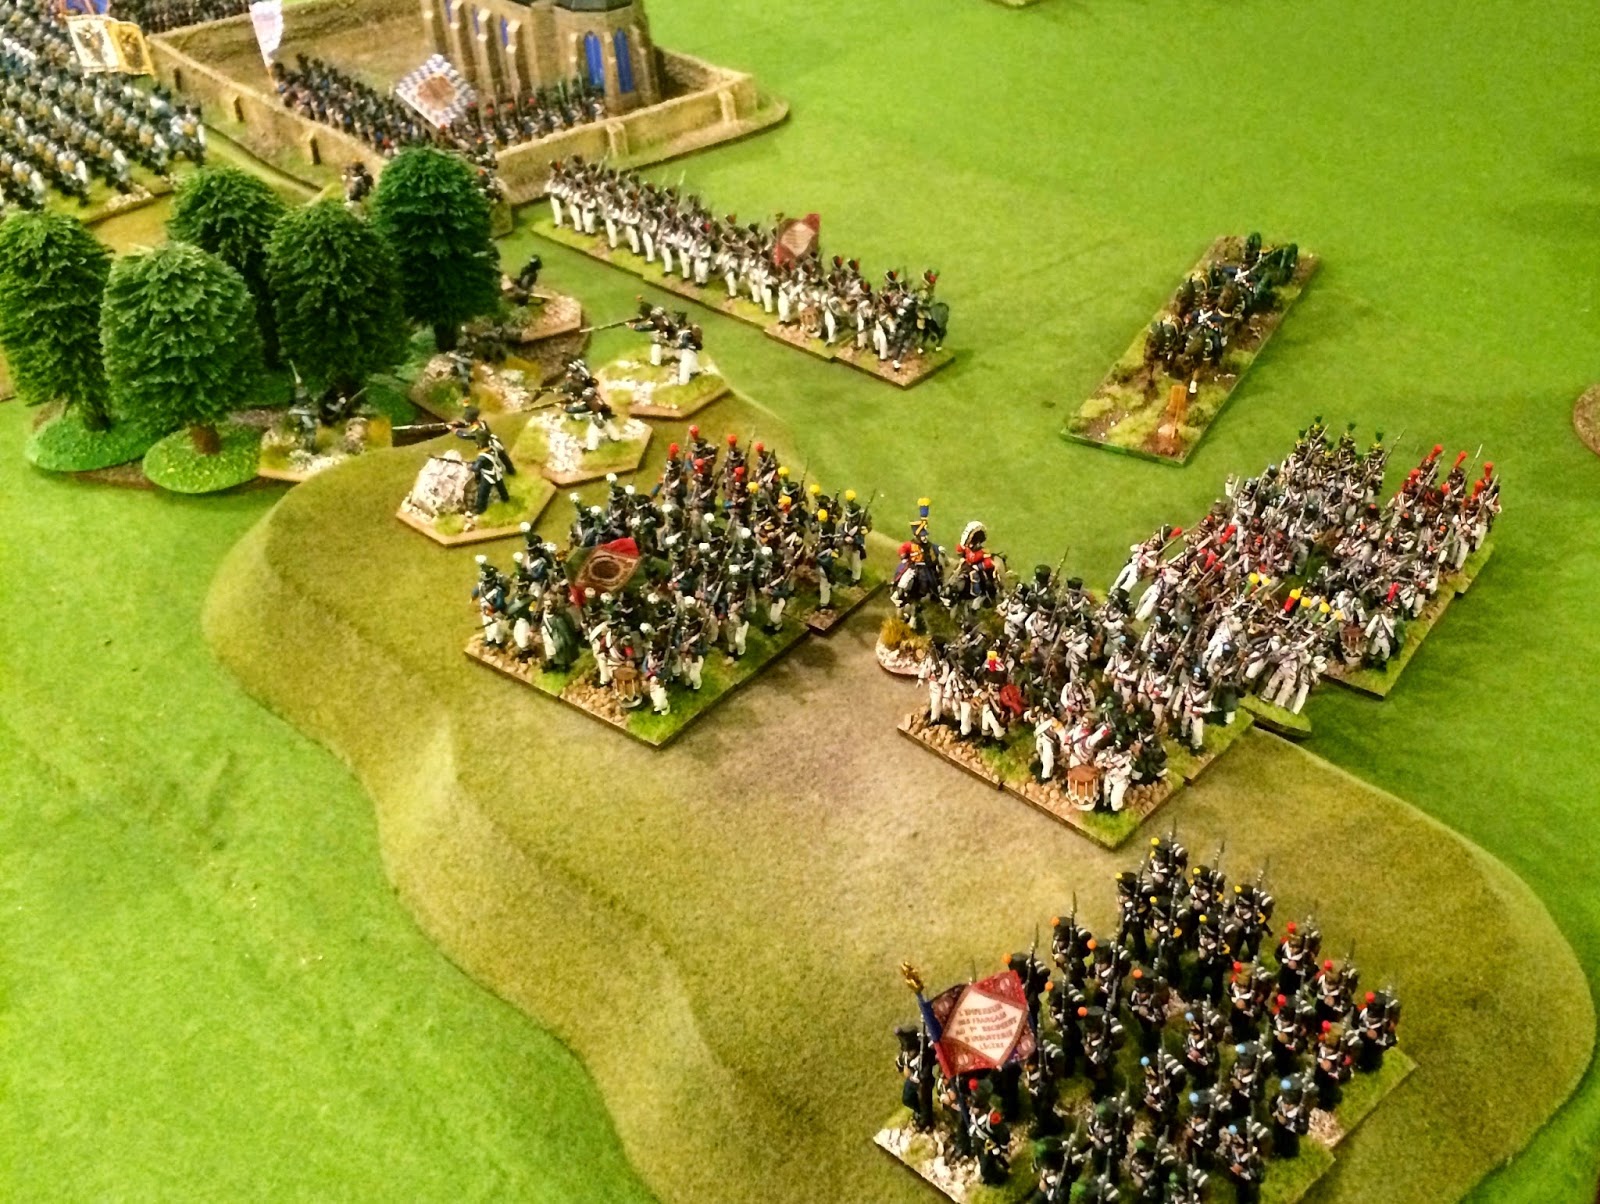
Moving right, Rugging again in the foreground, the large central ridge is the Bettelberg with a forest behind it.
Unterlaichling is represented by the Church beyond the Vorberg hill. The "Hanging Woods" separate it from from another ridge with Oberlaiching in the far distance. |
 |
| This is Unterlaichling occupied by the Austrians under Bartenstein, Dedovich is on the left. The cavalry of Vukassovich cover the vulnerable link with Bartensstein. The Bettelberg is curiously empty but its height conceals Lusignan's Austrian division in reserve. |
 |
| Here is Marshall Lefebvre's Bavarian Corps comprising the divisions of Kronprinz Ludwig, von Deroy and von Seydewitz cavalry brigade. The Corps artillery is massed to bombard Bartenstein's boys in Unterlaichling. Scheirling is on the left. |
 |
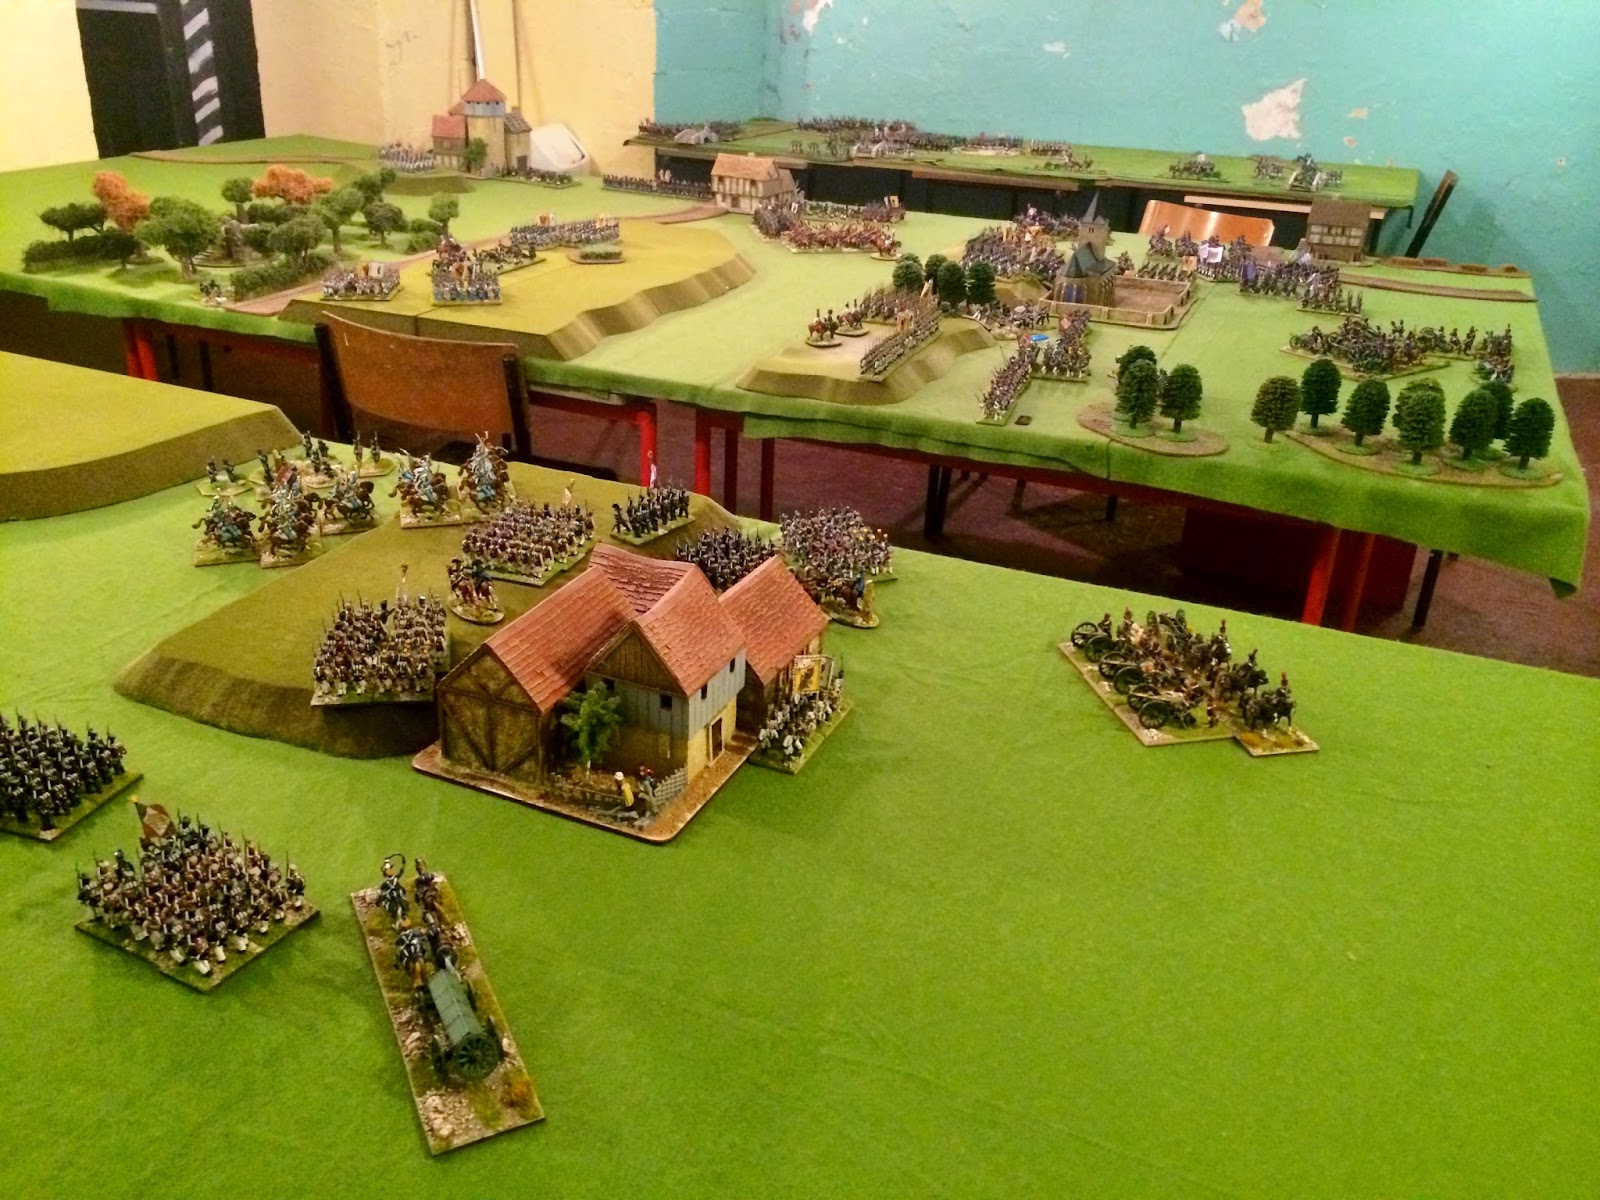
| Here we see Dedovich's Austrians occupying Oberlaiching with Somariva's Austrian Advance Guard on the left comprising Grenzers, Uhlans and a cavalry battery. Fangorn Forest lies to the rear. |
 |
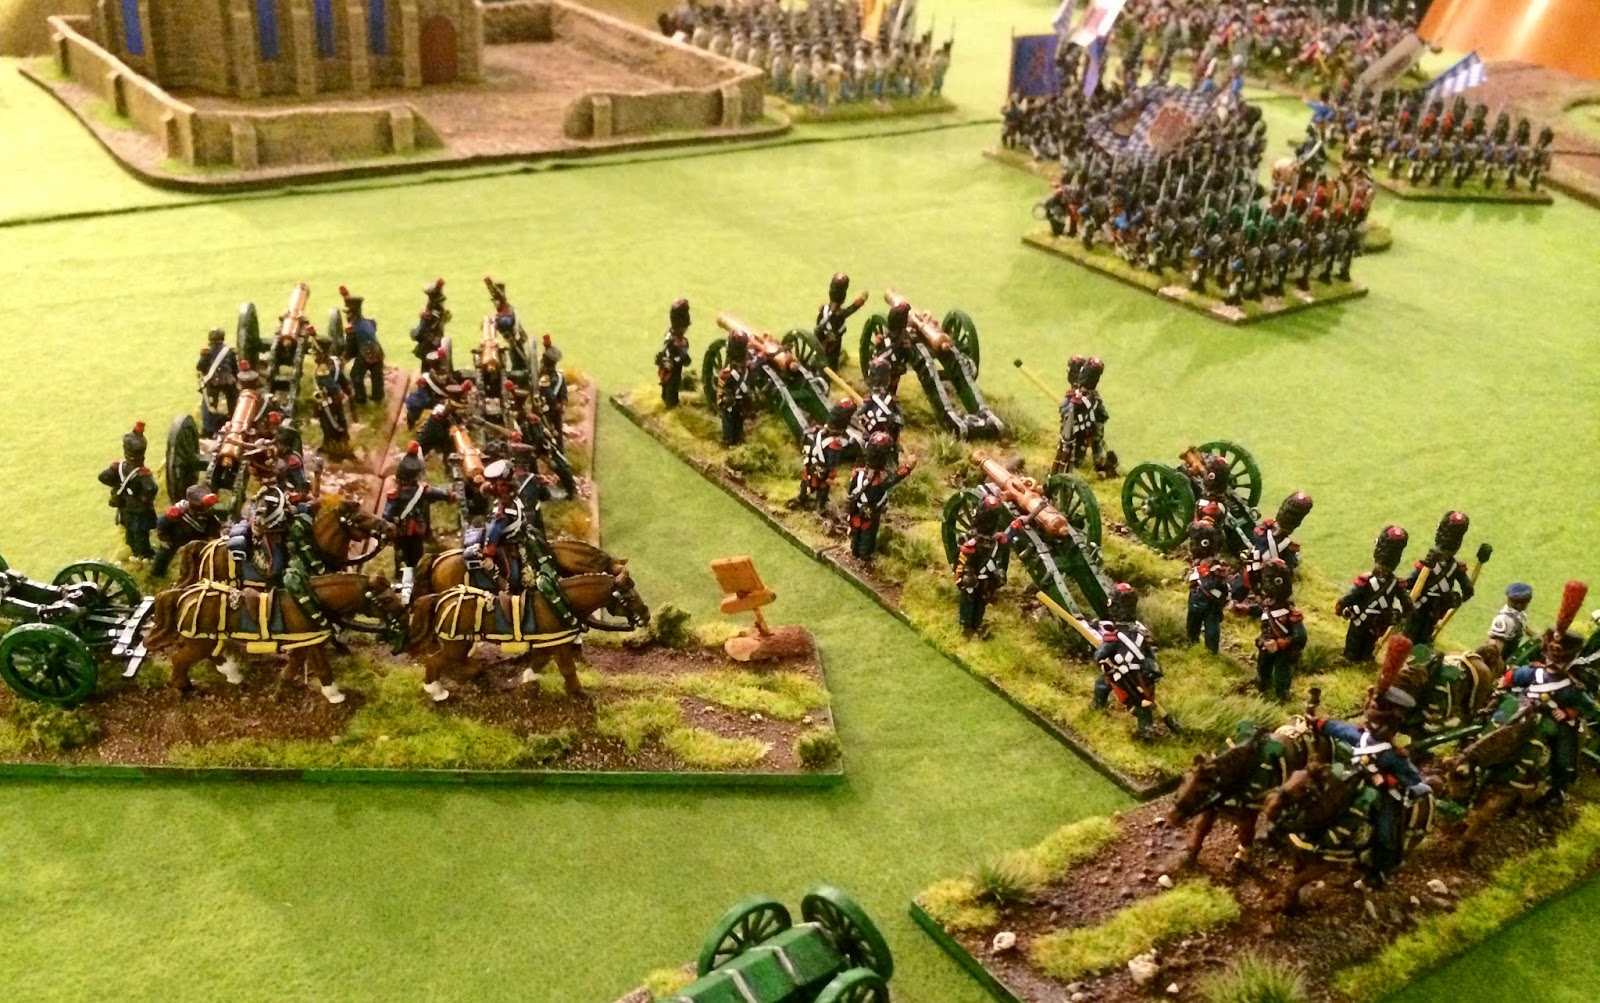
| Bad news for Somariva and Dedovich. Here is Davout's massive 3rd Corps with the divisions of Friant, St Hilaire and the light cavalry brigade of Pire on the left. One battery is limbered one is deployed |
 |
| Pire's light cavalry brigade with Davout's 3rd Corps. |
 |
| Vukassovich's Austrian light cavalry near the Bettelberg linking with Bartenstein. |
 |
| Austrian battery and Grenzers near Rugging. |
Lets start wargaming Gentlemen.
 |
| Lefebvre launches his Corps at Unterlaiching sending Seydewitz light cavalry around the Vorberg to wrap up the position. |
 |
| St Julien commands his Austrians from the hill behind Rugging. The front line seems miles away to the rear beyond the Bettelberg. If this continues he might just get off scot free and get home for pastries and medals in Regensburg. |
 |
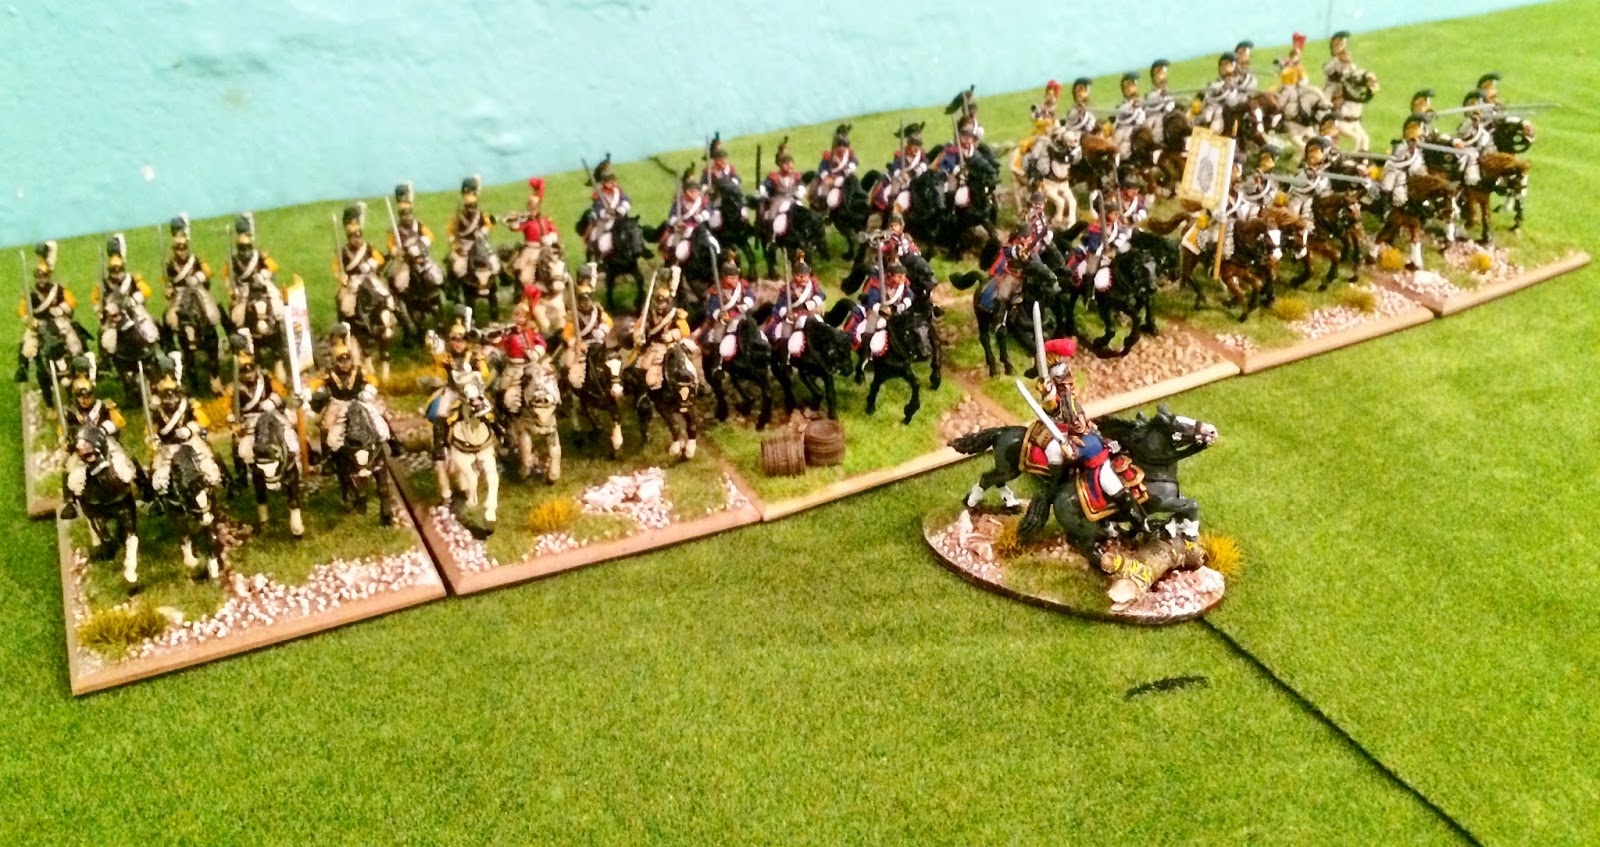
My splendid Uhlans from Vukassovich division advance to counter Seydewitz light cavalry trying to get between his division and Bartenstein on the Vorberg behind Unterlaiching.
These are Elite Miniatures painted by Tony Laughton for me. GMB penants. |
The French and their Allies: The Emperor Napoleon 1.
I left Napoleon off table as this scenario was about the attacks of Marechals Davout, Lefebvre and Lannes. Each was treated as a C-in-C running their own divisions and brigades. This also gives the French some real tactical flexibility in the command structure and each player some influence over the large forces they have. Basically Nappy has told his commanders what to do and sent them on their way, the players are those marshals. Here's the toys I gave them to play with;-
3rd Corps: Marechal Davout, Duc of Auerstadt, rated excellent.
2nd Division: Friant
1 x 36 elite infantry
4 x 36 line infantry
1 foot battery, line
4th Division: St Hilaire
2 x 36 elite infantry
3 x 36 line infantry
1 horse artillery, elite
Light cavalry Brigade: Pire
1 x 24 Hussars, elite
1 x 24 Hussars, line
7th Corps (Bavarian): Marechal Lefebvre, Duc of Danzig, rated average
1st Division: Kronprinz Ludwig
8 x 36 line
12 elite skirmishers
1 foot battery, line
3rd Division: Von Deroy
8 x 36 line
12 elite skirmishers
1 foot battery, line
Bavarian Light cavalry brigade, Von Seydewitz
2 x 24 light cavalry, line
Corps artillery reserve:
1 x 12lb foot battery, line
Provisional Corps: Marechal Lannes, rated excellent
3
rd Wurtemburg Light Brigade: Von Huegel
2 x 36 elite infantry
1 x 12 elite skirmishers
Combined Light Cavalry Division: Maraluz
3 x 24 Light cavalry, line
1st Division: Morand
1 x 36 elite
3 x 36 line
1 x horse battery, veteran
3rd Division: Gudin
1 x 36 elite
4 x 36 line
1 x foot battery, veteran
1st Heavy Cavalry Division: Nansouty
3 x Cuirassiers, elite
1 horse battery, veteran
2nd Heavy Cavalry Division: St Sulpice
3 x Cuirassiers, elite
Some really good kit here and ably led, on paper at least!
We rolled for the ability of generals unless already stated above.
Both the French and Austrian armies had about half the required infantry but about the right amount of cavalry and batteries required in the scenario. This was done for the sake of frontage really as the French deploy on quite a narrow front so would have been stacked up very deeply. This game took a few weeks to play anyway and achieved a decisive result with the ratios I used, lots more infantry might have prolonged this. It all worked out just fine!
 |
French lights from Seydewitz brigade provide the target for the Austrian uhlans above.
Perry plastics from Rich's collection painted by Barry Hill. |
 |
| Deroy's Bavarians attack proceeded by skirmishers, various painters and manufacturers here, |
 |
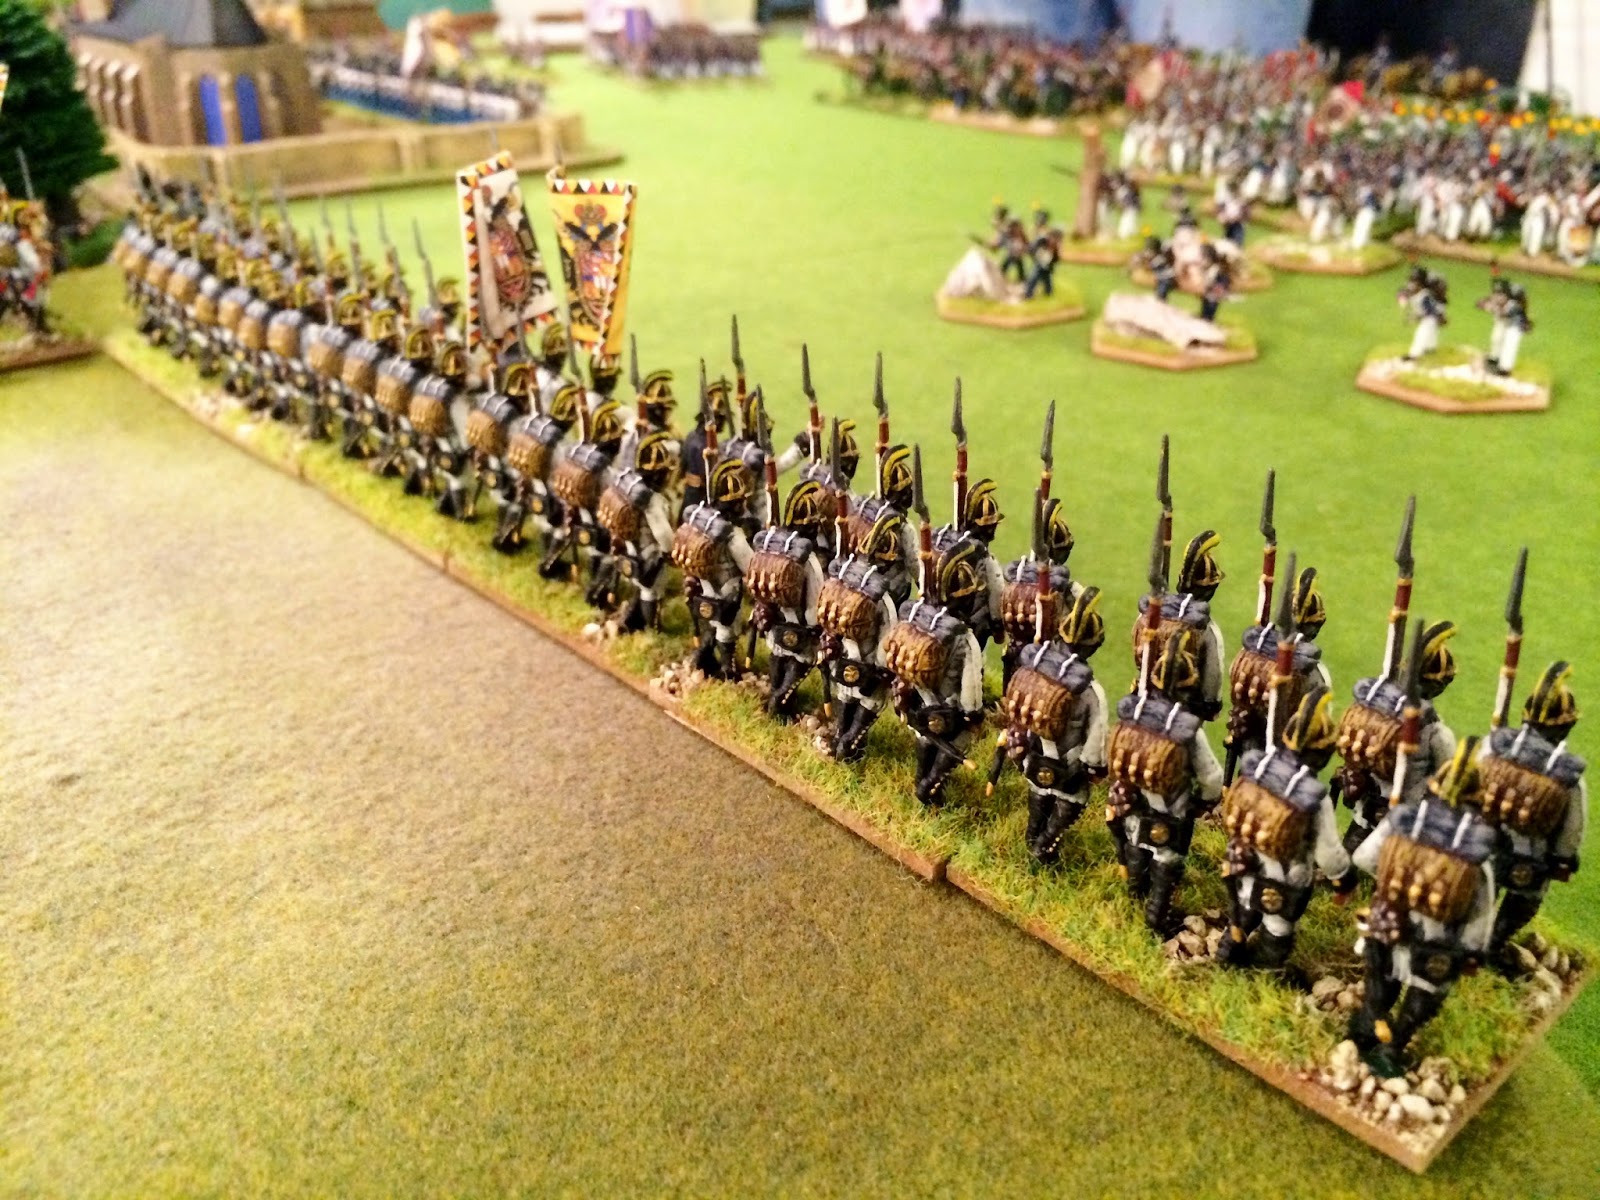
48 strong line of Grenzers prepare for battle.
Elite Miniatures painted by Blue Turkey for me, GMB flags. |
 |
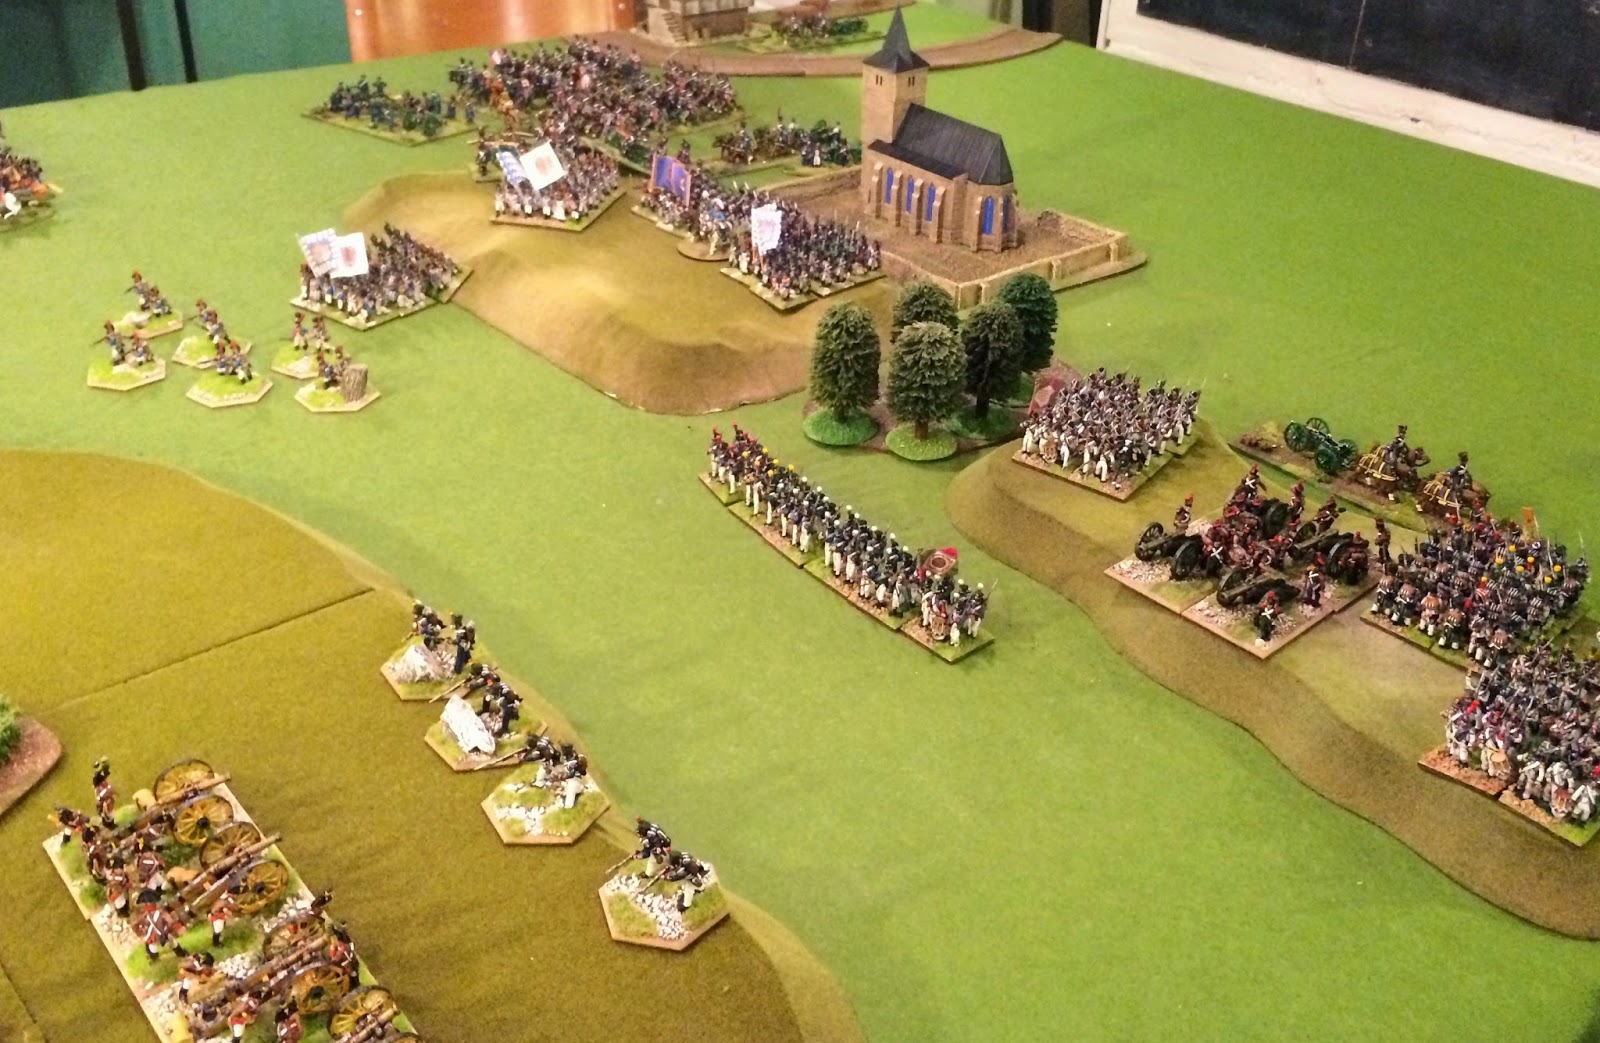
French massed batteries fire on Unterlaichling held by Bartenstein. "Hanging Woods" to the left.
The splendid church is the Battlefront 15mm Flames of War Bastogne model, a snip pre-painted and ideal here.
I picked this one up from Roland of Stafford Games - a very nice chap indeed. |
 |
| Deroy's boys advance on the Vorberg. |
 |
| Kron Prinz Ludwig's Bavarians (Italian models) advance on elements of Dedovich on the heights by the "Hanging Woods". These are Victrix plastics painted by Barry Hill, I still need to dry brush the bases and hang the last flags. |
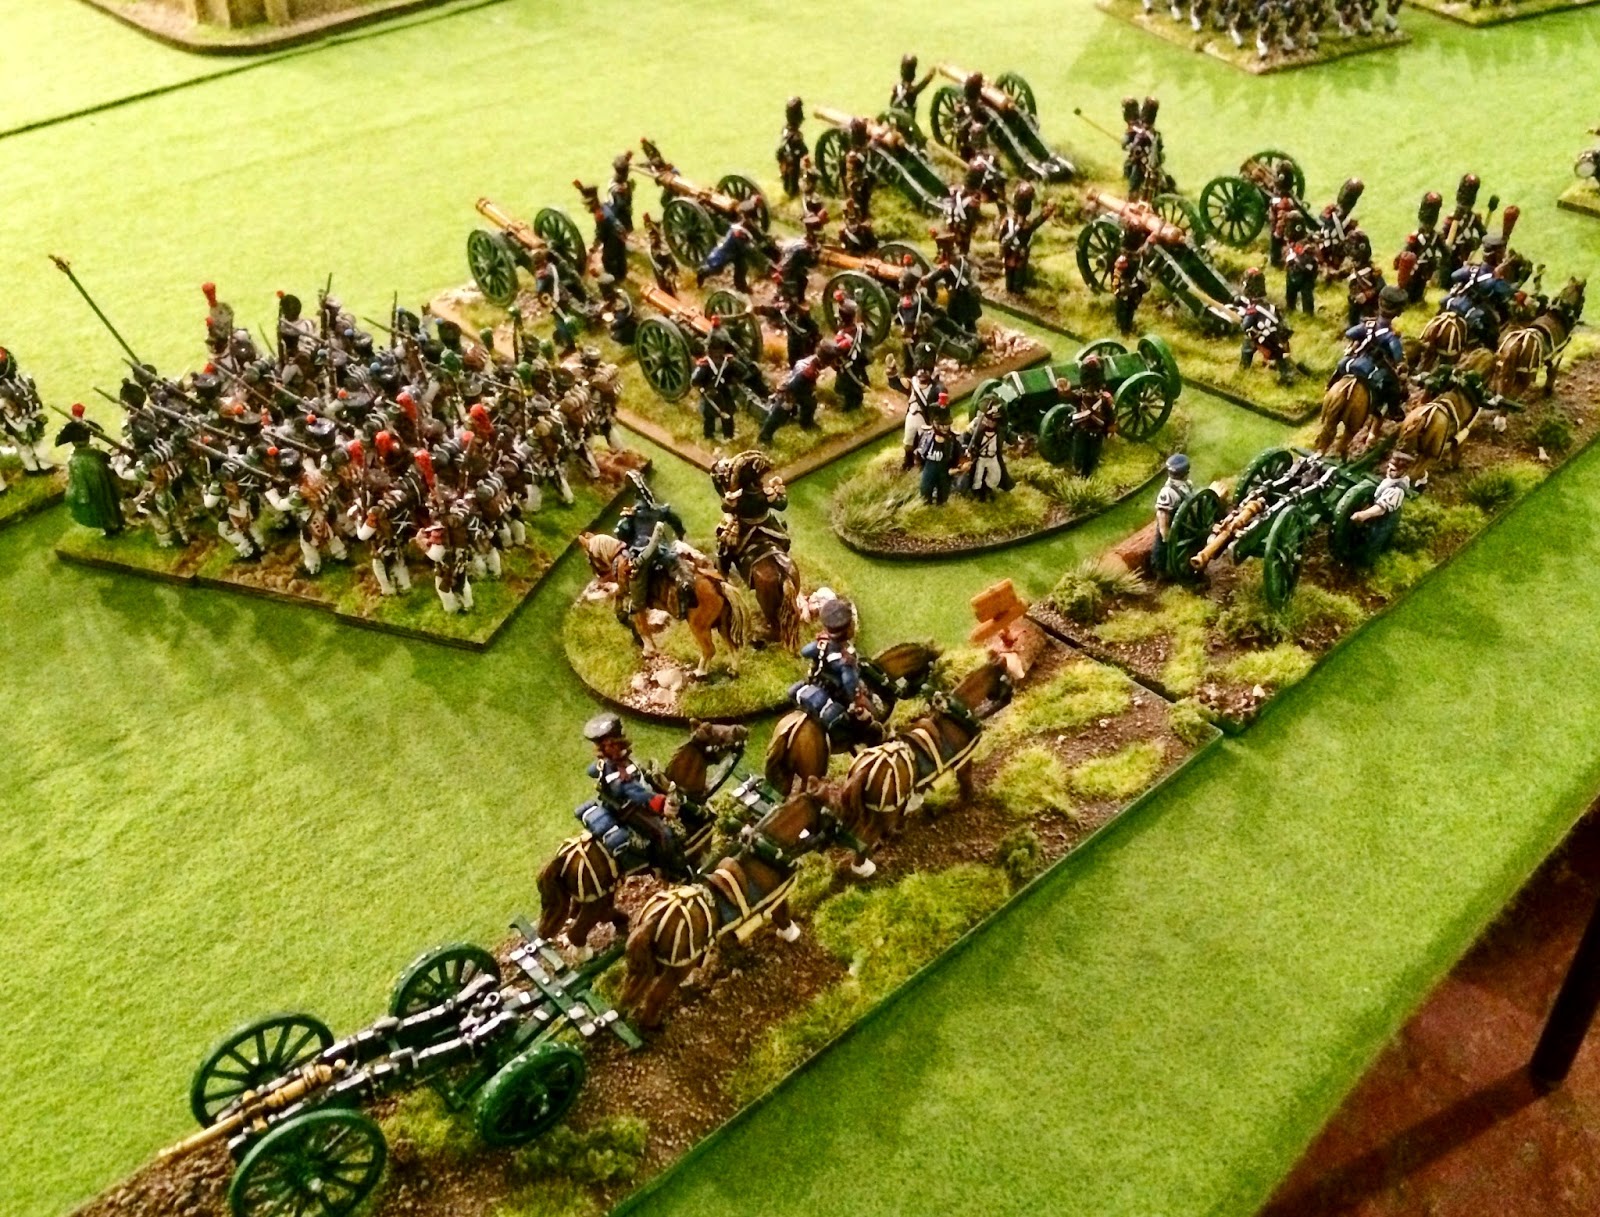 |
Lefebvre's batteries with limbers and caisson. The Guard battery crept in but is actually a line battery.
These are Front Rank and Perrys painted by Barry Hill. |
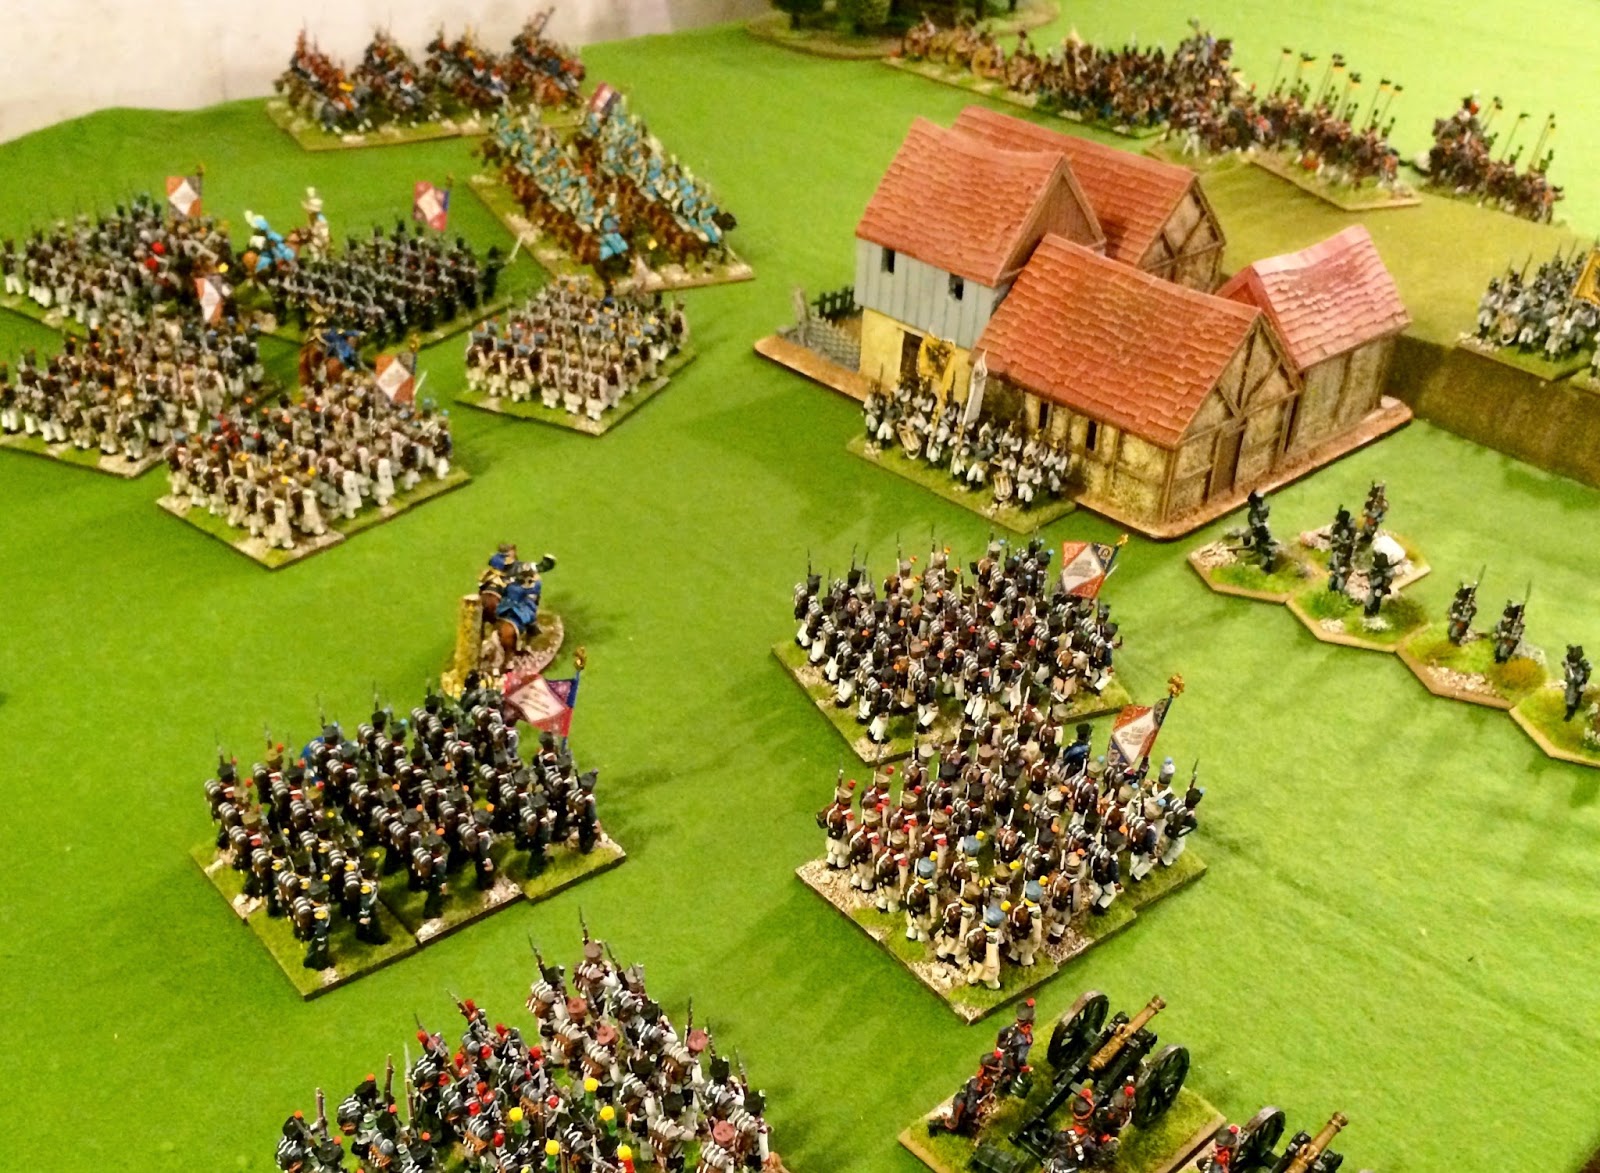 |
| The future looks bleak for Dedovich's Austrians in Oberlaiching as Davout's Corps steamrollers forward. Pire's cavalry closes in on Somariva's Advance Guard brigade |
 |
| Some new scenery picked up from the Last Valley chap at Reading last year. Amazing trees, pond and hedge rows sitting beautifully with our PMC roads and Snapdragon lump of rock. |
The Austrian Army: Erzherzog Karl, rated average.
We ran two Austrian C-in-C's, Karl and Hohenzollern, one each for Tony and I. Our army was of mixed ability but the command and control element was especially weak, rightly so! The reserve could be crucial if correctly deployed, wait and see...
IV Corps FML Rosenberg
Somariva's Division
1 x 48 Grenzers
1 x 24 uhlans
1 x horse battery, line
Dedovich's Division
4 x 48 line
1 x foot battery, line
Bartenstein's Division
3 x 48 line
1 x 32 conscripts
1 x foot battery, line
Corps artillery reserve
12lb foot battery, line
111 Corps, FML Hohenzollern-Hechingen, rated poor
Lusignan's Division
3 x 48 line
1 x 32 LDW, conscript
1 x foot battery, line
Saint Julien's Division
3 x 48 Line
2 x 32 Grenadiers elite
1 x foot battery, line
Vukassovich's Division
1 x 48 Grenzers conscript, fire as elite
1 x 32 LDW conscript
1 x 24 Hussars, line
1 x 24 uhlans, line
1 x foot battery, line
Corps artillery reserve
1 x 12lb foot battery, line
Cavalry Reserve Division, Liechenstein.
2 x 24 Curassiers
1 x 24 Dragoons
1 x 24 Uhlans
Once again lots of toys although not as beefy as the French and worse quality. I have made a couple of decisions on troop quality for this game namely that I dispensed with
2nd class and
veteran grades. The impact of this is that good troops are markedly better and poor troops are really pretty crap. The exception is a few French horse batteries who I graded
veteran as
elite is really a bit too strong. There were no
Guard troops in the game so that didn't matter much. The Grenzers I graded as
Conscripts for morale and melee but allowed them to fire as
elites, two extremes I know and in truth it didn't really matter once "le merde hit le fan"!
We rolled for each general's ability unless stated, we allowed the Austrians only one
excellent general re-rolling any subsequent
excellent results.
Back to the battle...
 |
Ludwig's Bavarian Italians are proceeded by skirmishers.
Perry plastic lights by Barry Hill, superbly based by me. |
 |
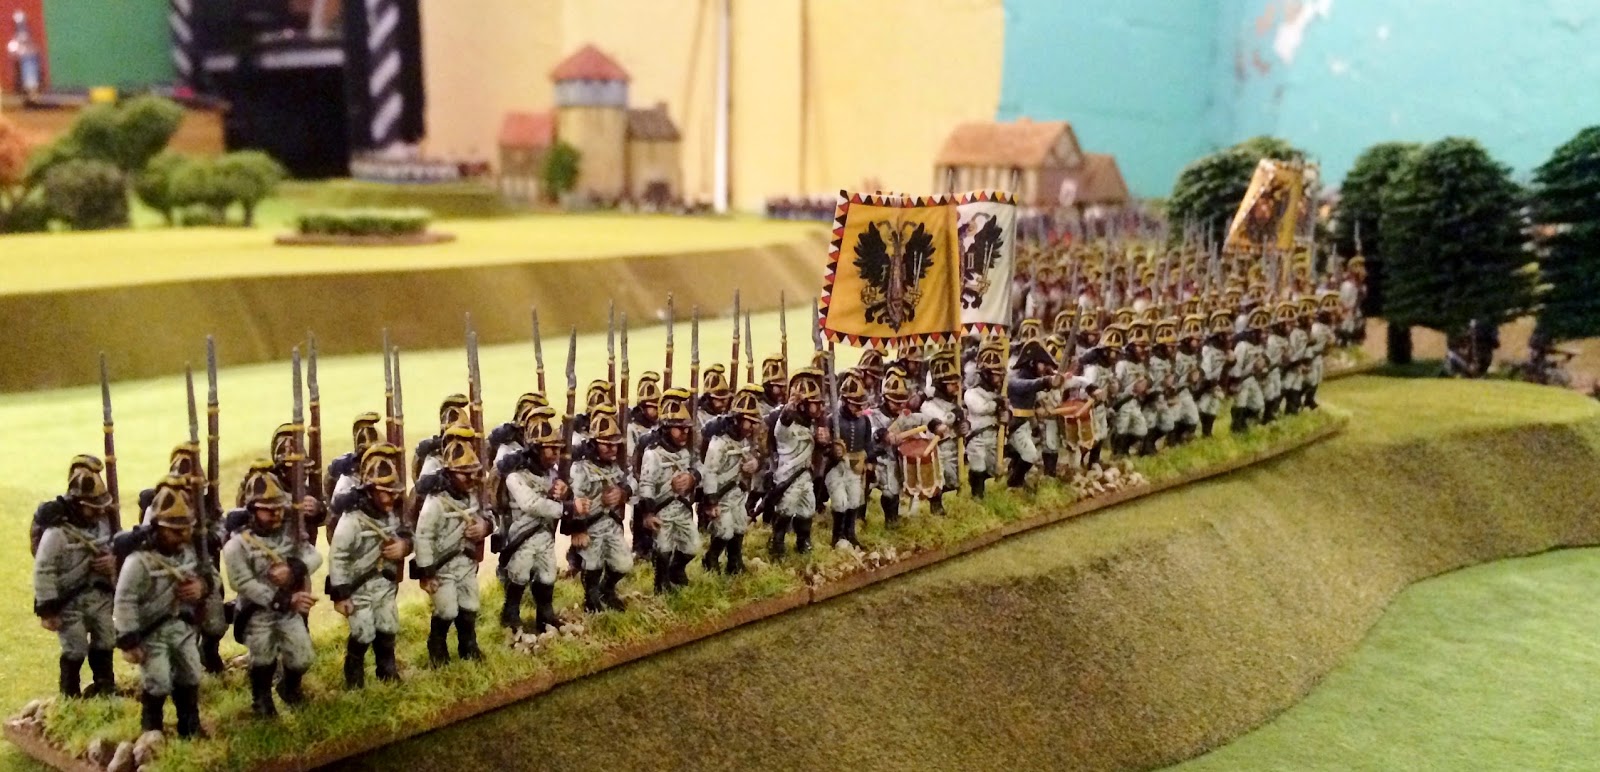
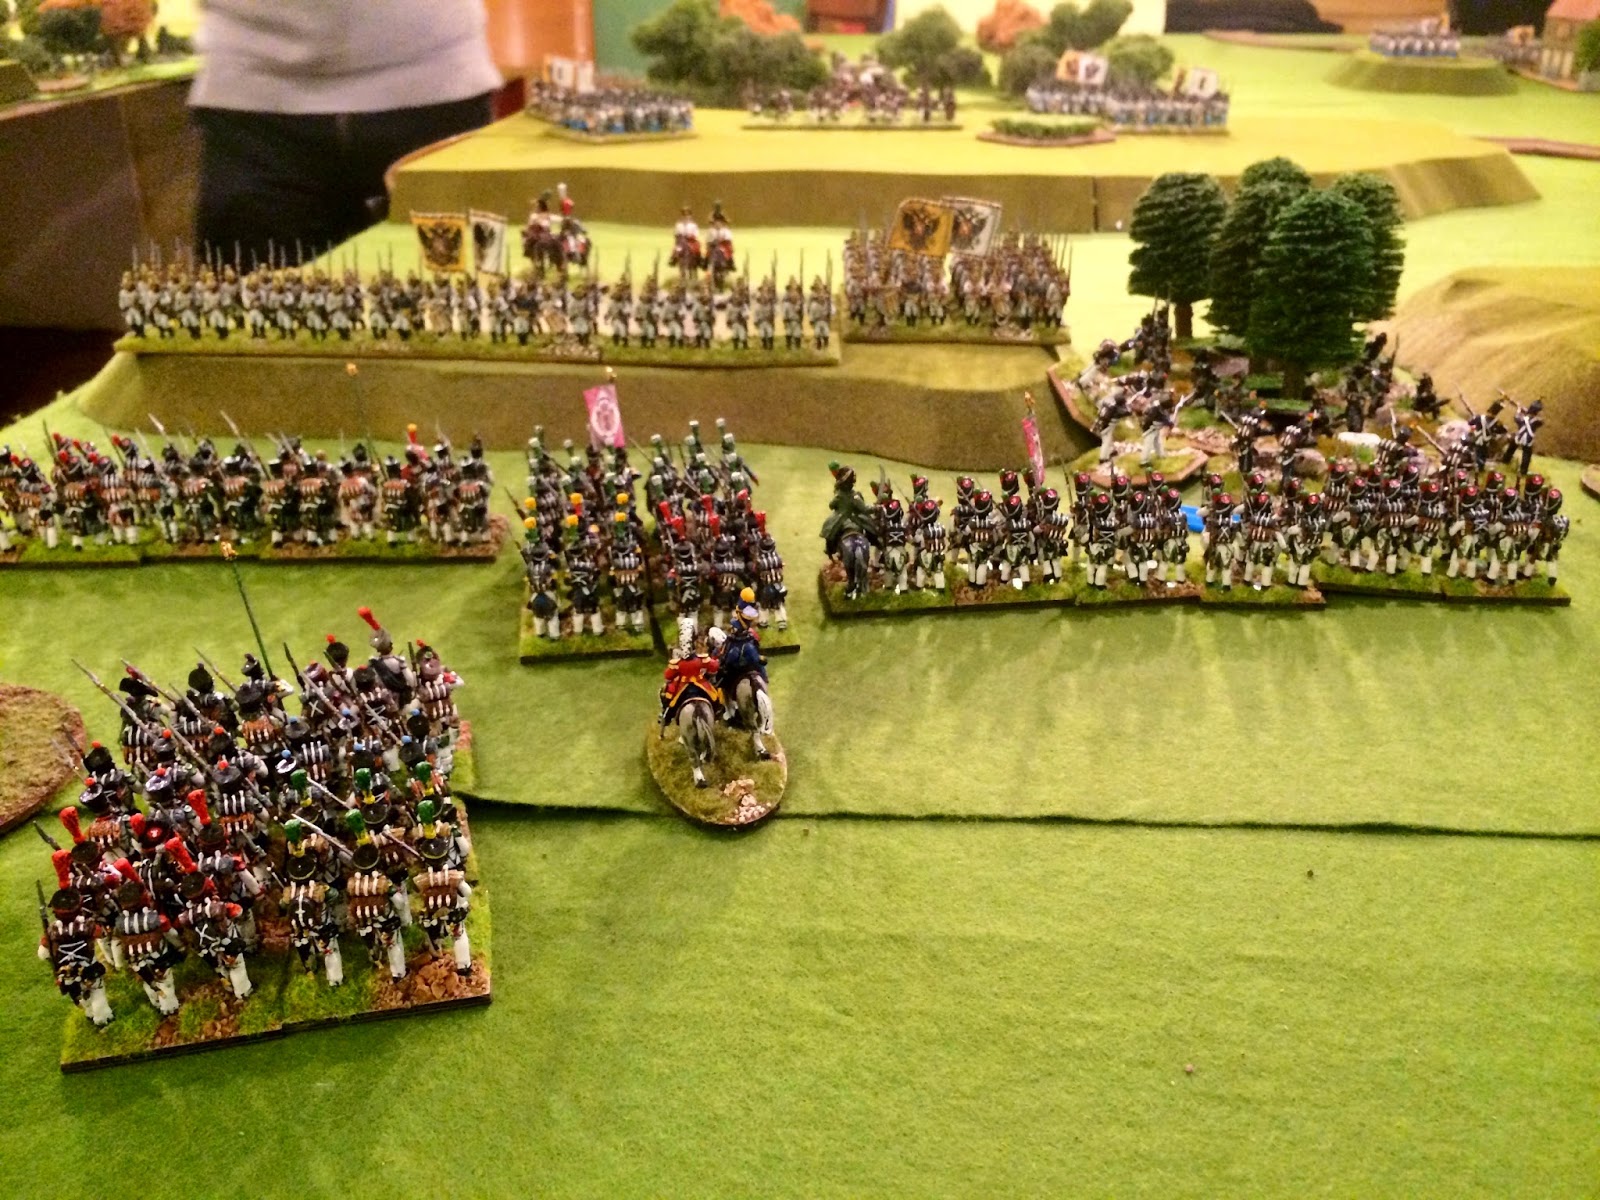
48 strong Austrian line lines the crest to receive the advancing invaders, just one good volley could cause mayhem.
Victrix plastics by Barry Hill, GMB flags. These are Chris's. |
 |
The same regiment from the front. Rugging and Eggmuhl behind the Bettelberg on the far horizon,
Epic scale indeed. |
 |
First contact.
Pire's lights charge Somariva's cavalry battery, the crews flee for cover with the Grenzers in square.
The French 9th hussars overrun the battery and spike the guns.
The Austrian general's vignette suddenly looks inappropriately enthusiastic! |
 |
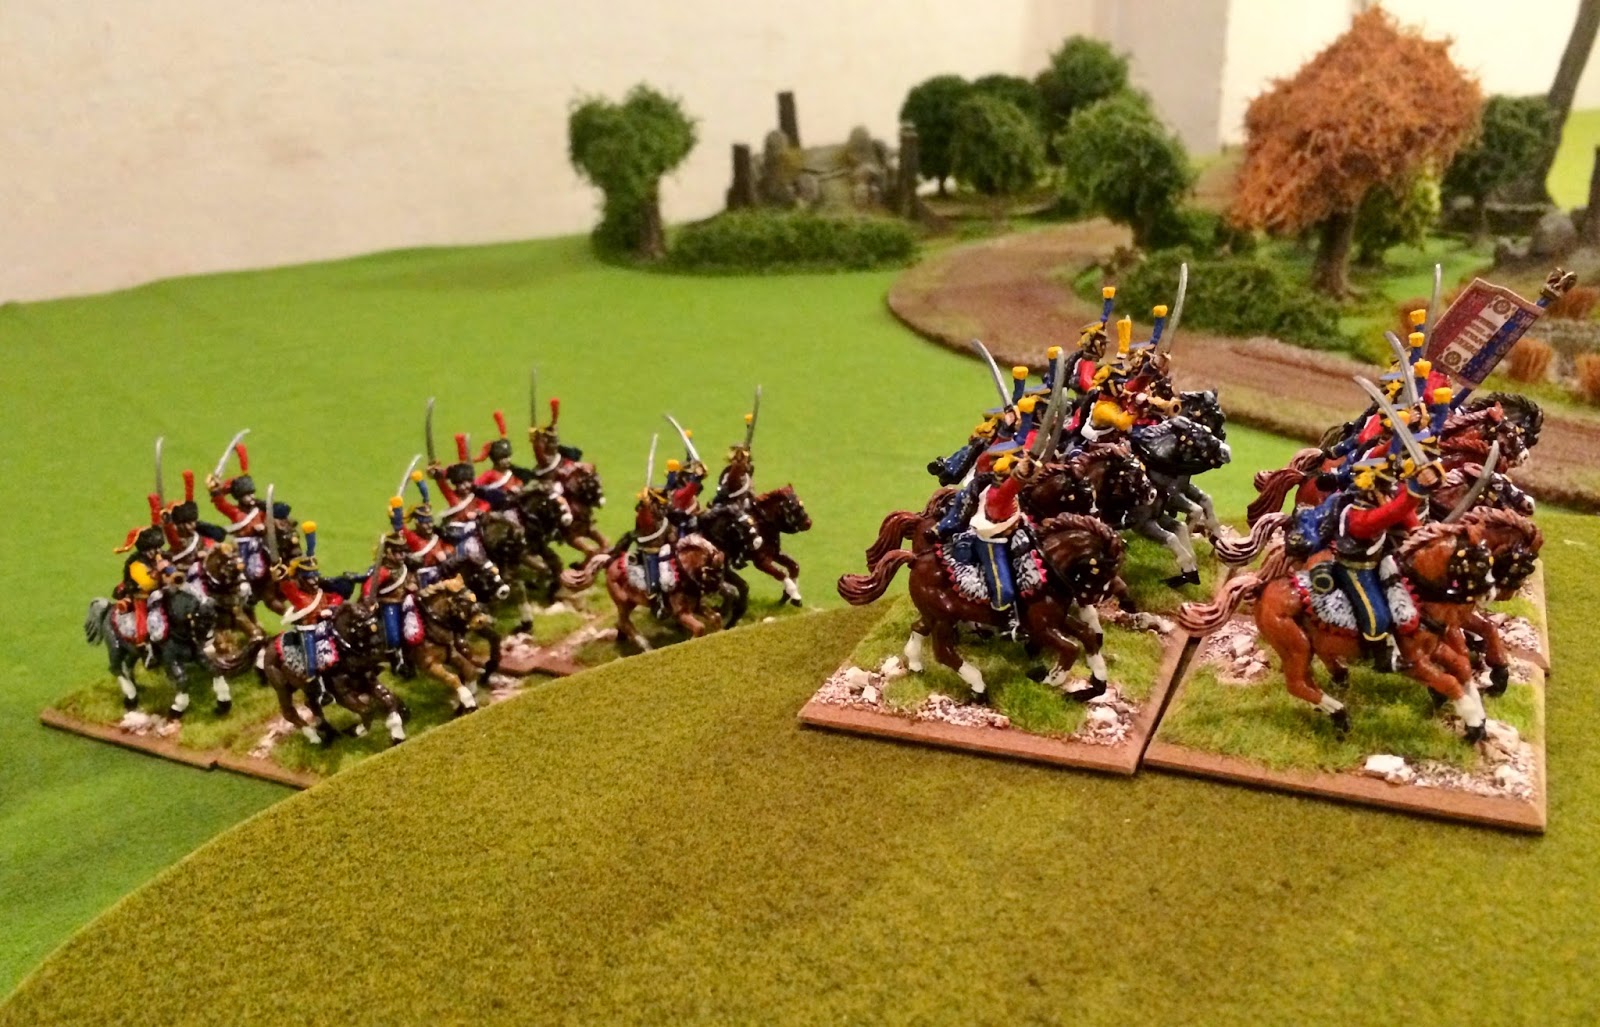
| Pire's 5th Hussars clash with Somariva's uhlans - the Schwarzenburg regiment behind Oberlaiching. |
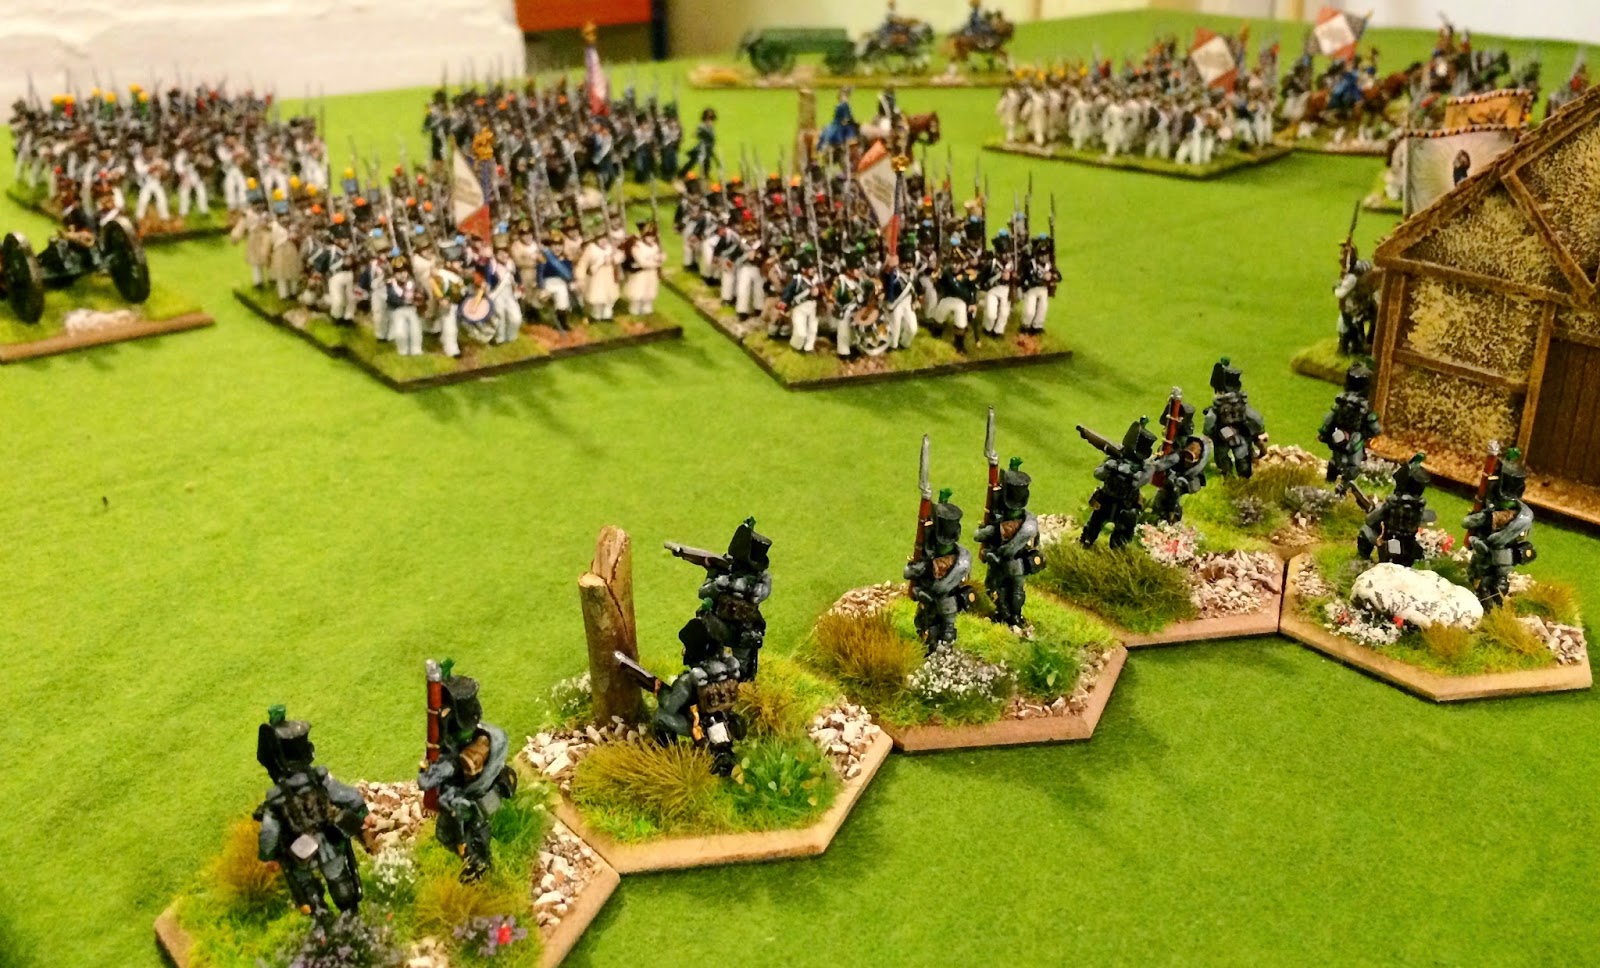 |
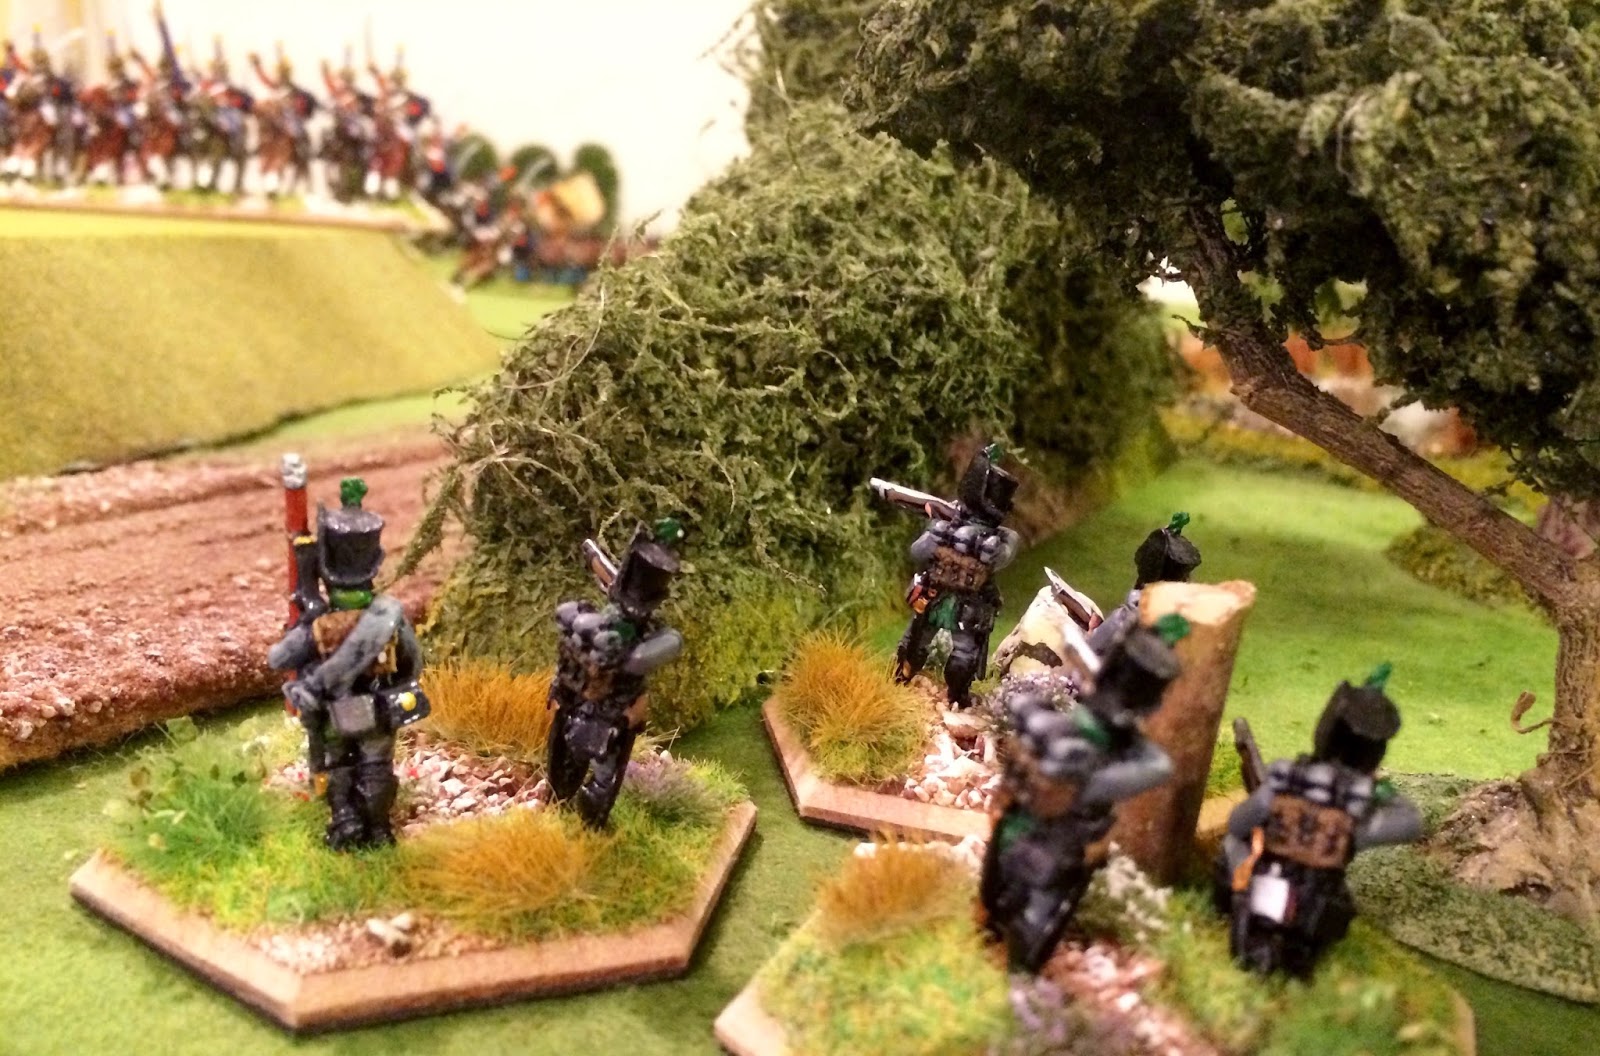
| Plucky Austrian jaeger take potshots at St Hilaire's advancing Frenchmen near Oberlaiching. |
 |
Lefebvre's grand battery banging away at Unterlaiching.
Quite a busy scene. |
 |
Bartenstein's Austrian line and Landwehr battalions with artillery support Unterlaiching from the Vorberg.
Seydewitz light cavalry advance past Schierling in the distance.
I love this church model, it's a real asset in my view. |
Some close ups...
 |
Austrian Landwehr from my collection form square to anchor the flank of the battery near Eggmuhl.
Victrix painted by Barry Hill, GMB flag. I wish I could tell you who these are, sorry. |
 |
Rich kit bashed these perry plastics to create French chasseurs a cheval, Barry Hill painted them.
These are from Seydewitz brigade. |
 |
| More of Seydewitz brigade, more Perry plastics by Barry Hill for Rich. |
 |
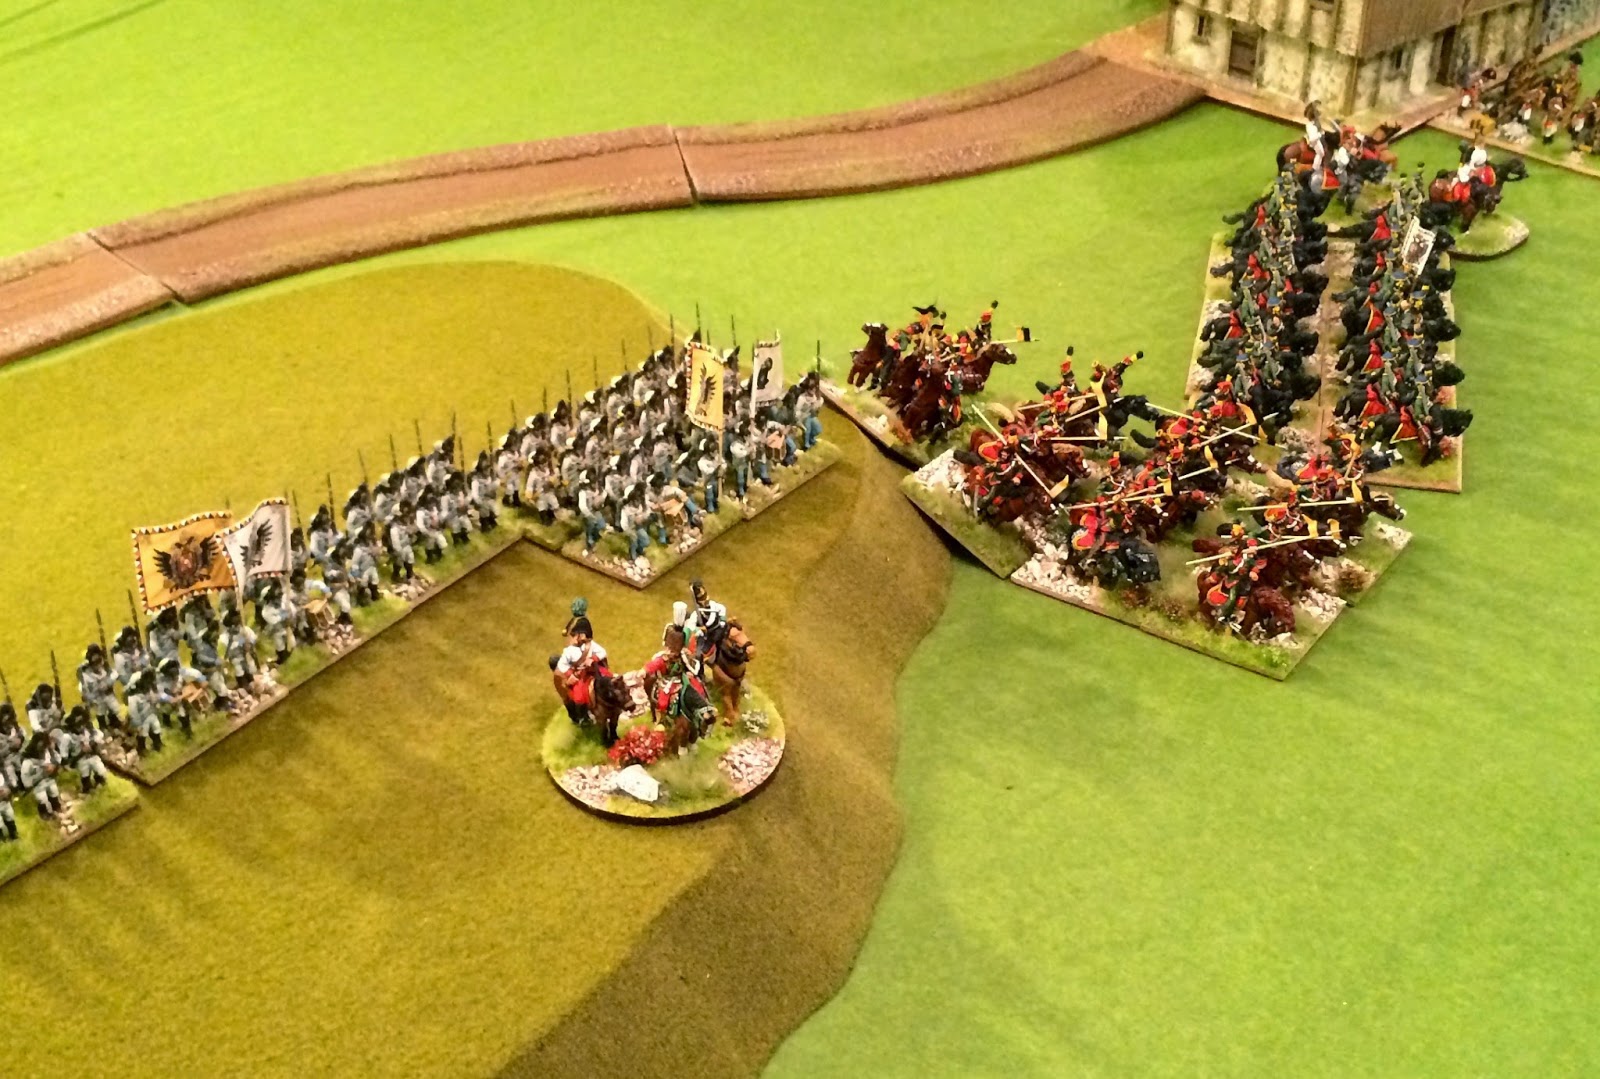
Saint Julien in the uniform of an officer of Austrian Cuirassiers with ADC near Rugging.
Connoisseur riders on Front Rank horses painted by Tony Laughton for me.
I simply love the crest on that helmet - I want one now! |
 |
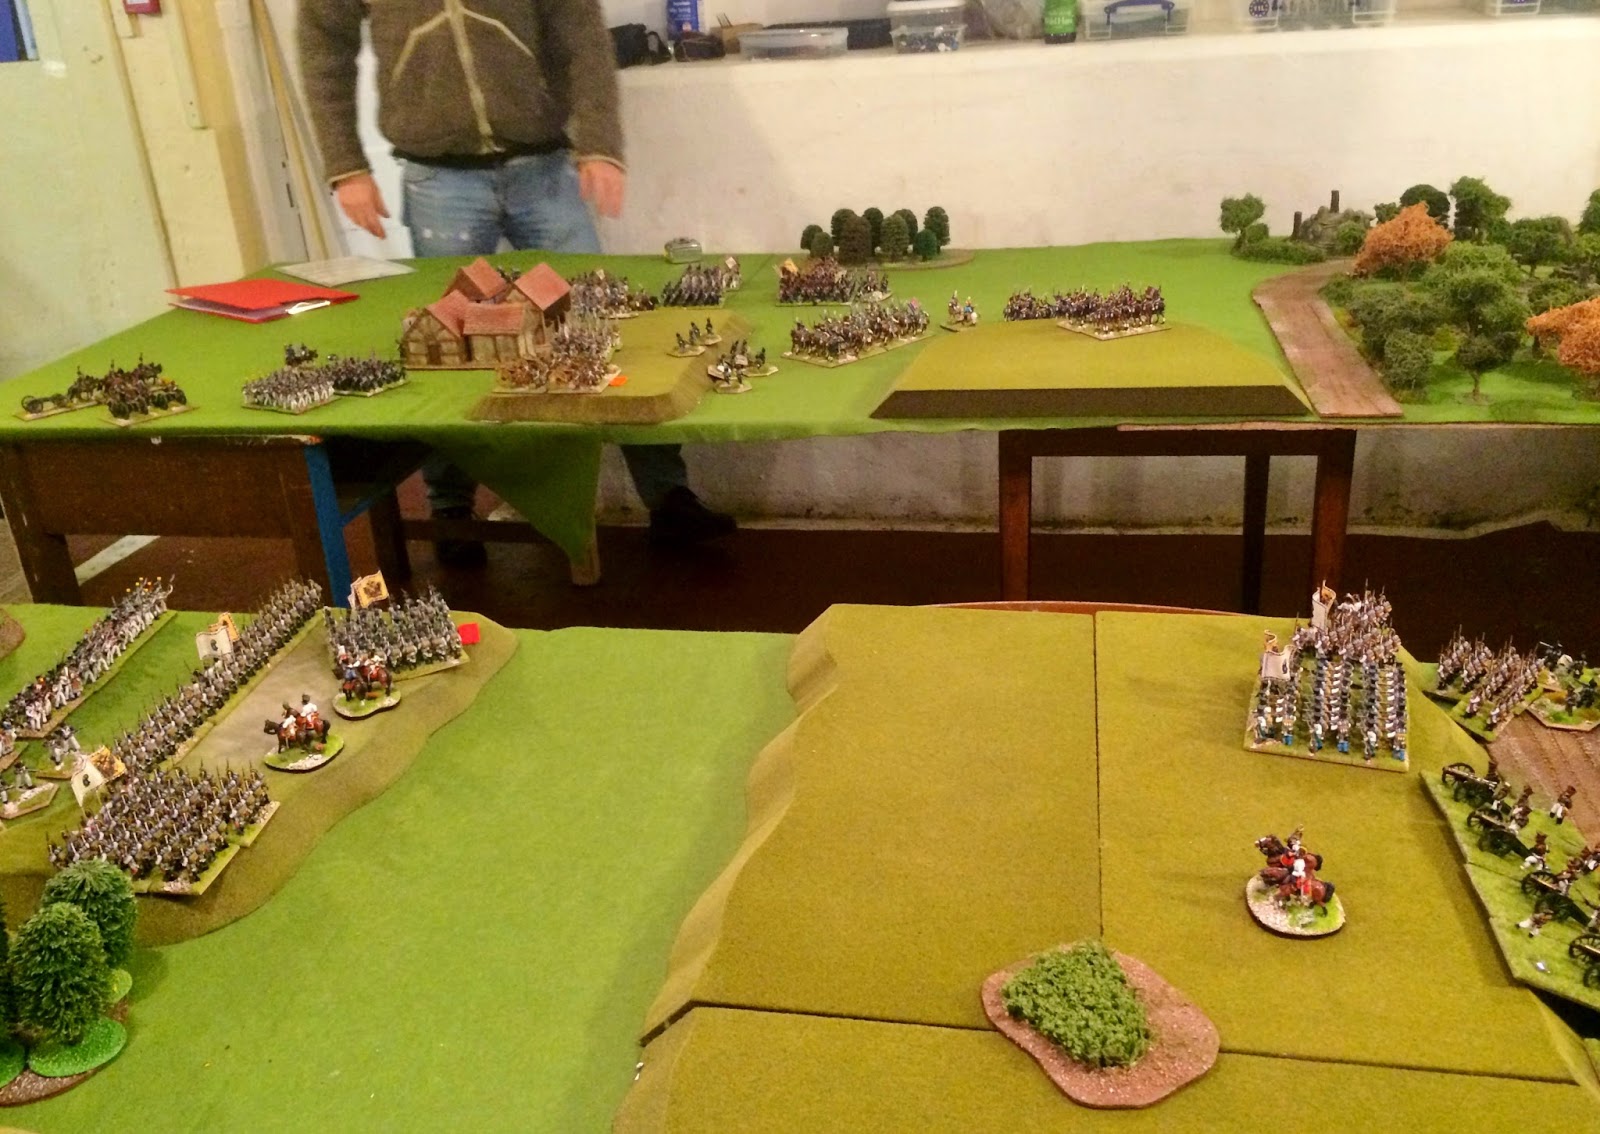
Tony surveys the scene after a few turns.
The very far corner behind him is the road to Regensburg and also the entry point for the Austrian reserve formations.
It also the exit point for the Austrians... |
 |
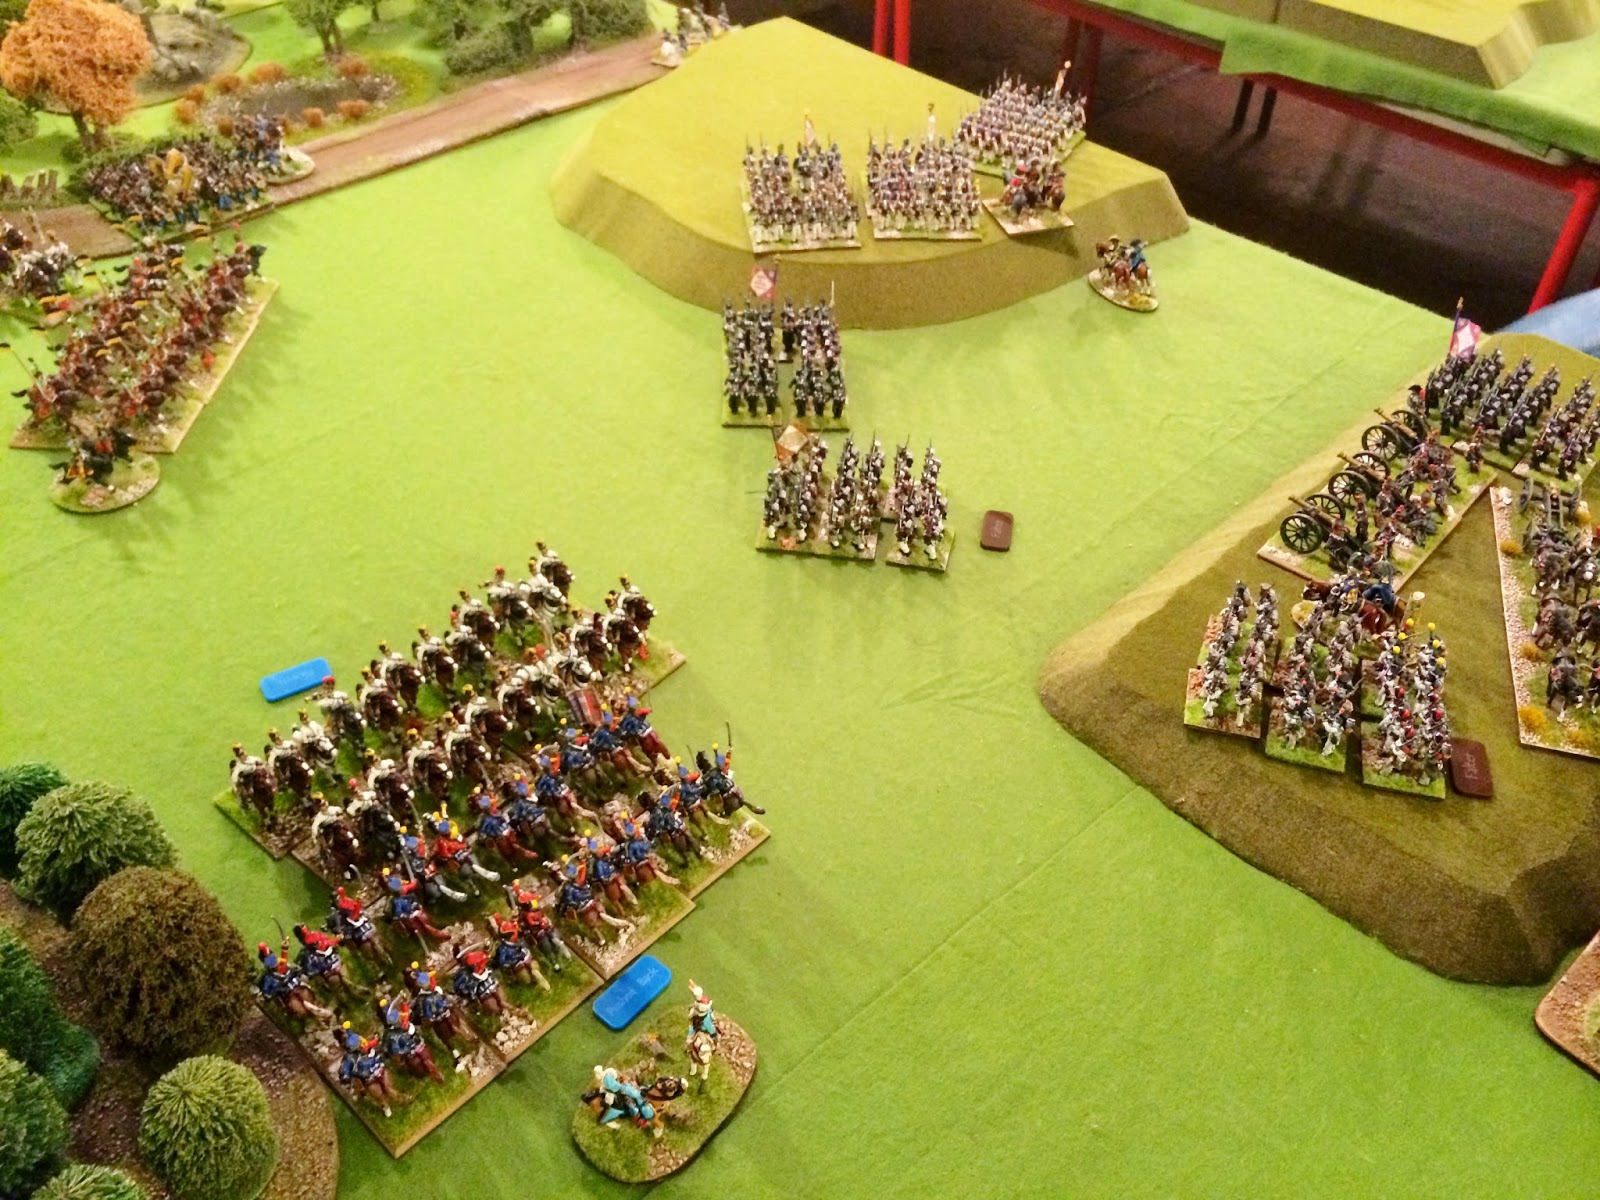
| Somariva's light brigade is in trouble, its guns overrun and spiked, the cavalry pushed back leaving an isolated square of Grenzers. This basically unhinges the Austrian right flank and spells doom for the garrison of Oberlaiching. |
 |
Looking over the forest across the Bettelberg towards Eggmuhl.
The flat meadows beyond the River Gross Laber in the distance seem strangely quiet and empty... |
 |
Pan left over the forest taking in Eggmuhl and Rugging.
The flat meadows of the Gross Laber River still seem strangely still and quiet...
Where is Lannes ponders the Austrian high command, or rather they don't wander anything like that!!!
Note the vast open space on the left, an ideal position for Austrian reinforcements to muster before moving off to support Rugging and Eggmuhl - if only! |
 |
| Davout's divisions are isolating Oberlaiching, effectively sealing it's fate without assaulting it. |
 |
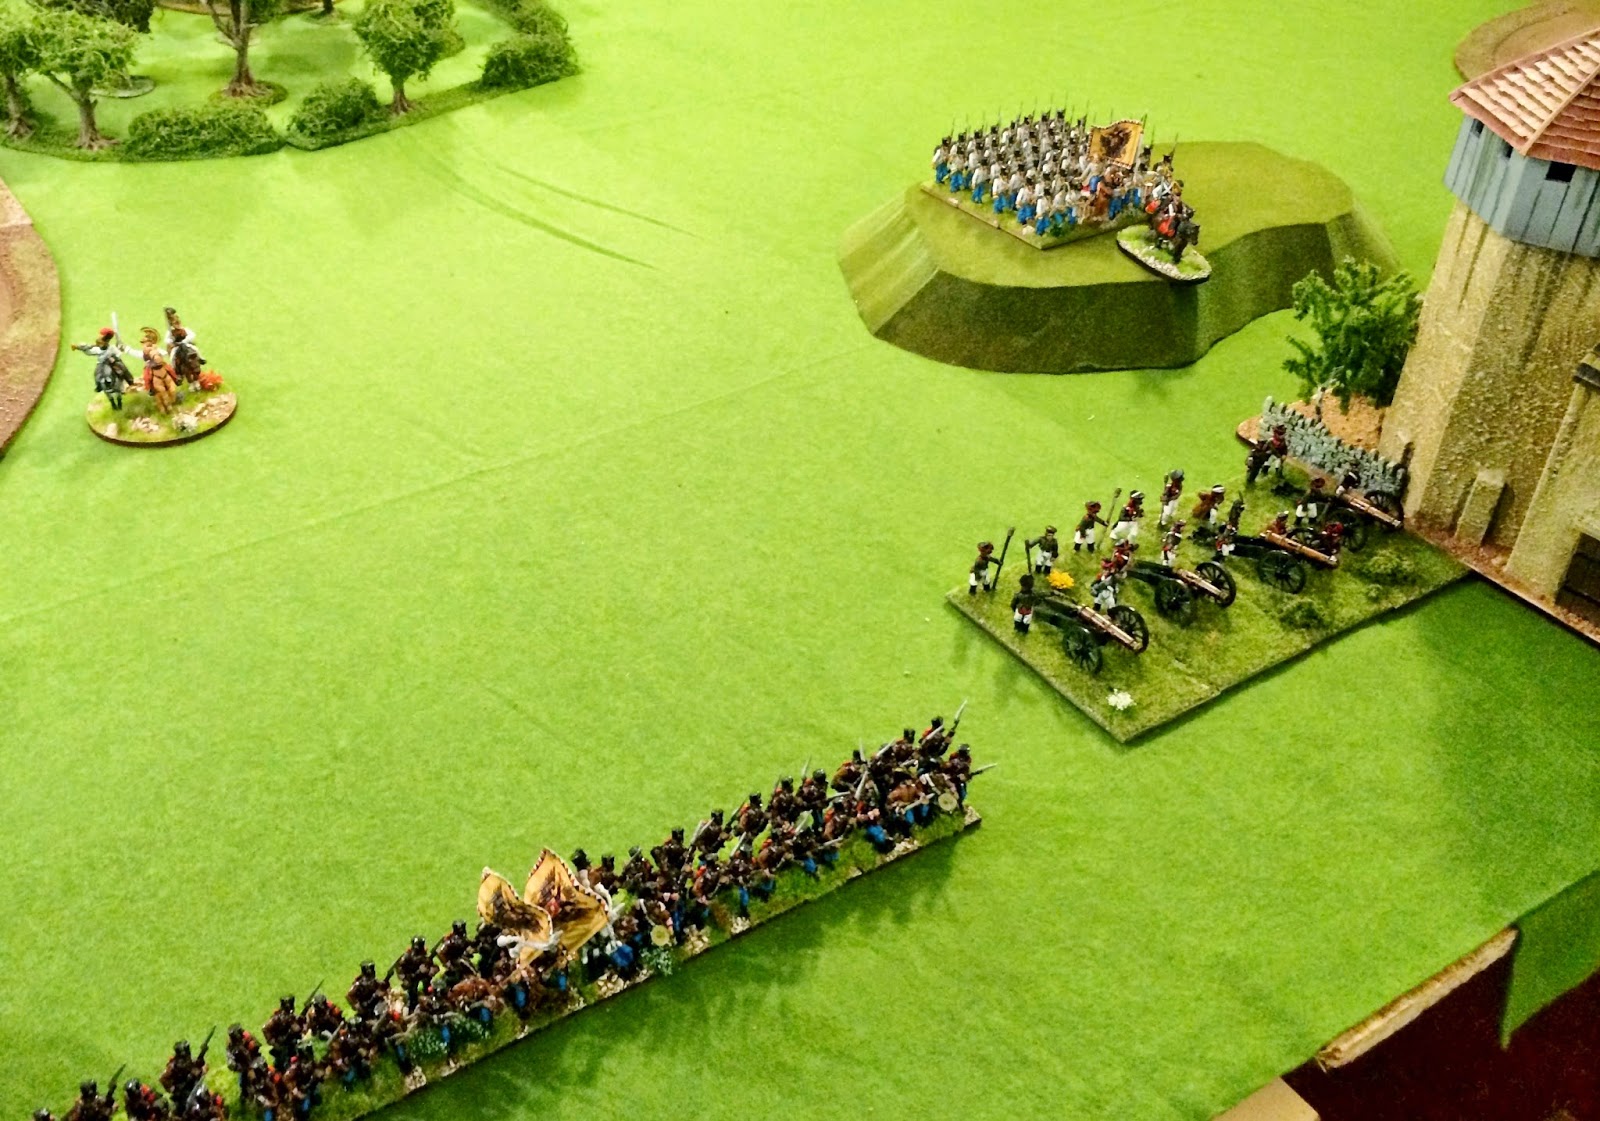
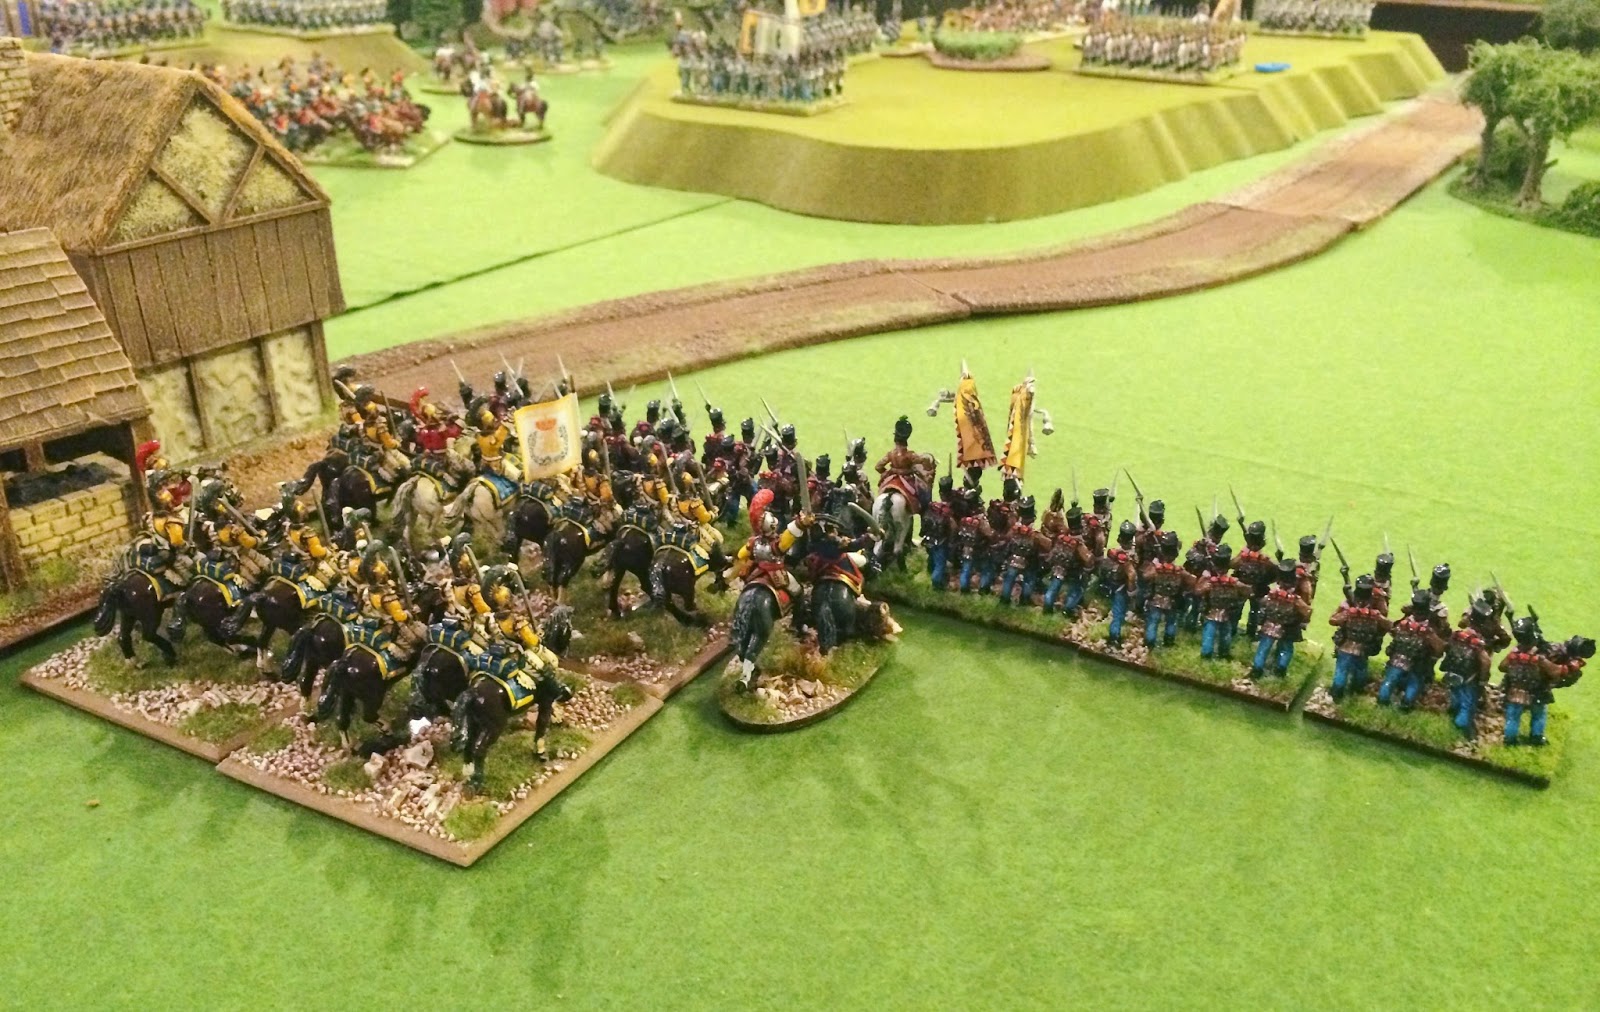
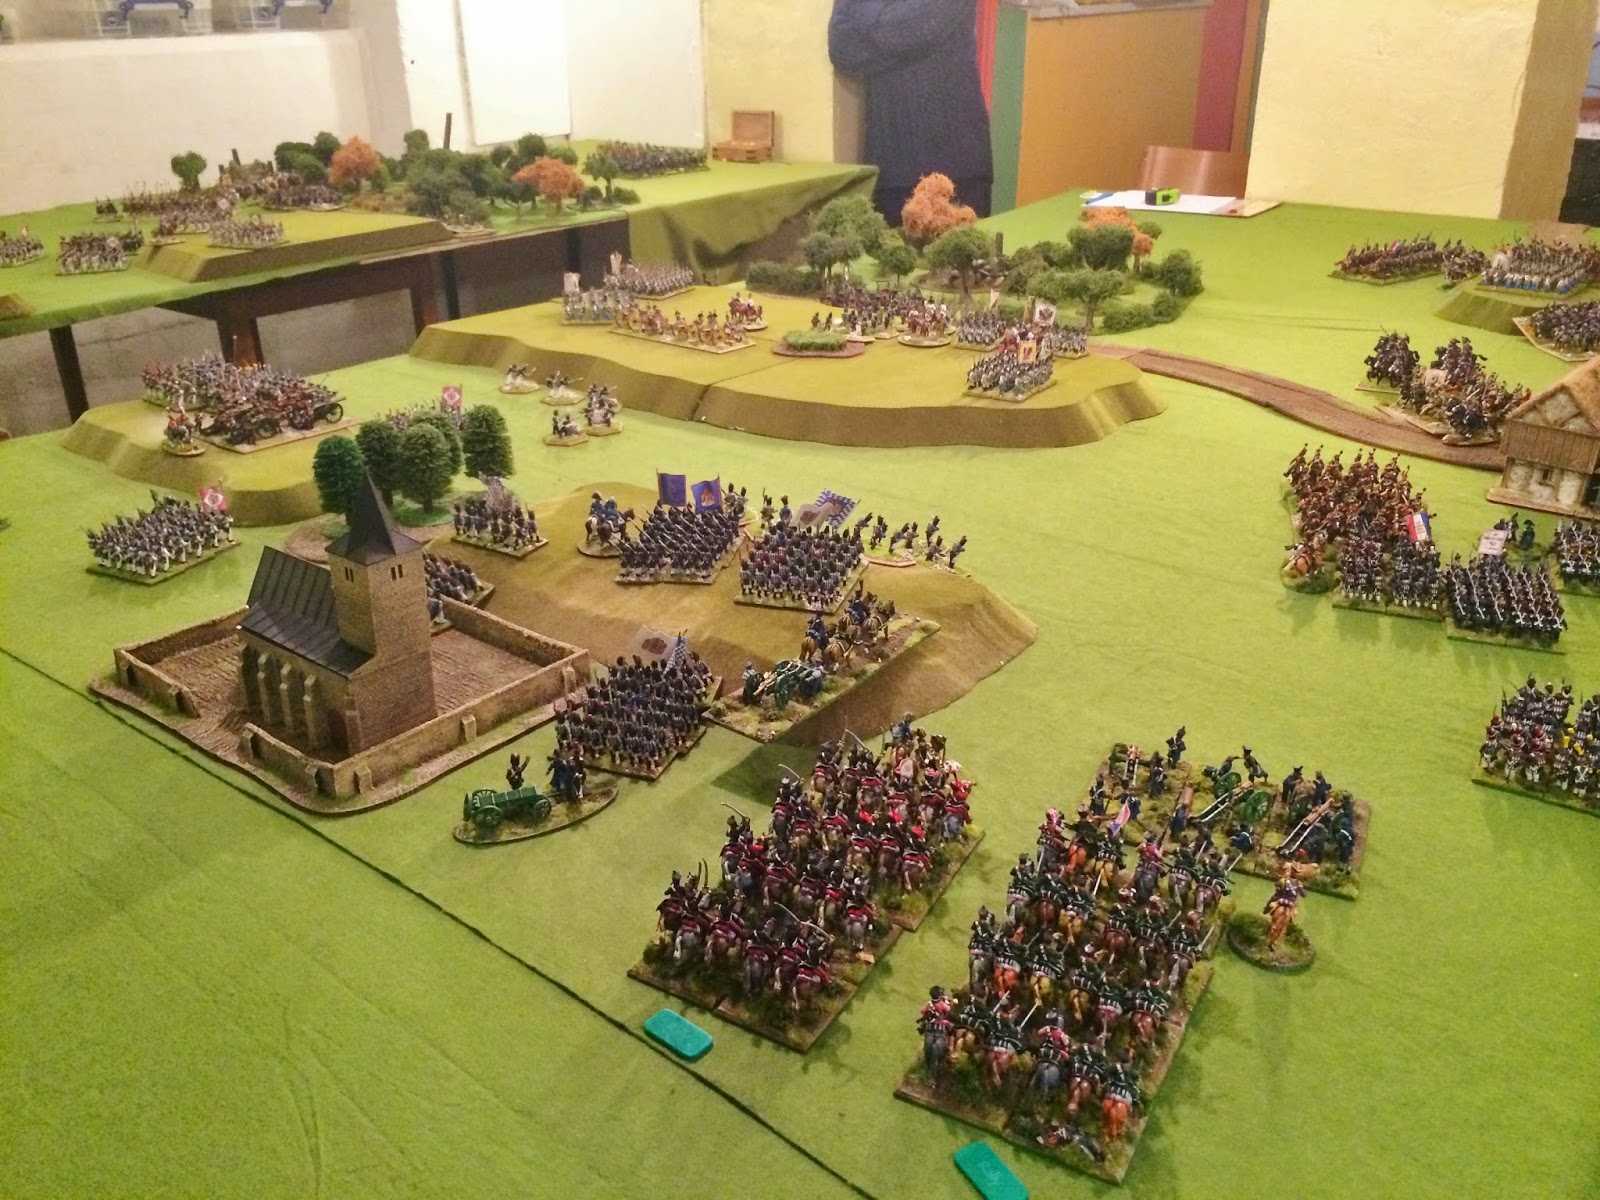
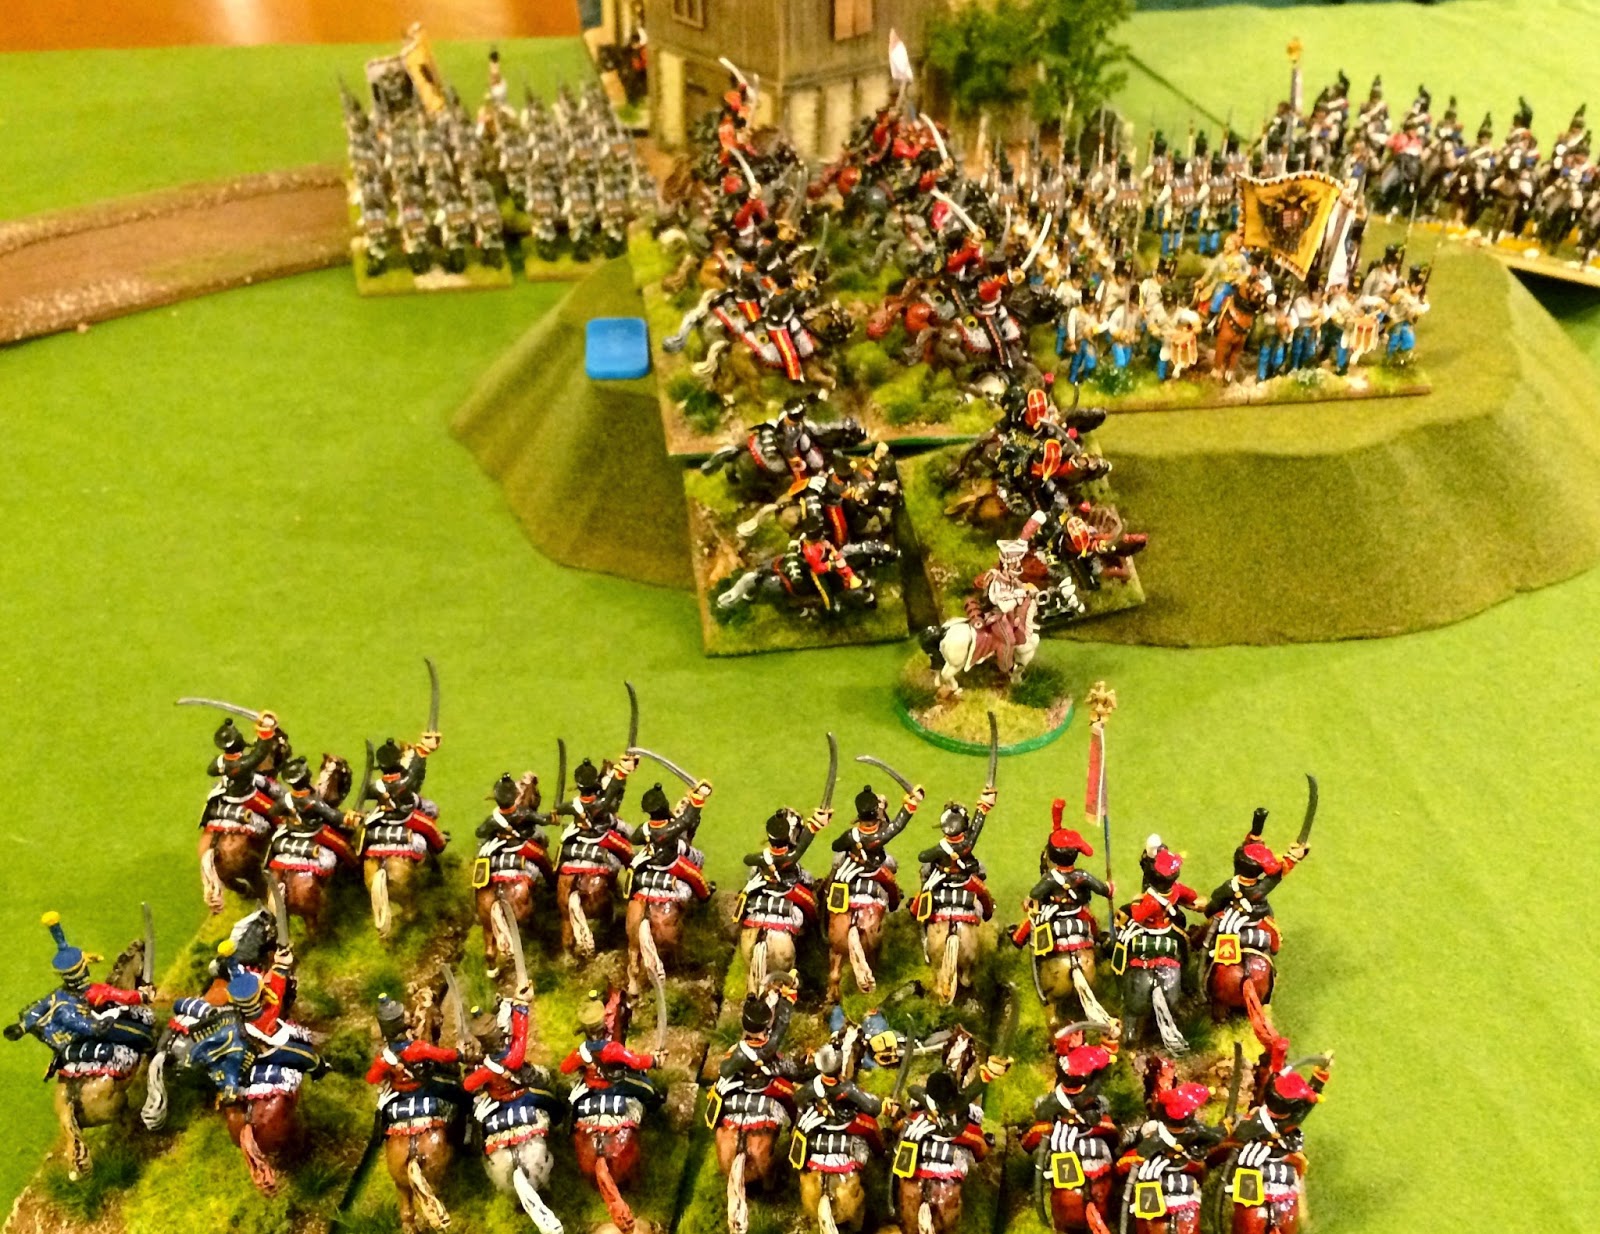
Oh good, French Cuirassiers from Lannes' Corps arrive opposite Rugging and Eggmuhl.
These are Poles and Saxons from my collection. Fuzzy shot - soz.
The banks of the Gross Laber are quiet no more and St Julien will not get a quiet day after all... |
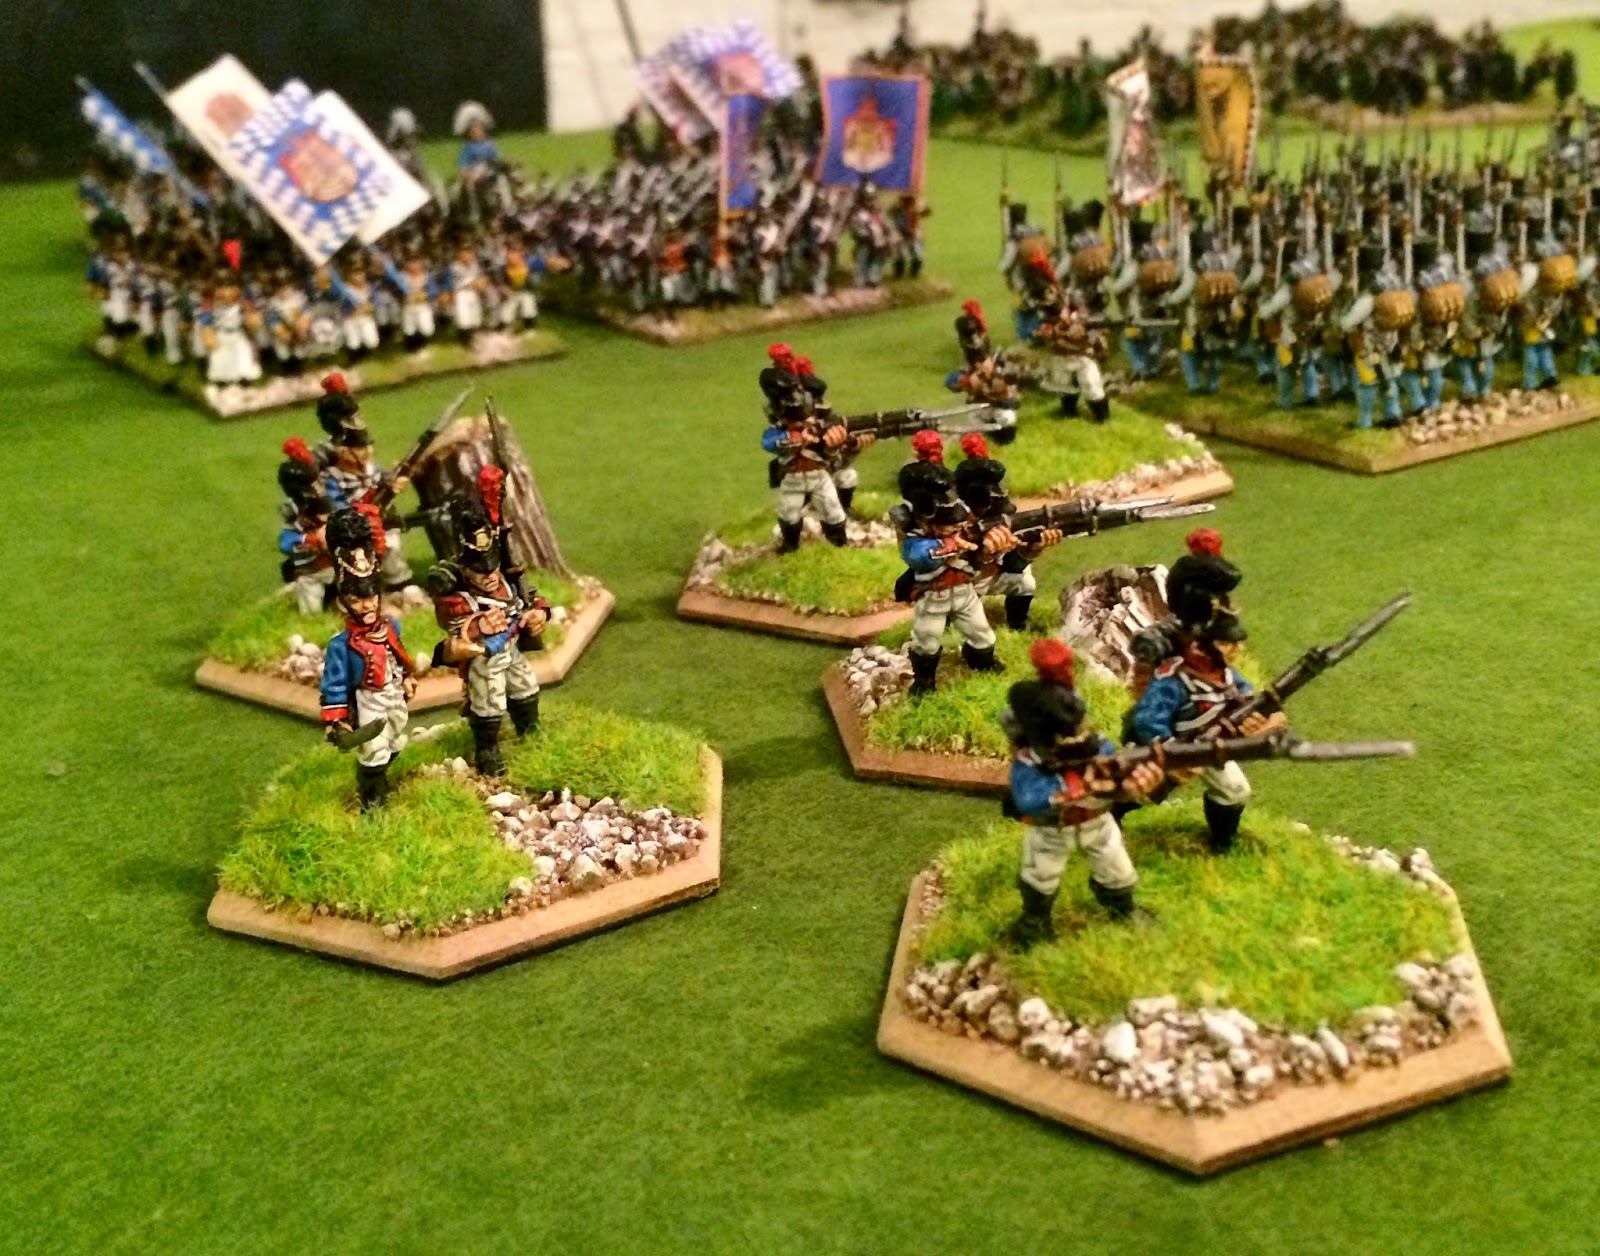 |
| Pretty Foundry Bavarian skirmishers snipe while the formed troops square off with a massive Hungarian battalion behind. |
 |
| Lusignan's division is revealed behind the Bettelberg as French hussars chase Austrian uhlans away. |
 |
Ludwig's columns approach Dedovich's Austrians on the slopes.
The generals in the foreground point to some commotion to the right - their flank has been obliterated.
"Oh shite." |
 |
| French 5th Hussars chasing the vanquished Schwarzenburg uhlans around the Bettelburg. |
 |
| French 9th Hussars on the rampage gain the crest of the Bettelburg revealing the concealed division of Lusignan. |
 |
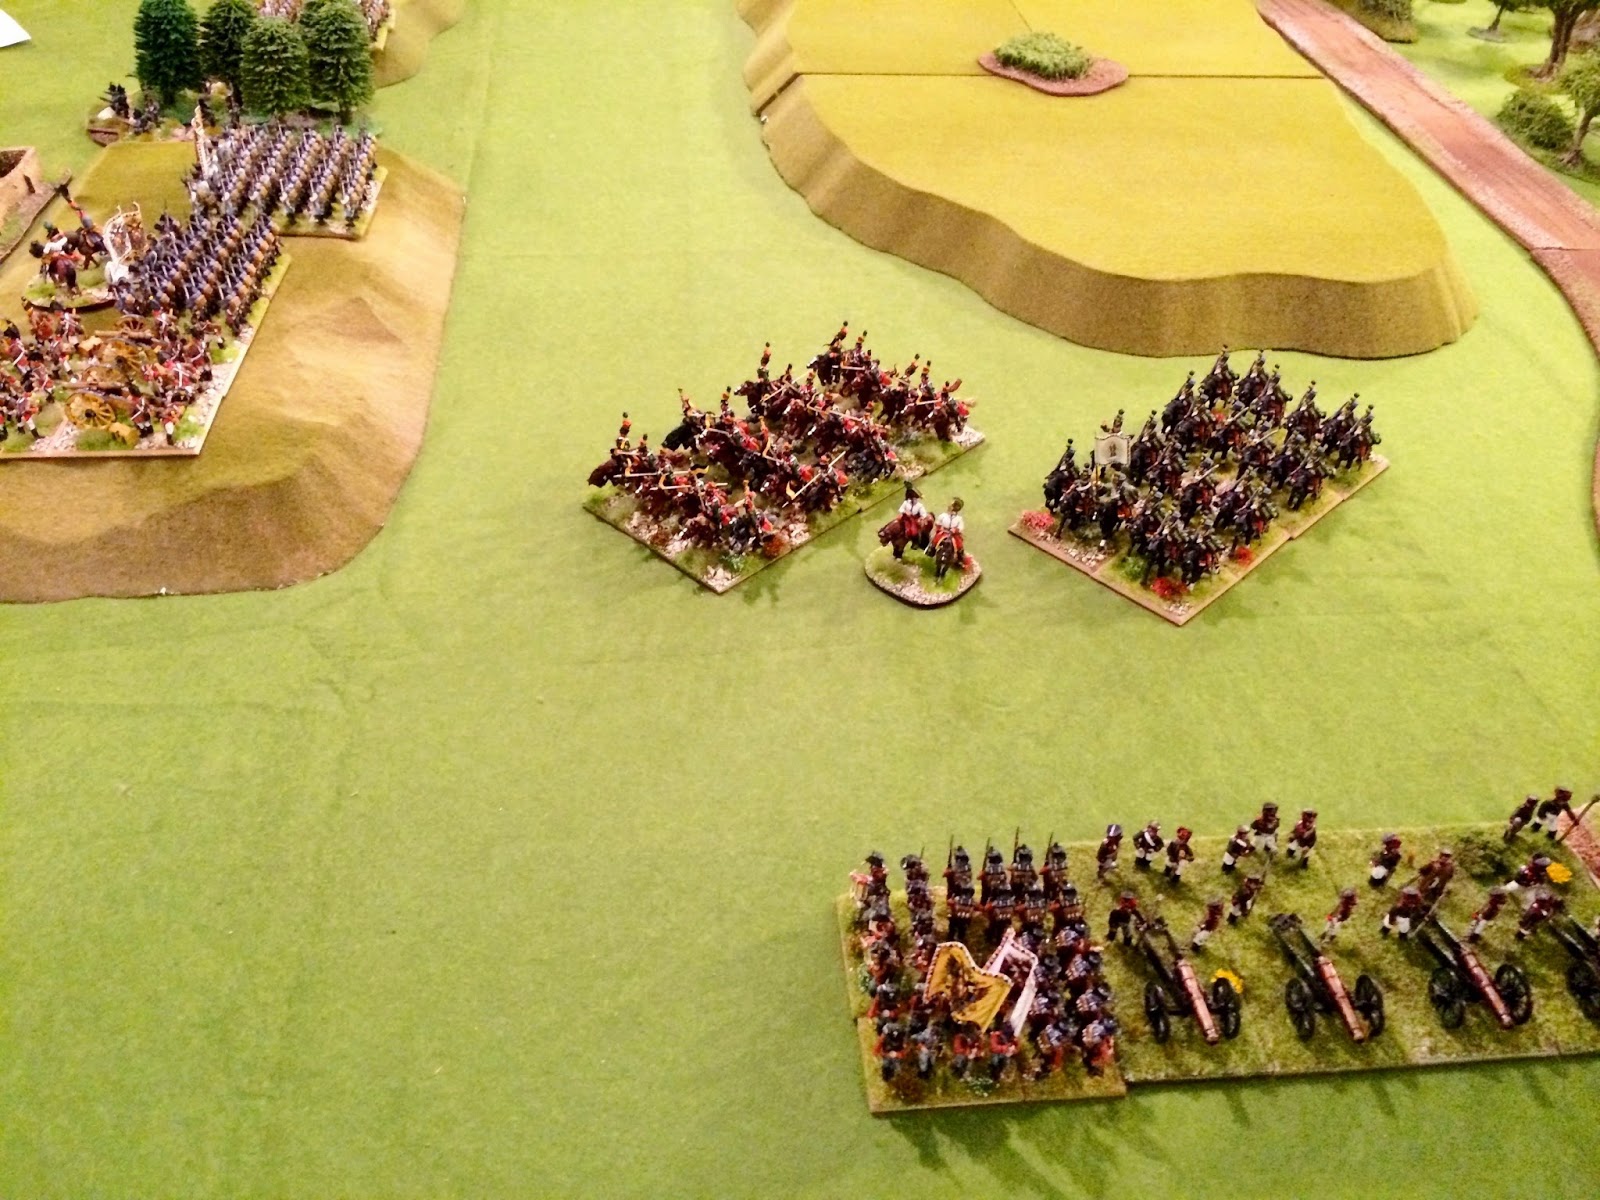
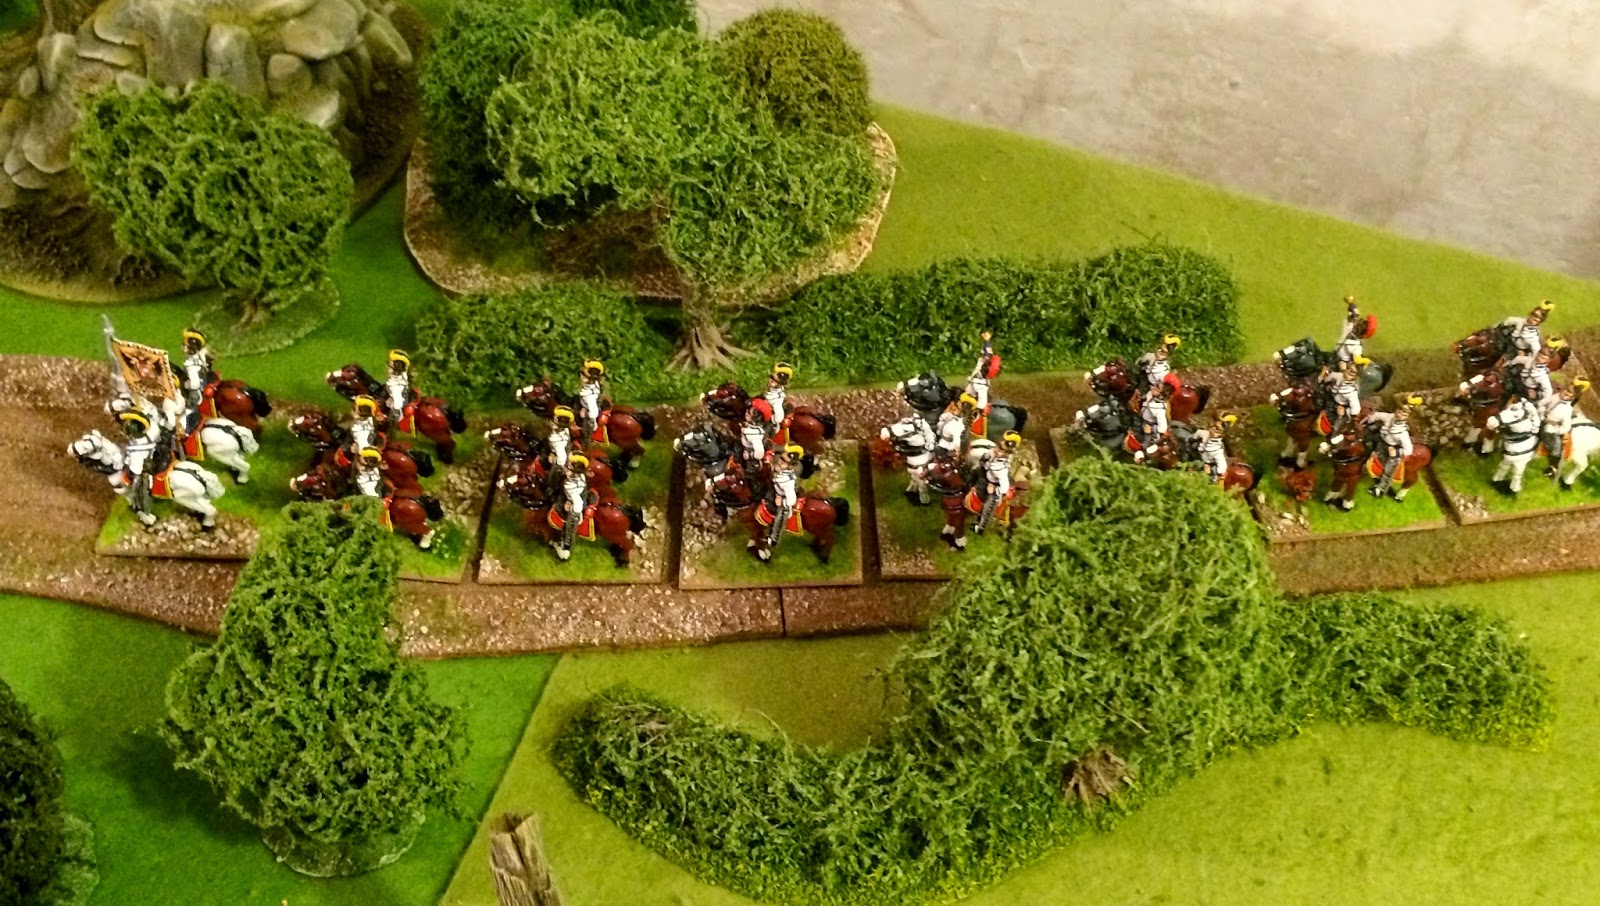
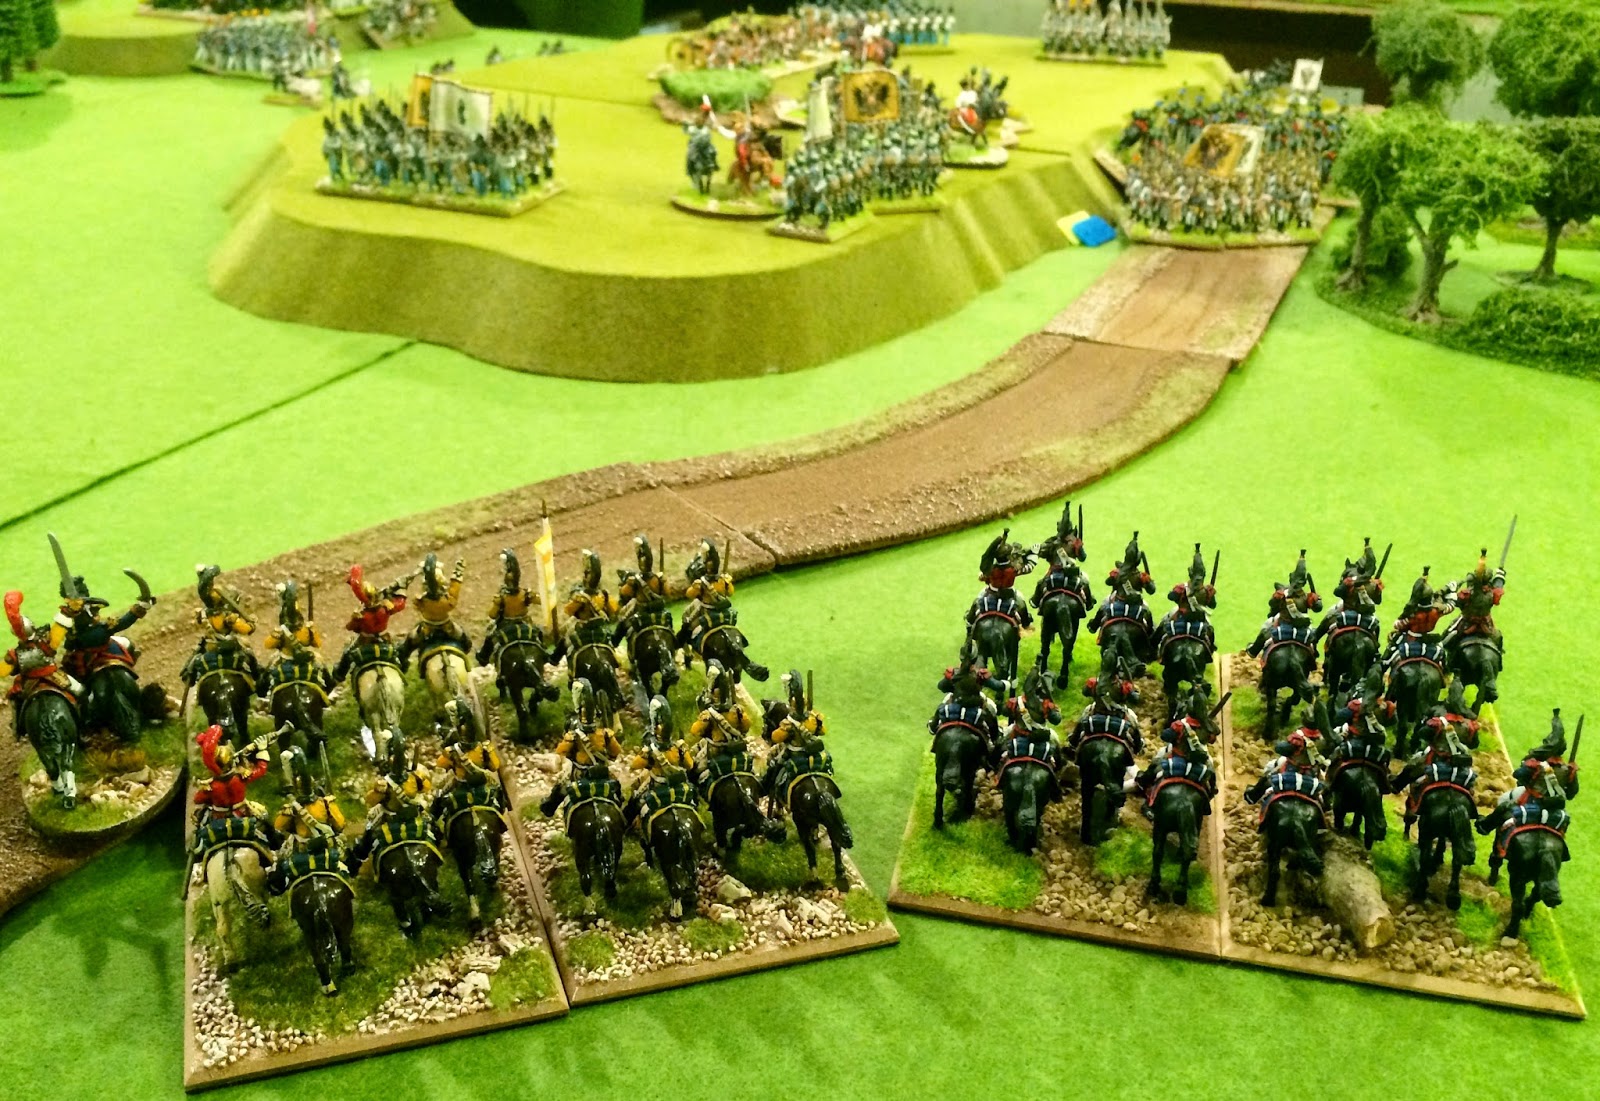
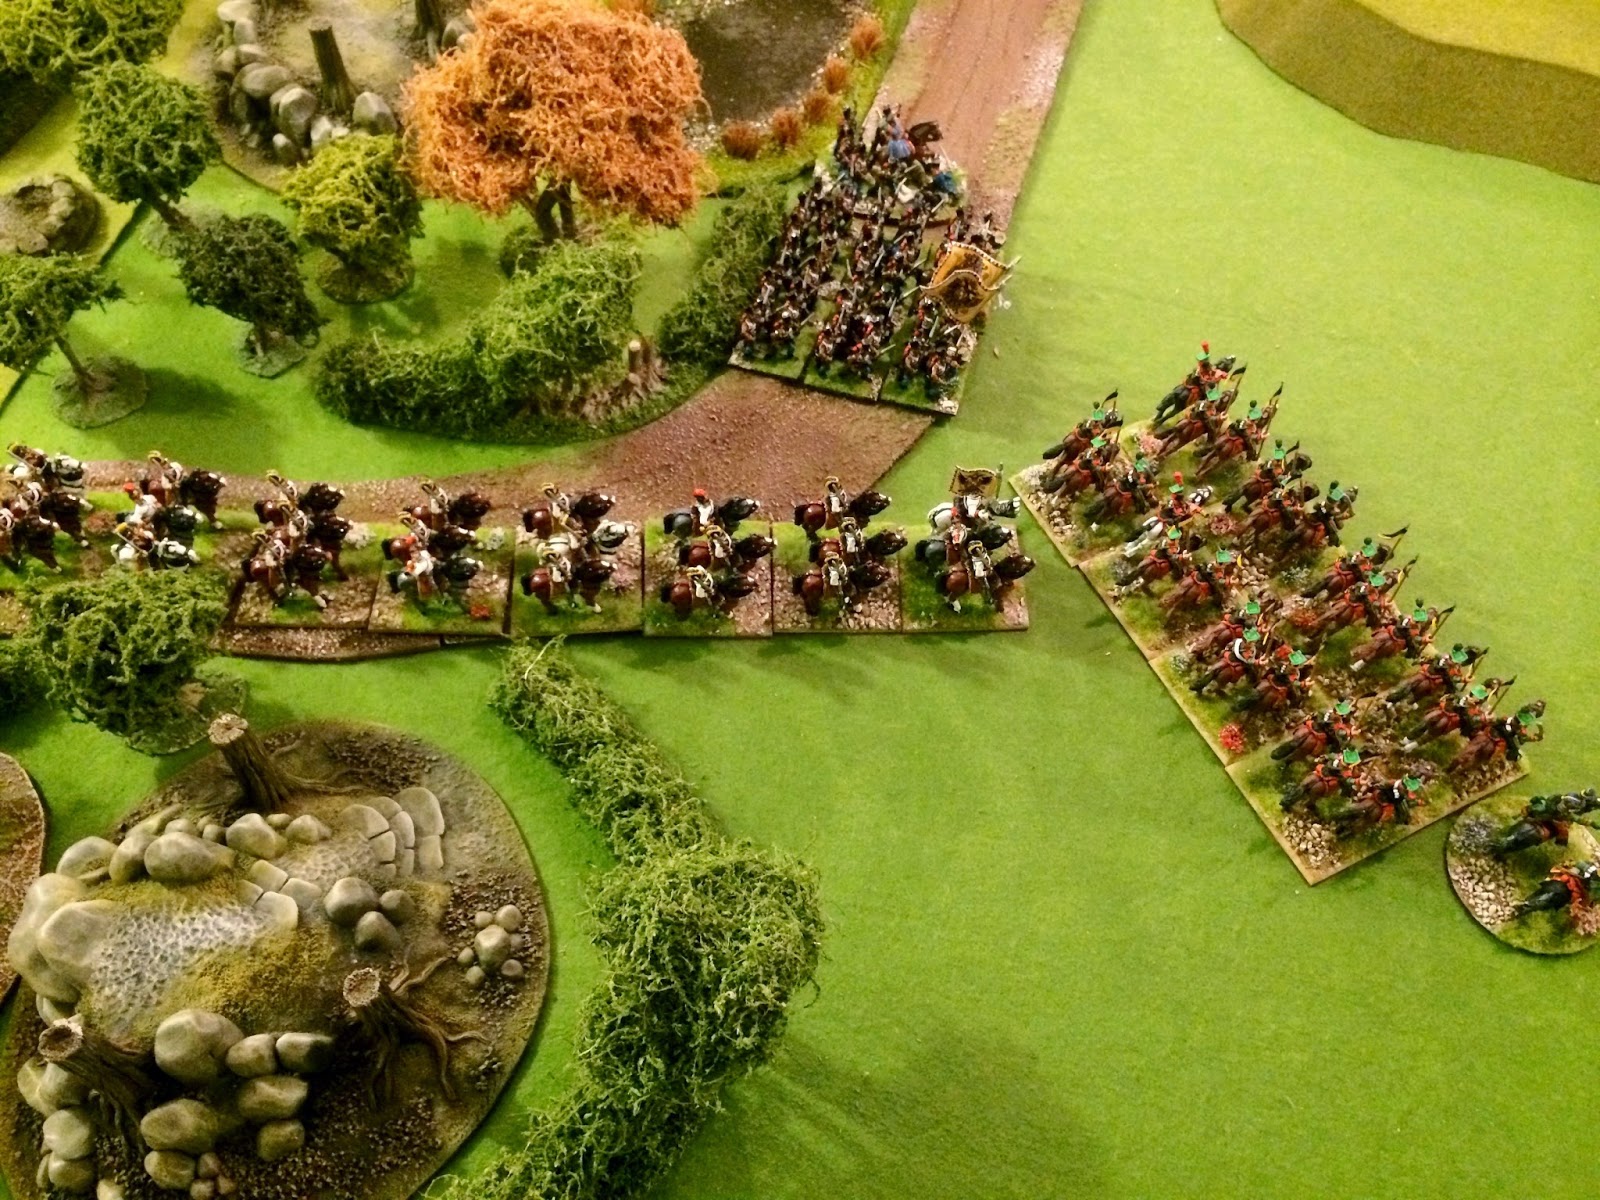
| Lannes light cavalry under Maruluz approach the bridge at Rugging while heavies & horse guns drive on in the back ground. |
 |
Those uhlans just kept running.
Eventually we recycled them with part of the reserves! |
 |
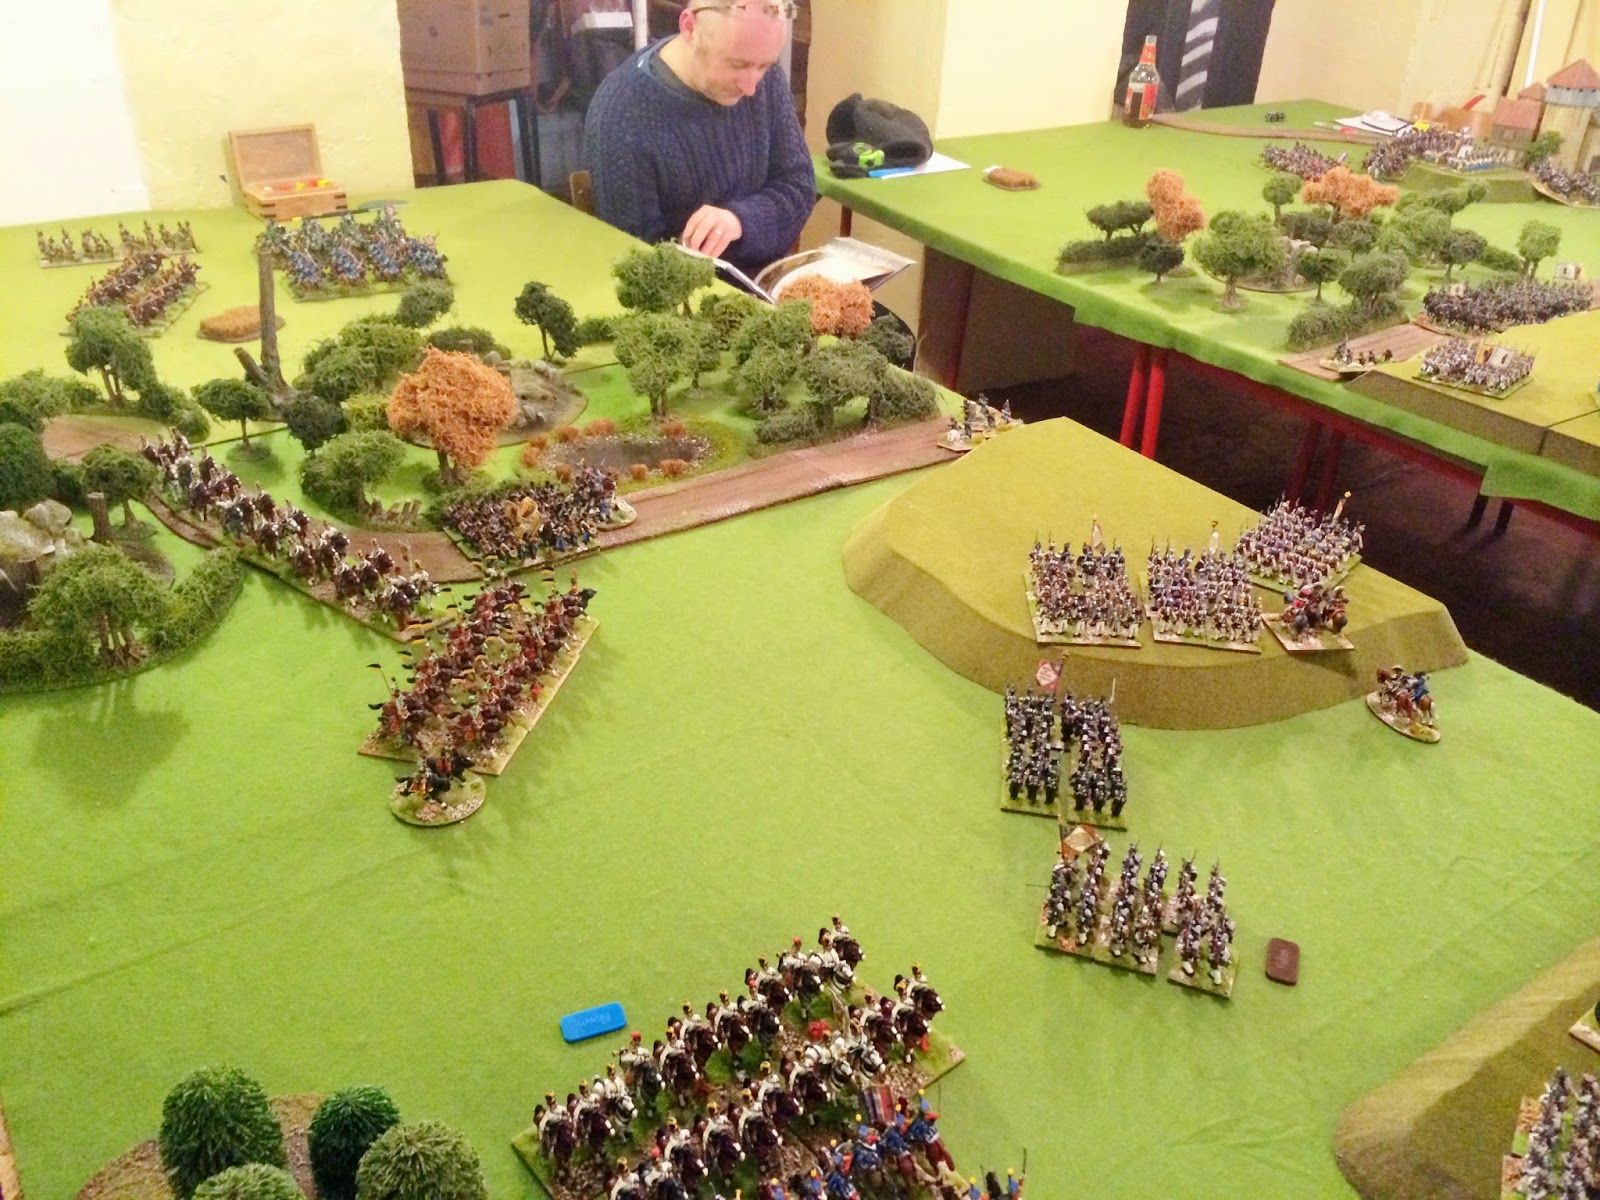
| Here we see the Bettelberg with Austrians moving up and the French popping up on the top end. |
 |
| Austrian uhlans face off against French lights near the Vorberg as French attacks mount on Unterlaiching. |
 |
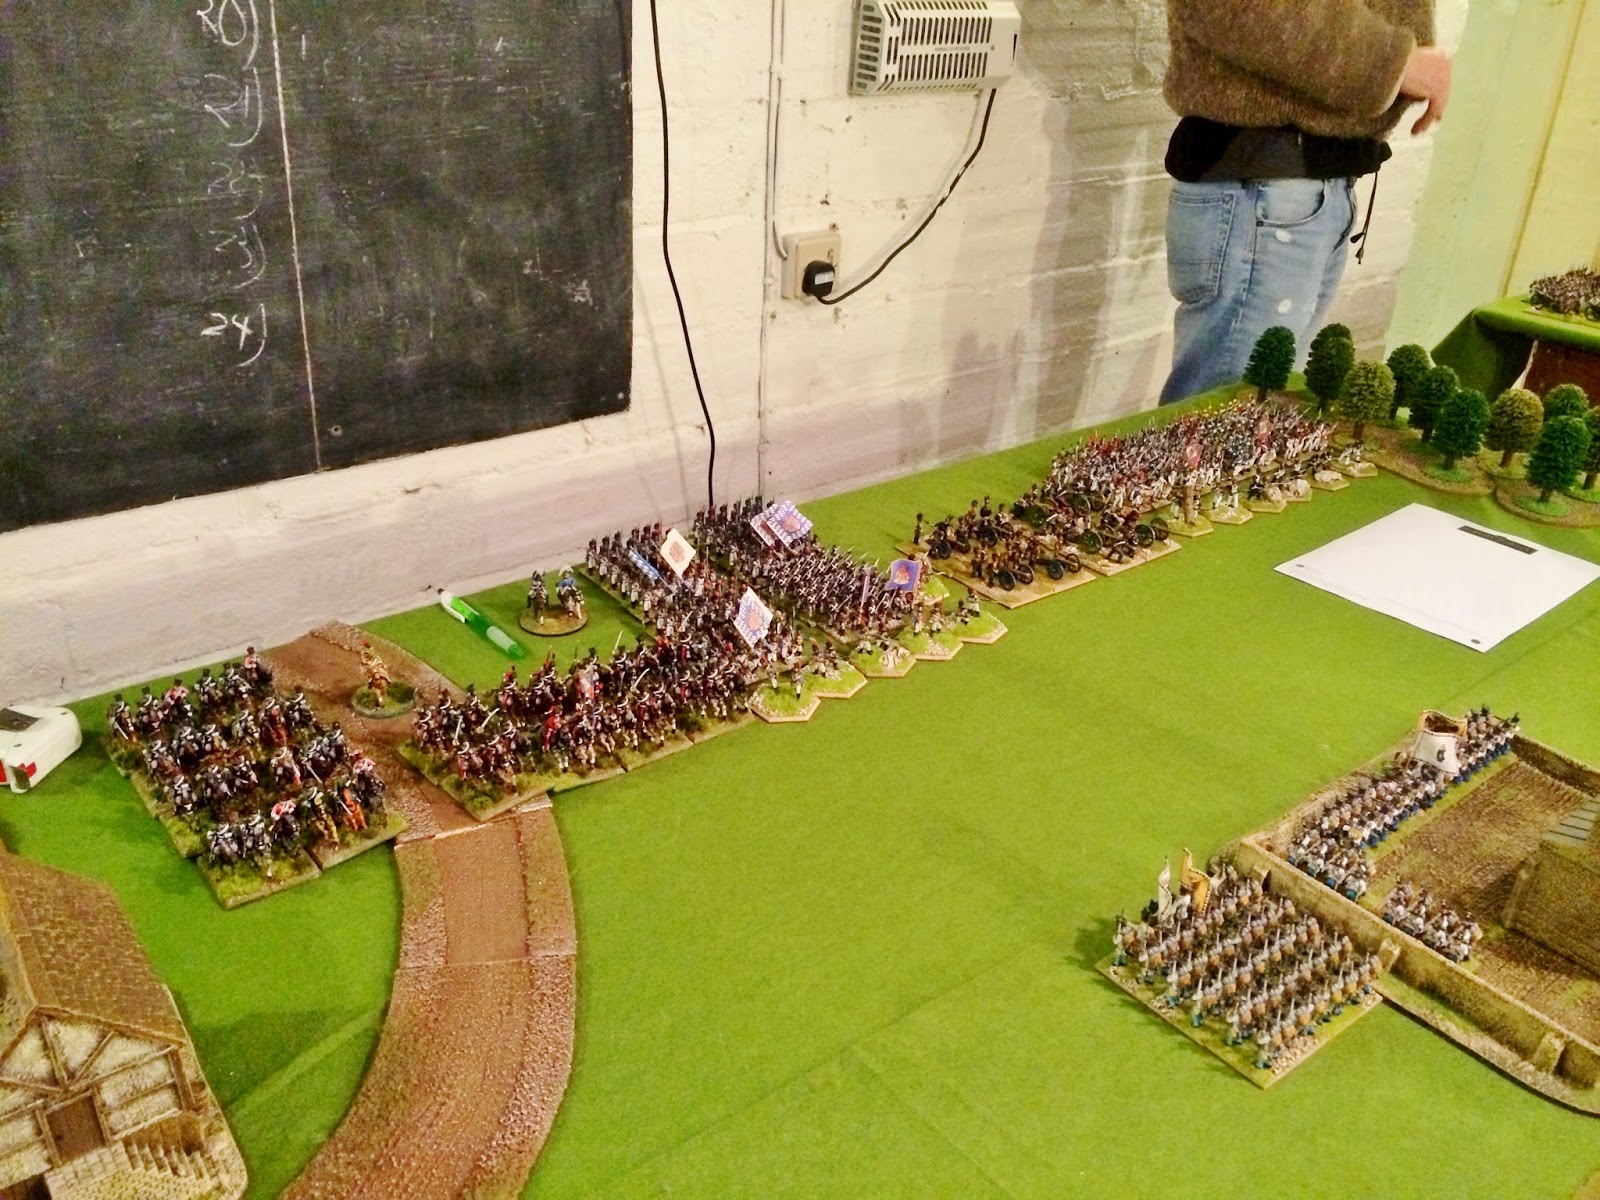
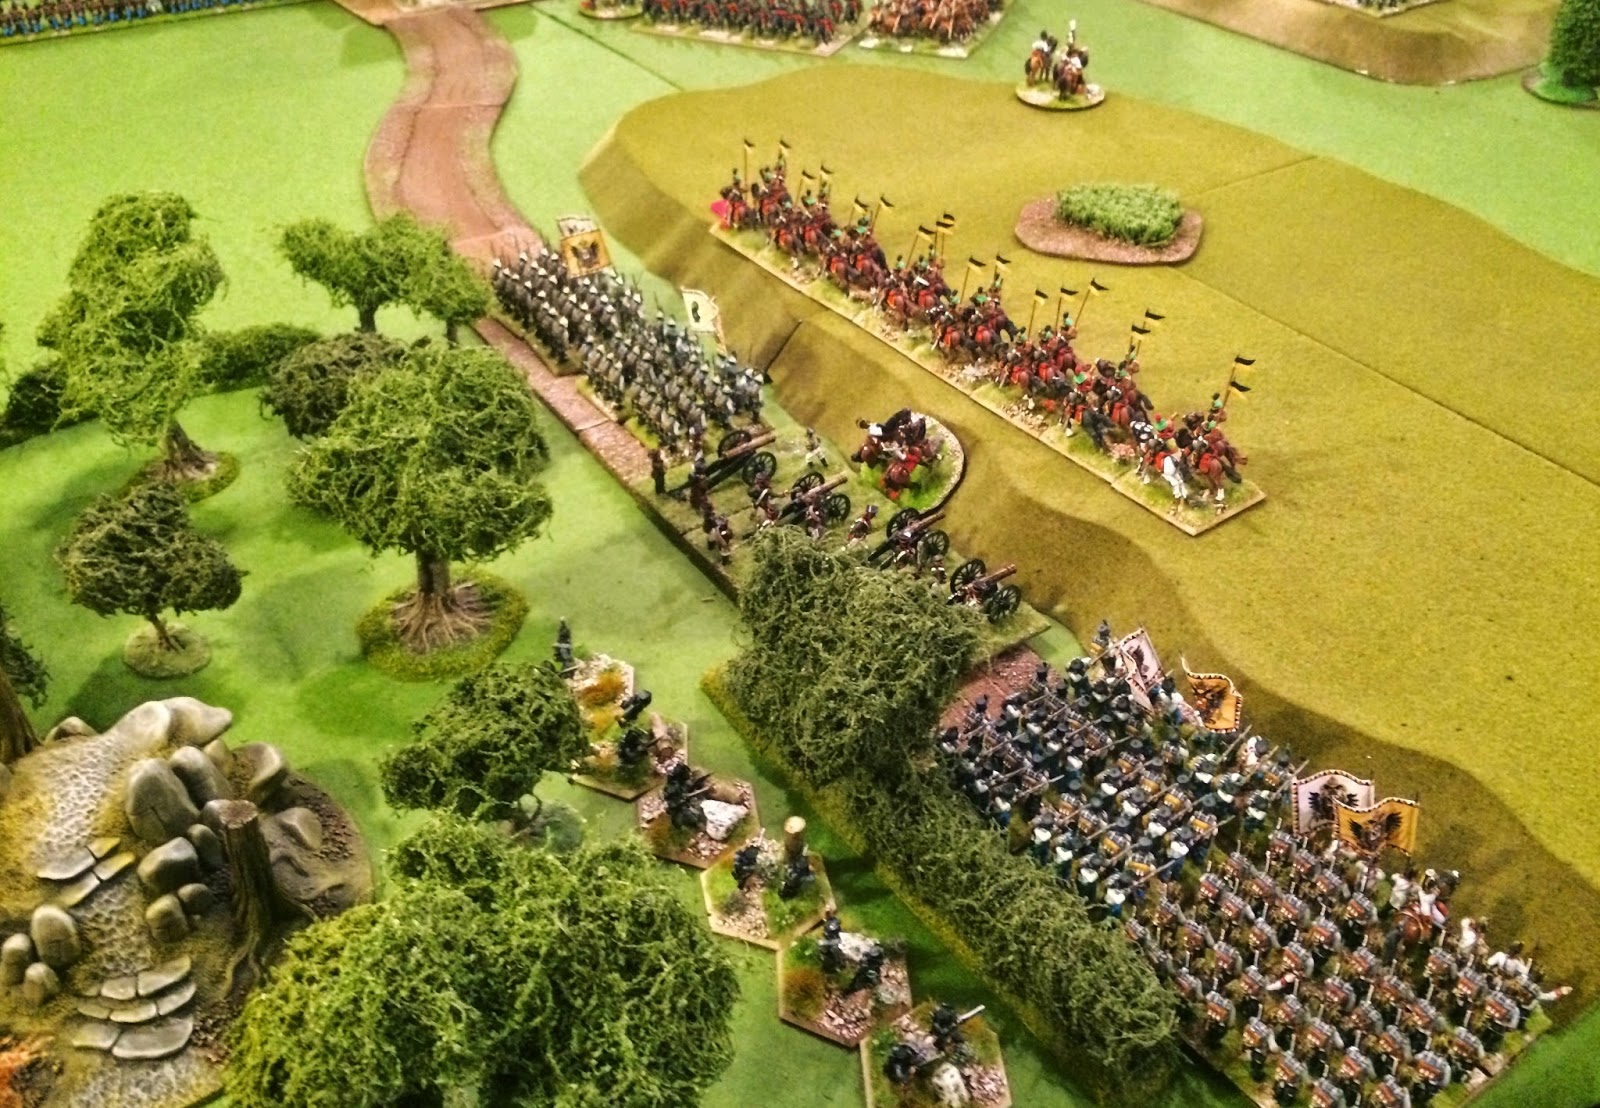
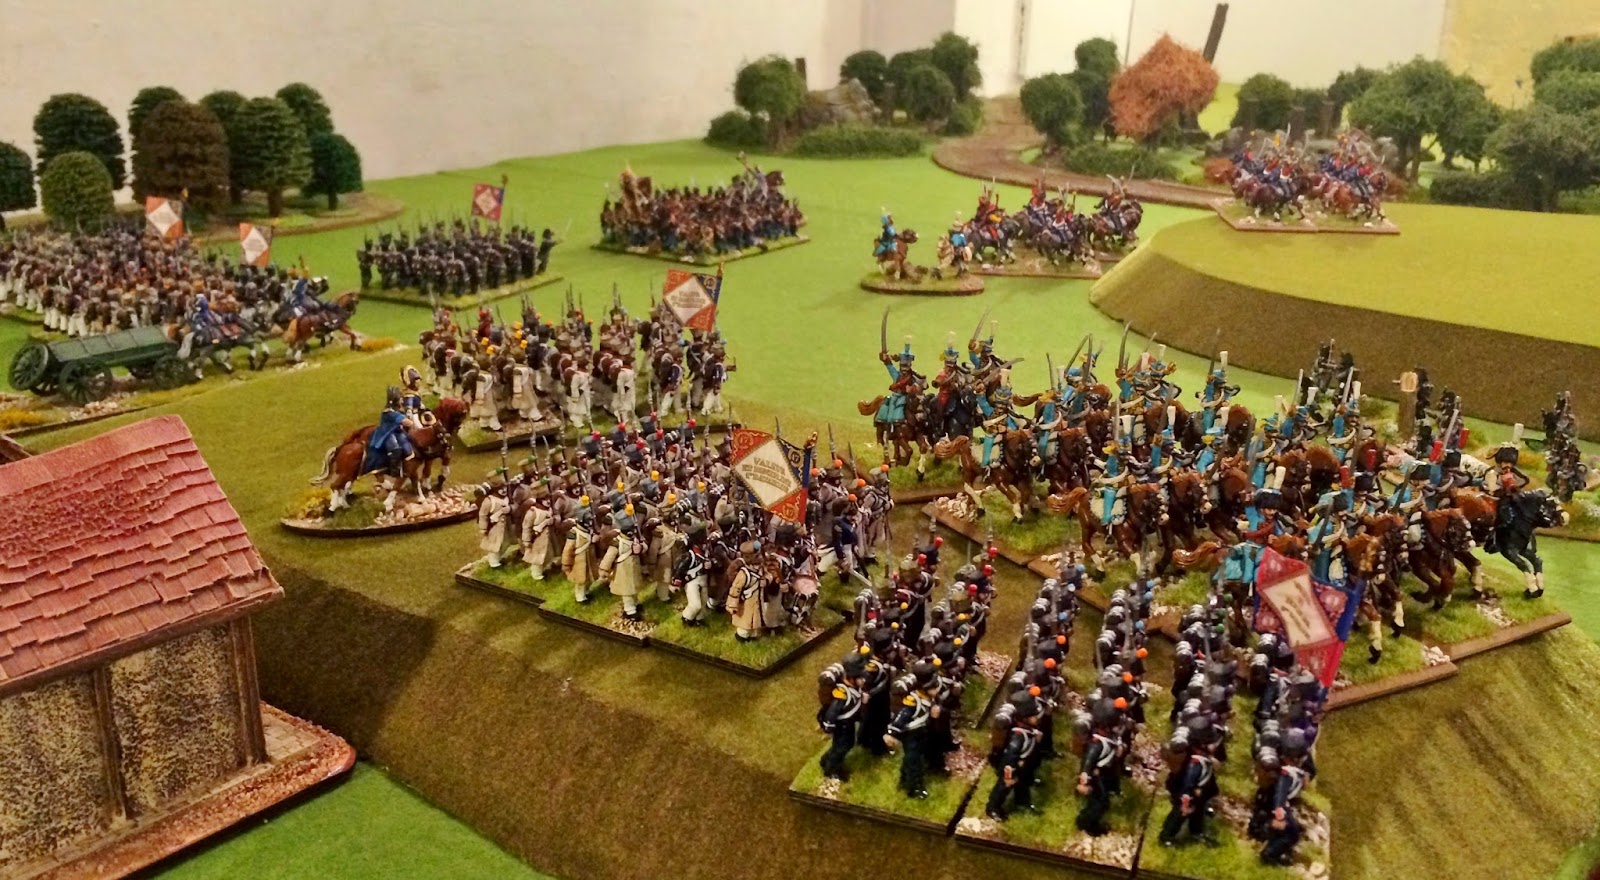
| Various Divisions of Lannes Provisional Corps including masses of cavalry deploy to cross the Gross Laber River to assault Rugging and Eggmuhl in a simply spectacularly massive flank attack. |
 |
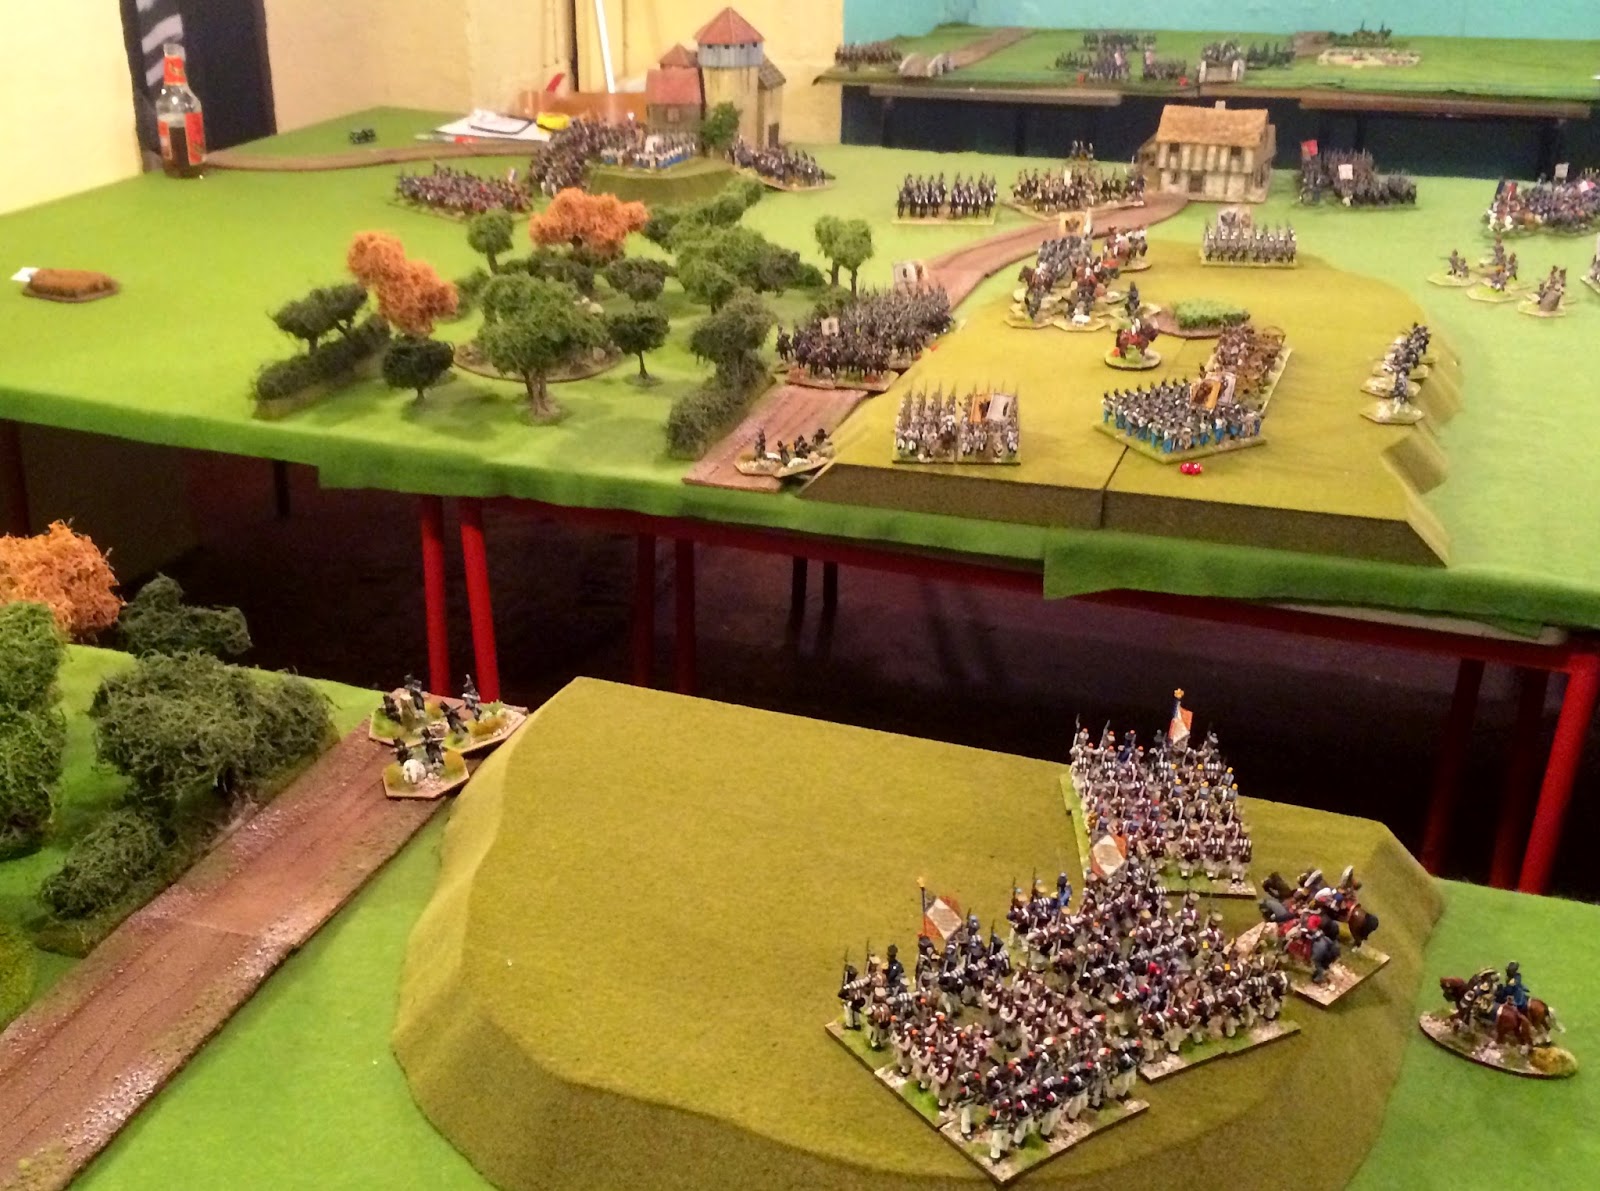
Looking from the French left at Oberlaiching over the Bettelberg towards Rugging and beyond to where Lannes Corps is deploying over the Gross Laber River.
Pretty awesome sight. |
 |
| Similar shot but panning right to include the Vorberg and Unterlaiching under attack. |
 |
| Ludwig goes in against Dedovich. |
 |
| Deroy assaulting Bartenstein in and around Unterlaiching. |
 |
| Lefebvre's grand battery bombards Unterlaiching as Deroy's assault goes in. |
 |
| Somariva's last unit in square prepares to be assaulted. |
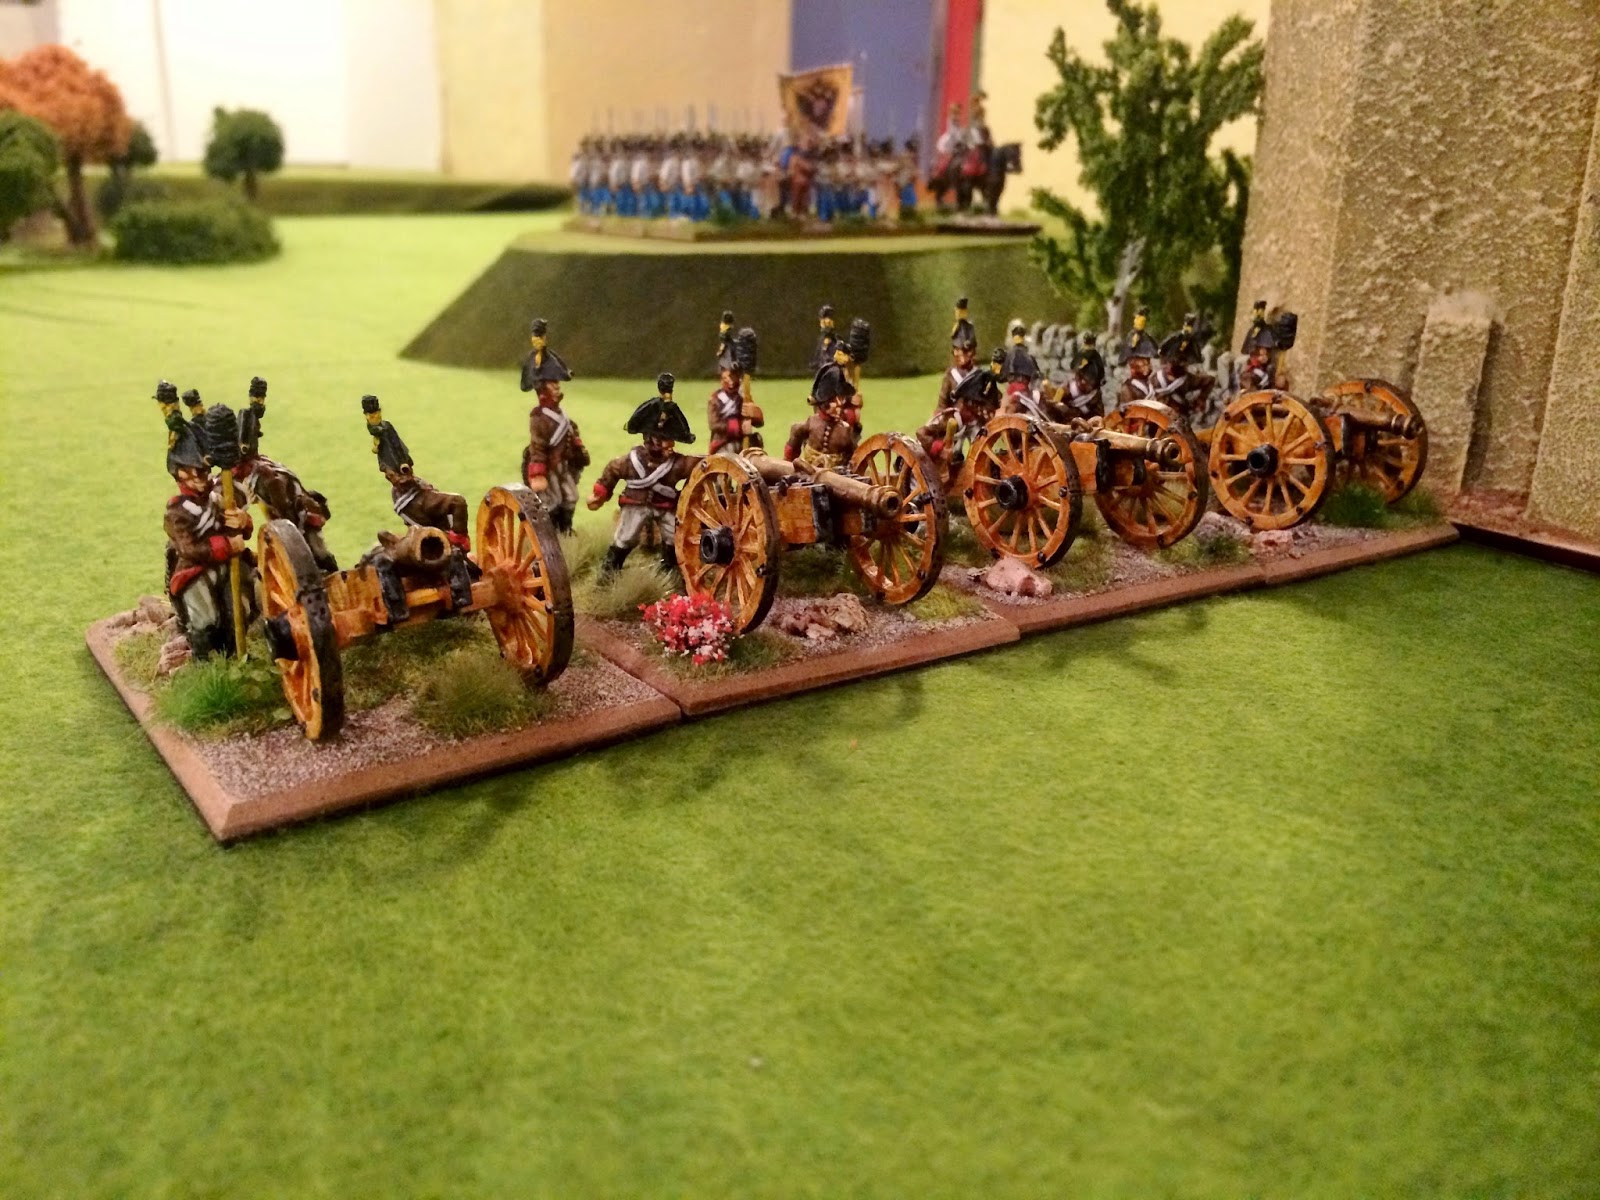 |
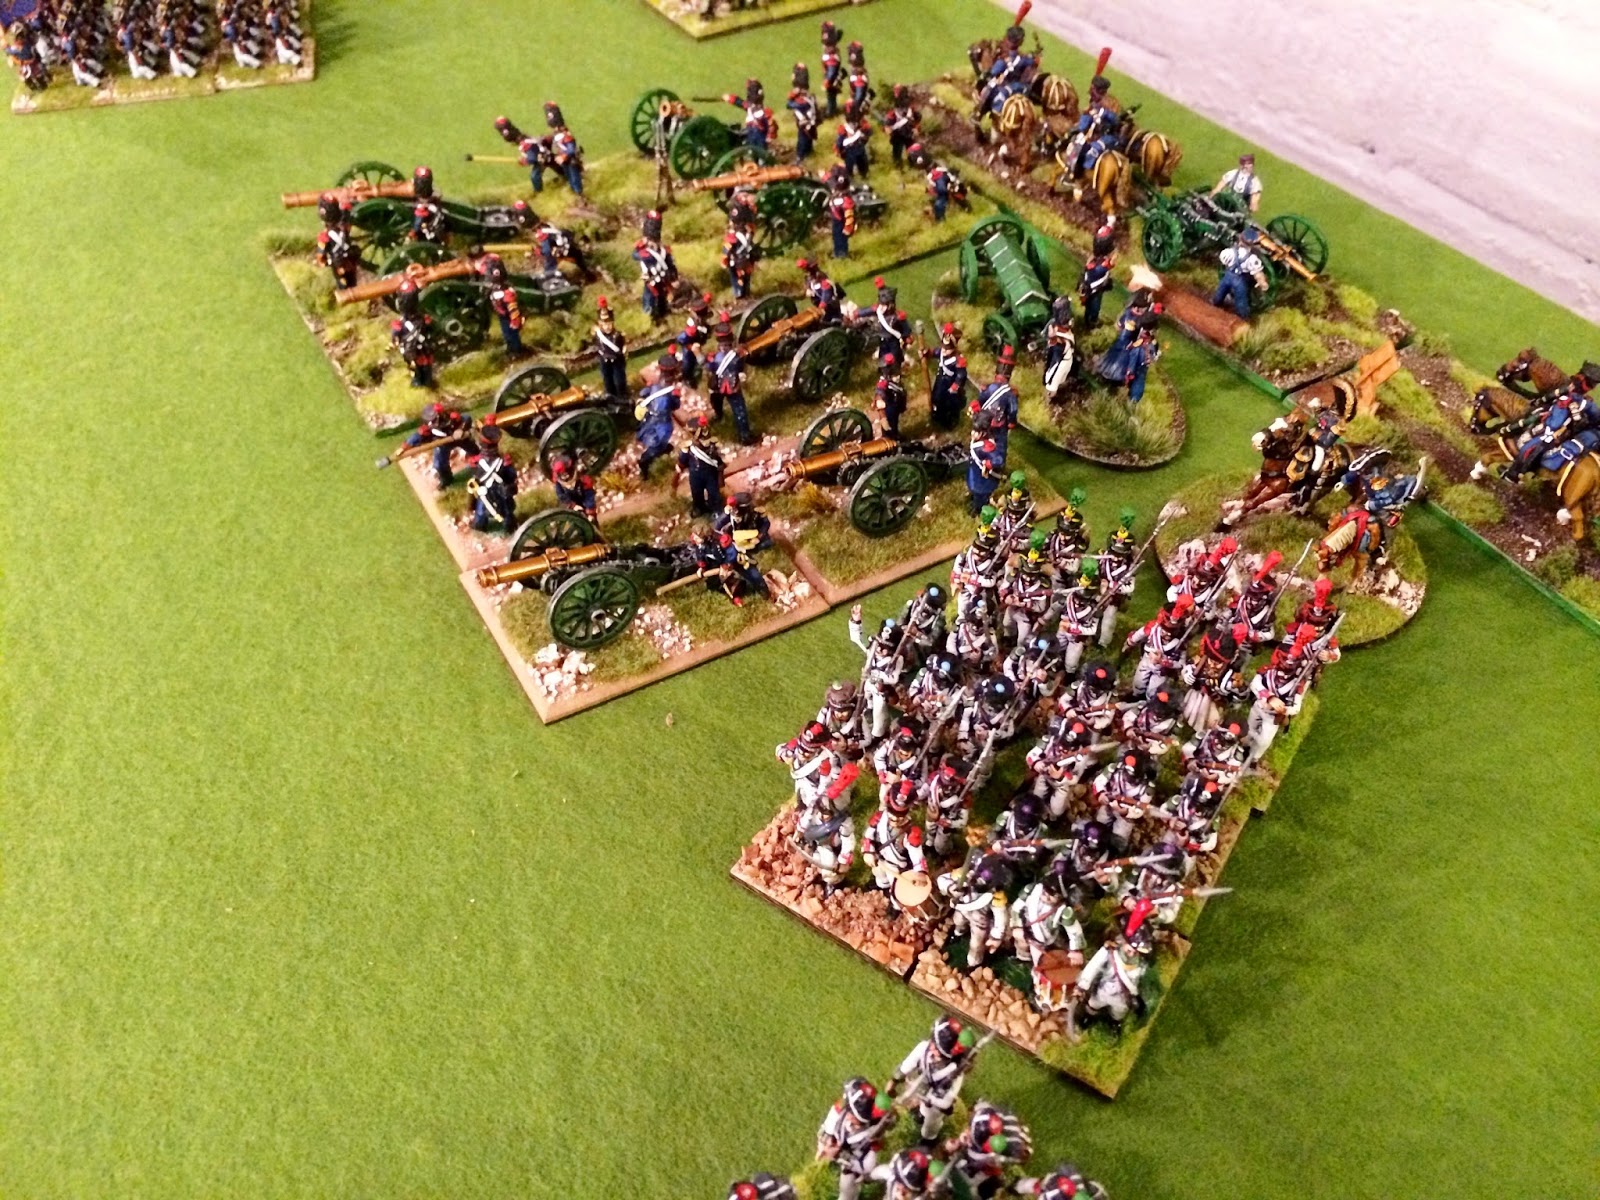
Austrian battery supporting Rugging.
Elite Miniatures by either Tony Laughton or Pete Morbey. |
 |
Austrians from Vukassovich's Division holding Eggmuhl.
They are well protected by infantry in square and supported by cavalry to the rear. |
 |
Men in red trousers attack men in blue trousers - war's a crazy thing.
Men in brightly coloured trousers should all be friends & love each other! |
 |
A French battery moves up.
Front Rank, I think painted by one of those Hong Kong or Chinese outfits. |
 |
| French lights clash with Austrian Uhlans attempting to prevent a break through around the Vorberg. |
 |
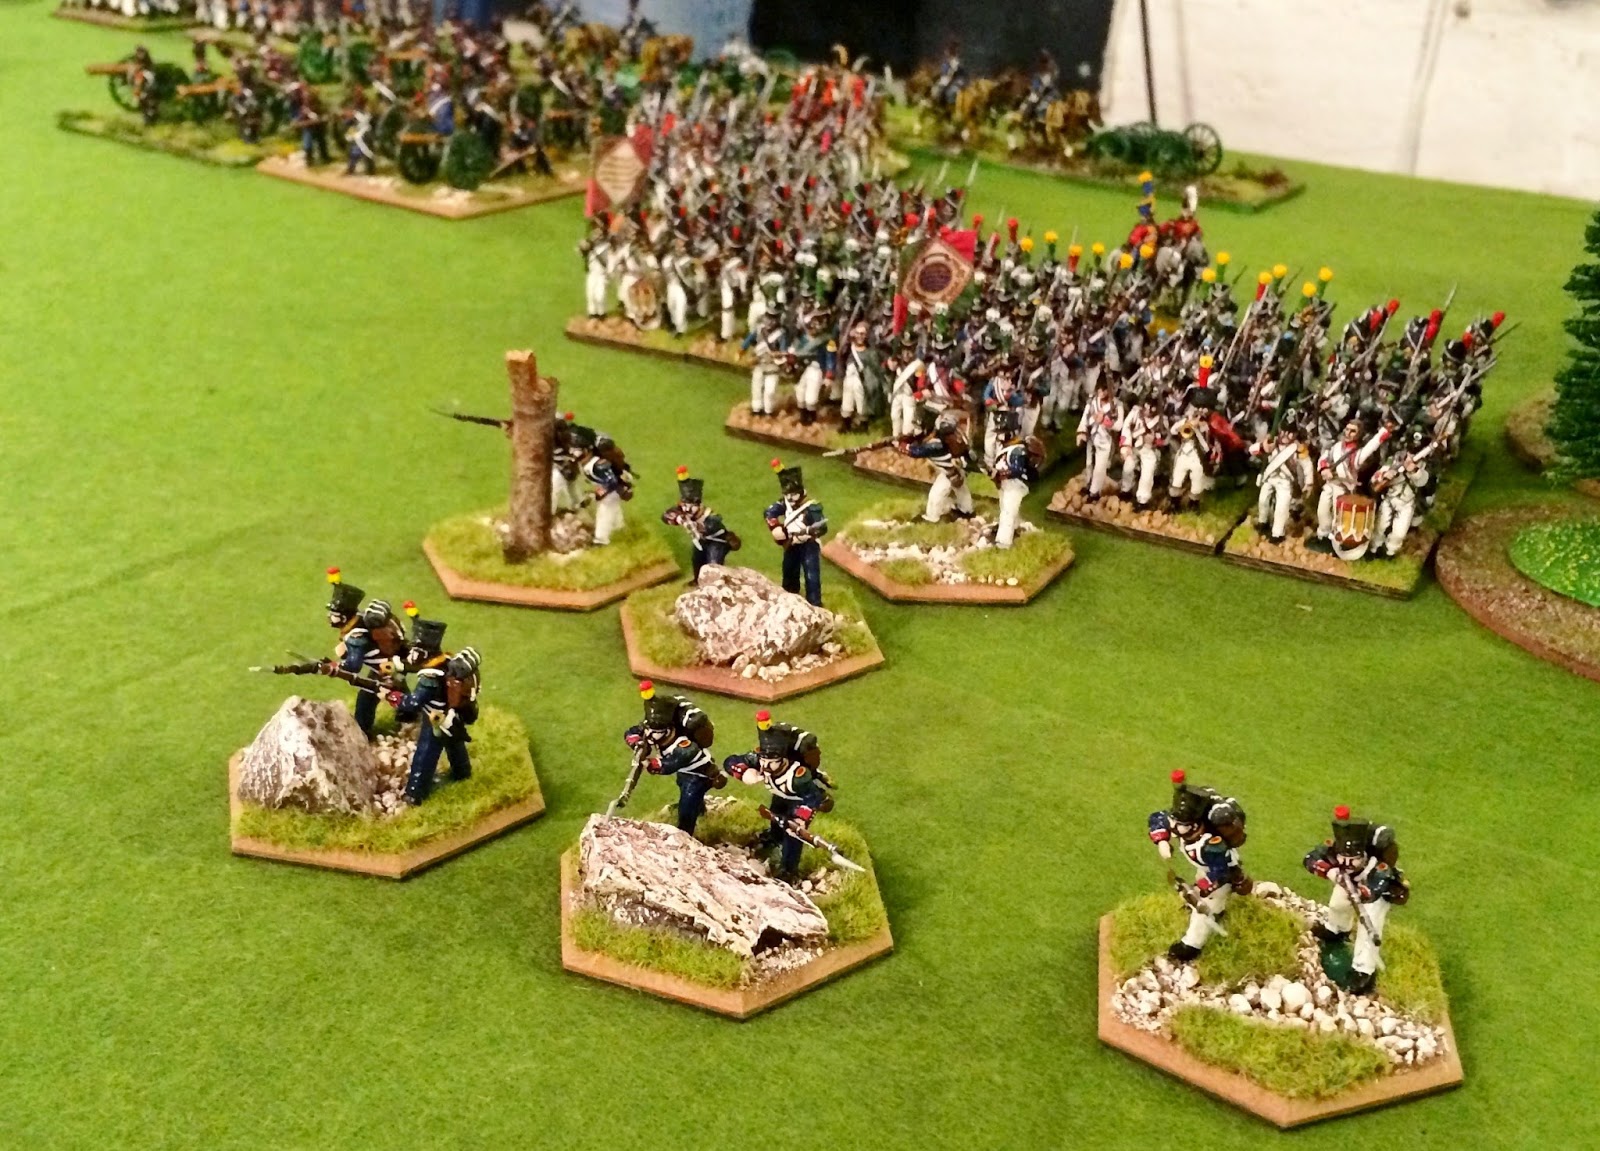
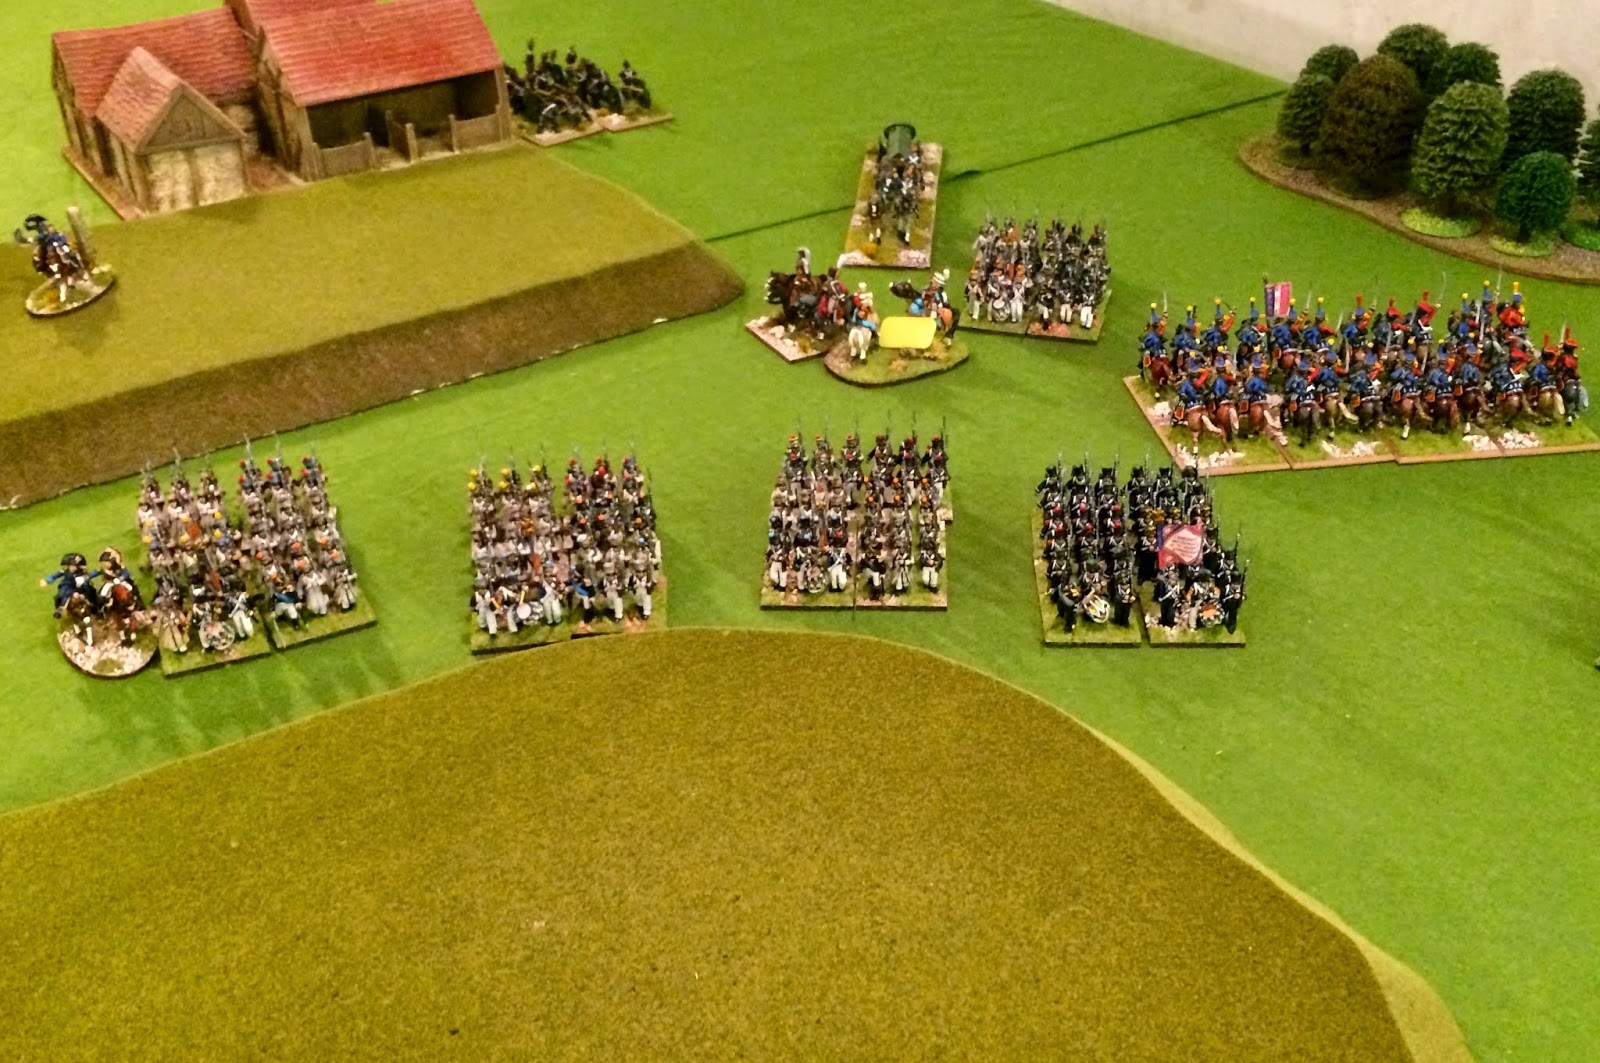
| Davout's Divisions begin to reposition in preparation for an attack on the centre. |
 |
| Friant breaks through on the French left against Somariva thereby encircling Oberlaiching and exposing the Bettelberg. |
 |
Pinned frontally by Ludwig the Austrians under Dedovich are outflanked by elements St Hilaire's infantry and Pire's cavalry from Davout's 3rd corps. The big line has gone down now a column takes the pain.
Austrian jaegers fire from the "Hanging Woods". |
 |
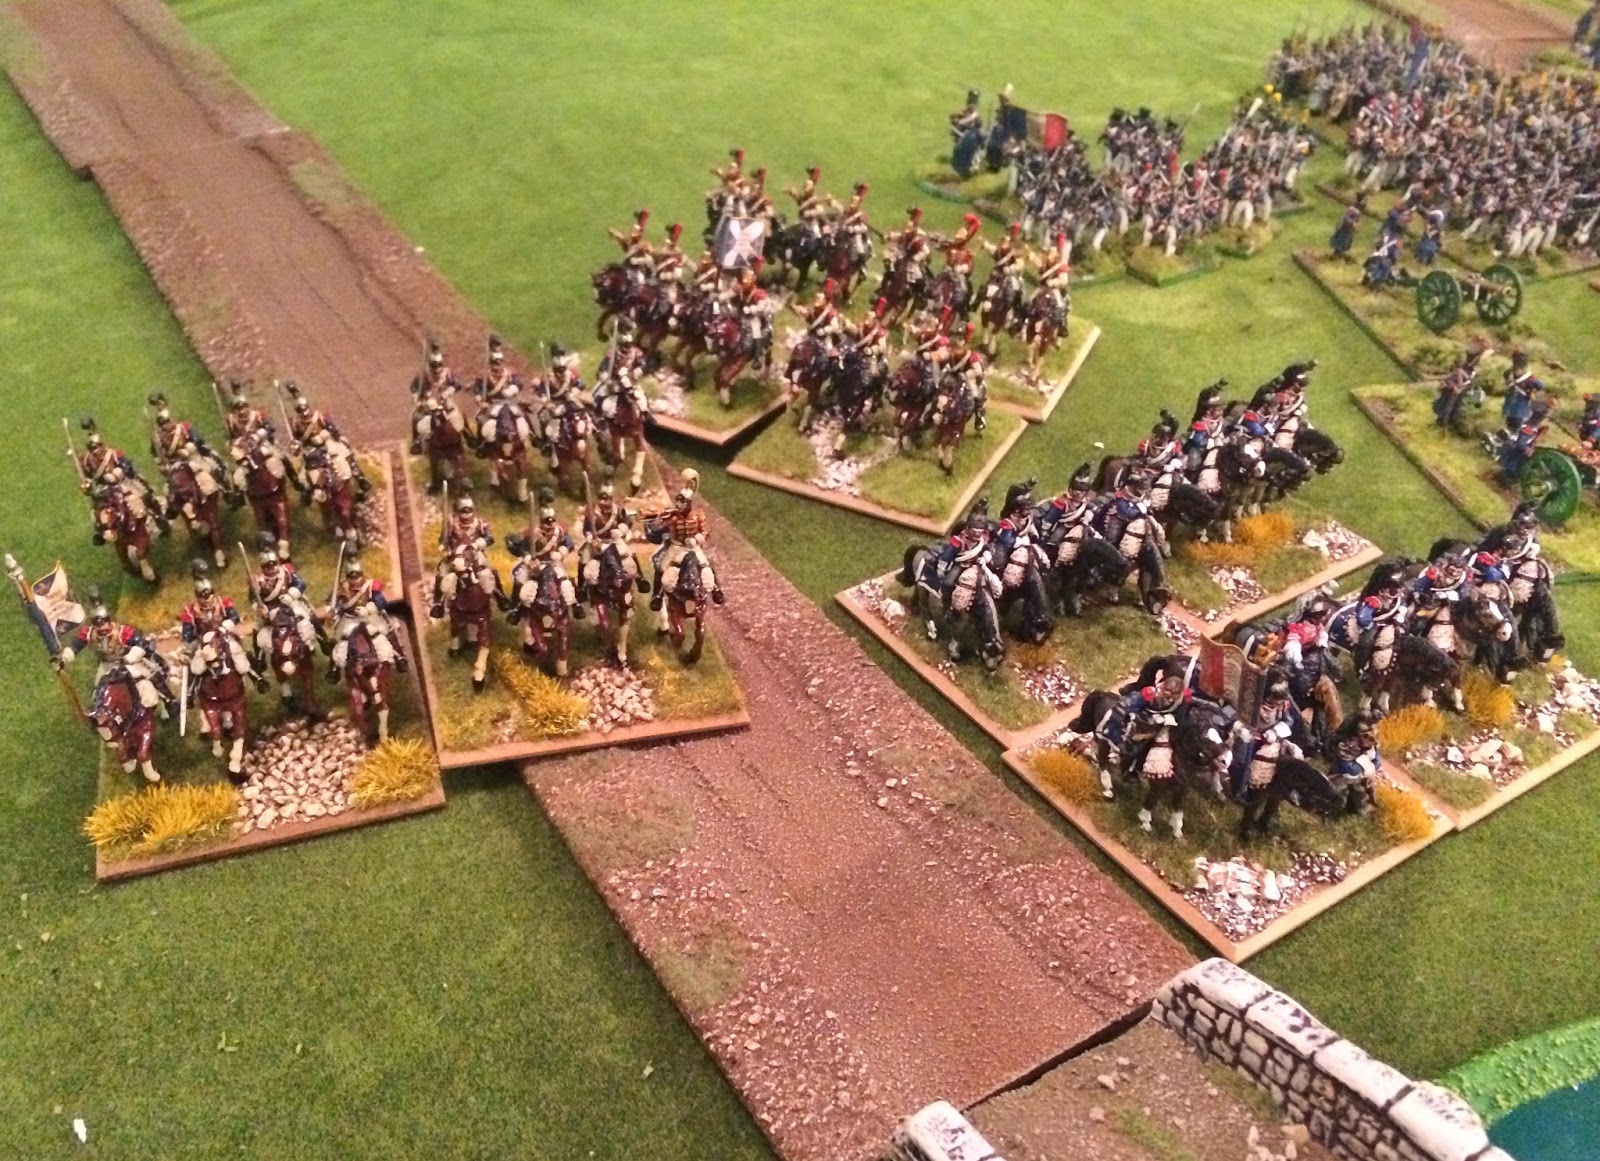
The two heavy cavalry divisions from Lannes corps cross the Gross Laber River with infantry and artillery support.
Classic combined arms stuff. |
 |
Austrians between Eggmuhl and the Bettelberg.
Those cavalry were in action all day. |
 |
| A slim reprieve for Dedovich - the French hussars fail to defeat the huge Austrian column but St Hilaire's chaps don't seem to be slowing down any time soon. |
 |
| Austrian jaegers snipe from the forest edge. |
 |
| More of the same. |
 |
| The French right redeploys having achieved its initial goals. |
 |
| The first Austrian reserves finally arrive, these are heavy cavalry by Elite Miniatures. |
 |
| Pretty scene as Austrian reserves march through the forest. |
 |
| The Grenzer battalion, still in square since turn 2, falls back slowly. They are all that remains on the Austrian right. |
 |
Divisions of Ludwig and Deroy capture Unterlaiching and the ridge, Austrian jaeger contest the "Hanging Woods".
Even the battery has limbered up and is advancing doubtless to redeploy on the heights. Classic stuff. |
 |
| The same scene from slightly different angle as the French see the Austrian defenders on the Bettelberg. |
 |
| Austrians cling onto the Vorberg as Unterlaiching is captured by Bavarians and the position in encircled. |
 |
Austrian Grenadiers on the Bettelberg with those Hussars and Uhlans still holding out.
They have resisted all French attacks for turn after turn. |
 |
Saxon Cuirassiers charge Grenzers who run - they are cut down without mercy.
"Aaaaarrgh! Me die!" |
 |
| More Cuirassiers moving up to support the big breakthrough. |
 |
An amazing shot with attacks going in all over the place. Cavalry clash in the middle.
More Saxons charge the Austrian LDW in square, they stand and fire, the Saxons close and predictably cut down the square. |
 |
The opposing light cavalry brigades clash while Bavarians crest the Vorberg to attack the Austrian defenders.
Its getting scary now. |
 |
The French descend the slopes of the first Austrian line to attack the second line on the Bettelberg.
Those Austrian jaeger are still being a nuisance despite ceding the "Hanging Woods". |
 |
| Austrian jaegers escape the "Hanging Woods" but the bigger battalions have to stand & fight despite the perilous situation. |
 |
| French and Saxon heavies breakout into open country on the Austrian left flank as the villages on the crossing points fall one by one. The defensive line of the Gross Laber River is breached. Those Austrians look awfully vulnerable from here. |
 |
| Deroy and Ludwig occupy the Vorberg and heights ready to assault the Bettelberg. Seydewitz cavalry rally and rest their horses before going in again. Eggmuhl is under attack and French heavies break through in the rear. Austrian uhlans charge French columns to save the entire flank. The Austrian hussars are finally dispersed. |
 |
Similar shot showing redeployed French batteries opening up on the Bettelberg.
Top right you see Rugging surrounded by French light cavalry. |
 |
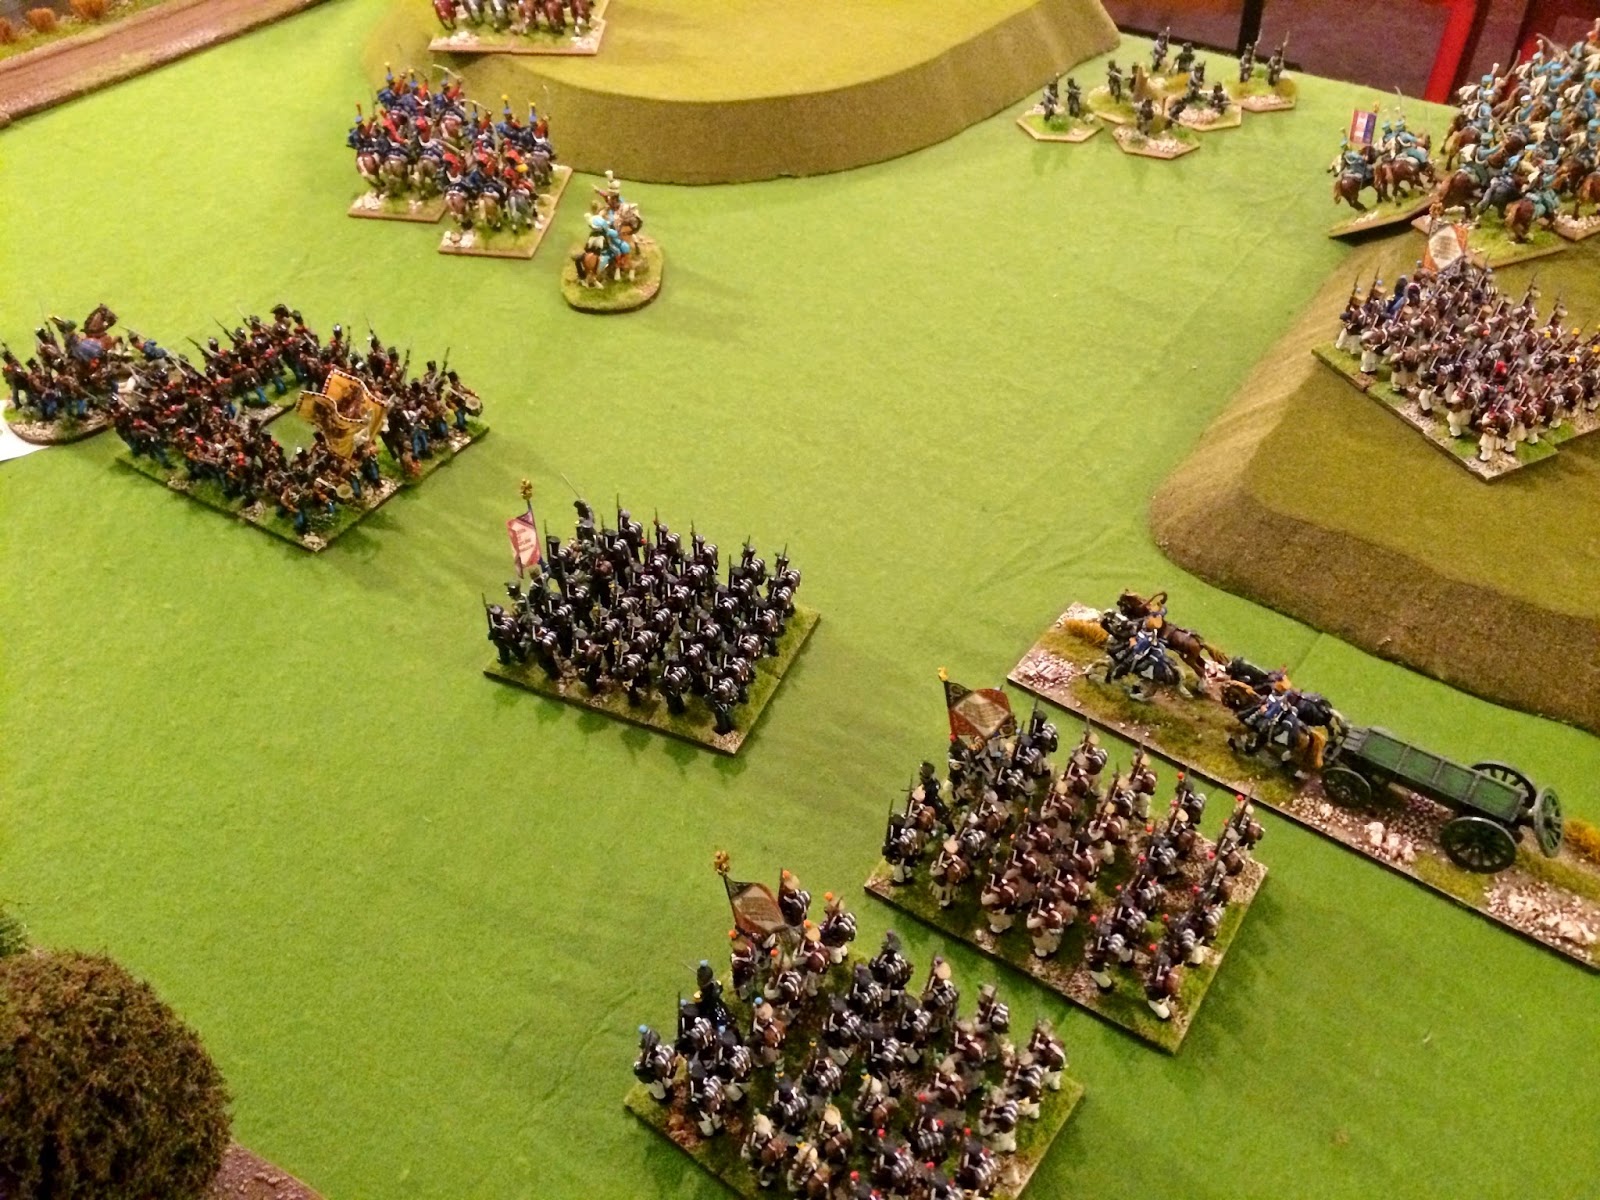
| Austrian reserve cavalry charge. |
 |
| Close up of the above. |
 |
Those Grenzers are still on the field!
More Austrian reserve cavalry arrive, curassiers and uhlans arrive and deploy. |
 |
| French infantry form square covered by artillery on the French right near Oberlaiching as Austrian reserves arrive. |
 |
| All that remains of the Austrian field army huddled on the Bettelberg as French close in from all directions. |
 |
Austrian reserves emerge from the forest.
Grenzers finally get out of square. |
 |
| Covered by squares the French of Davout's Corps get onto the Bettelberg under their marshals eagle eye. |
 |
| The last stand on the Bettelberg. |
 |
| The Eagle is rampant. |
 |
Austrians supporting Rugging are swamped by French light and heavy cavalry.
You never see this but there are French infantry attacking the village from the other side with artillery support. |
 |
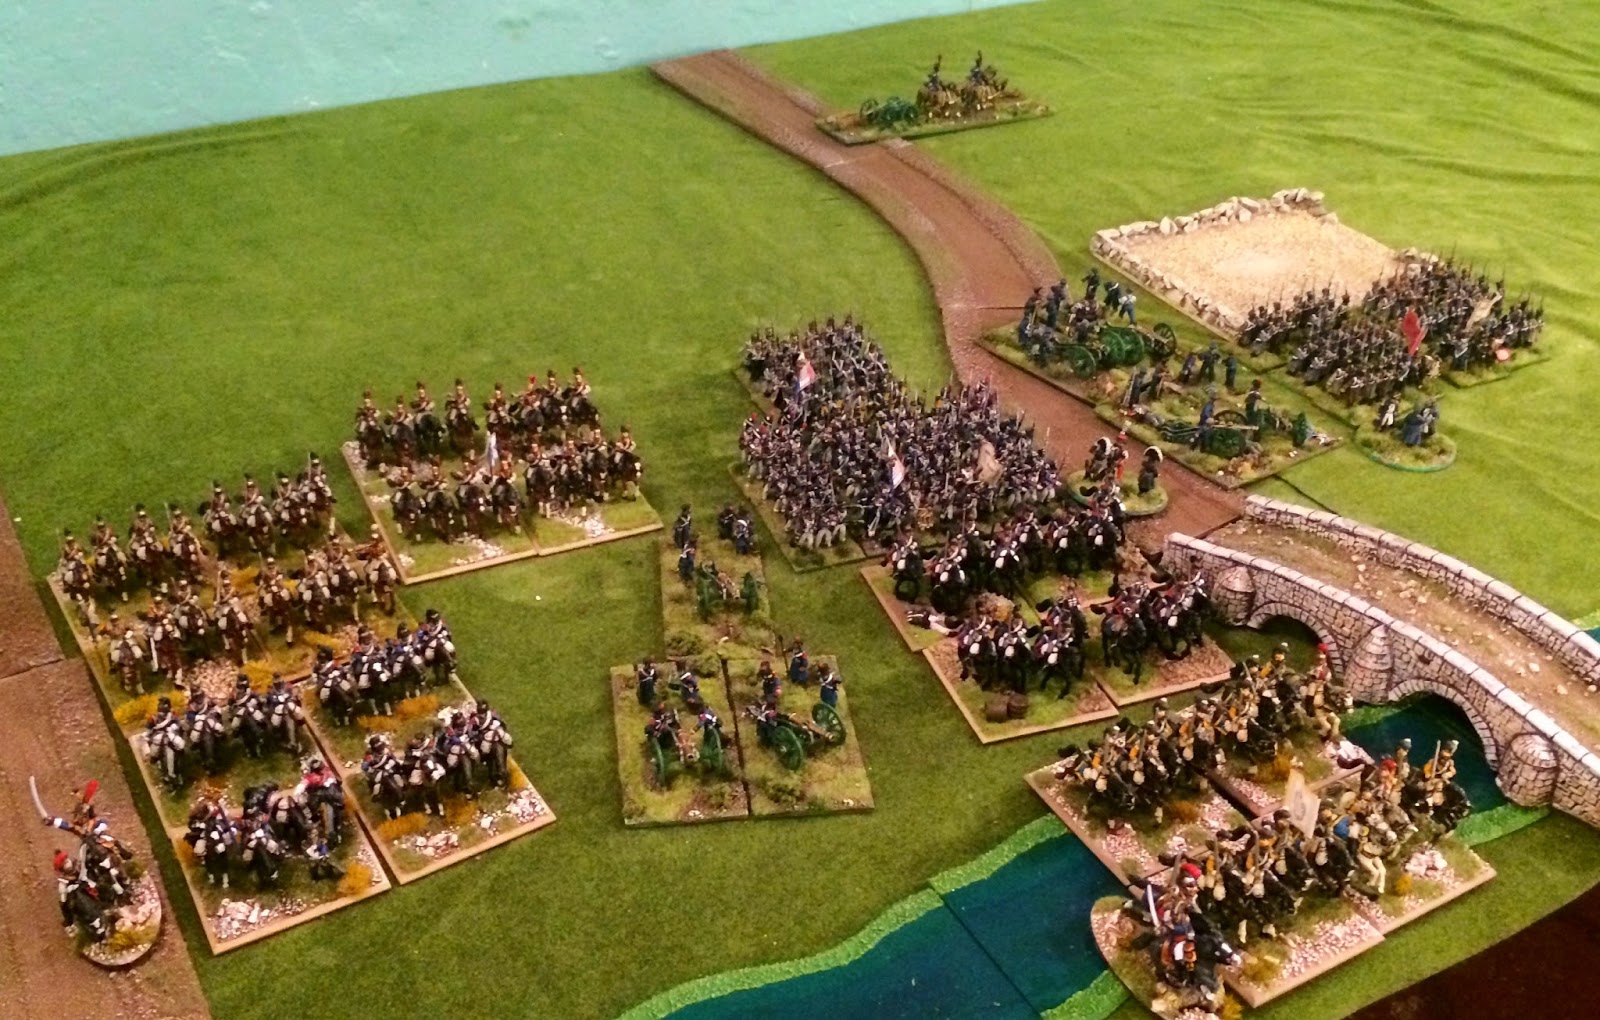
| Lannes flank march breaks through near Eggmuhl and heavies reach open country behind the Austrian lines. |
 |
| Eggmuhl falls to Lannes French infantry. |
 |
The body language says it all.
Top right behind Tony are the rest of the Austrian reserves, right place wrong time. |
 |
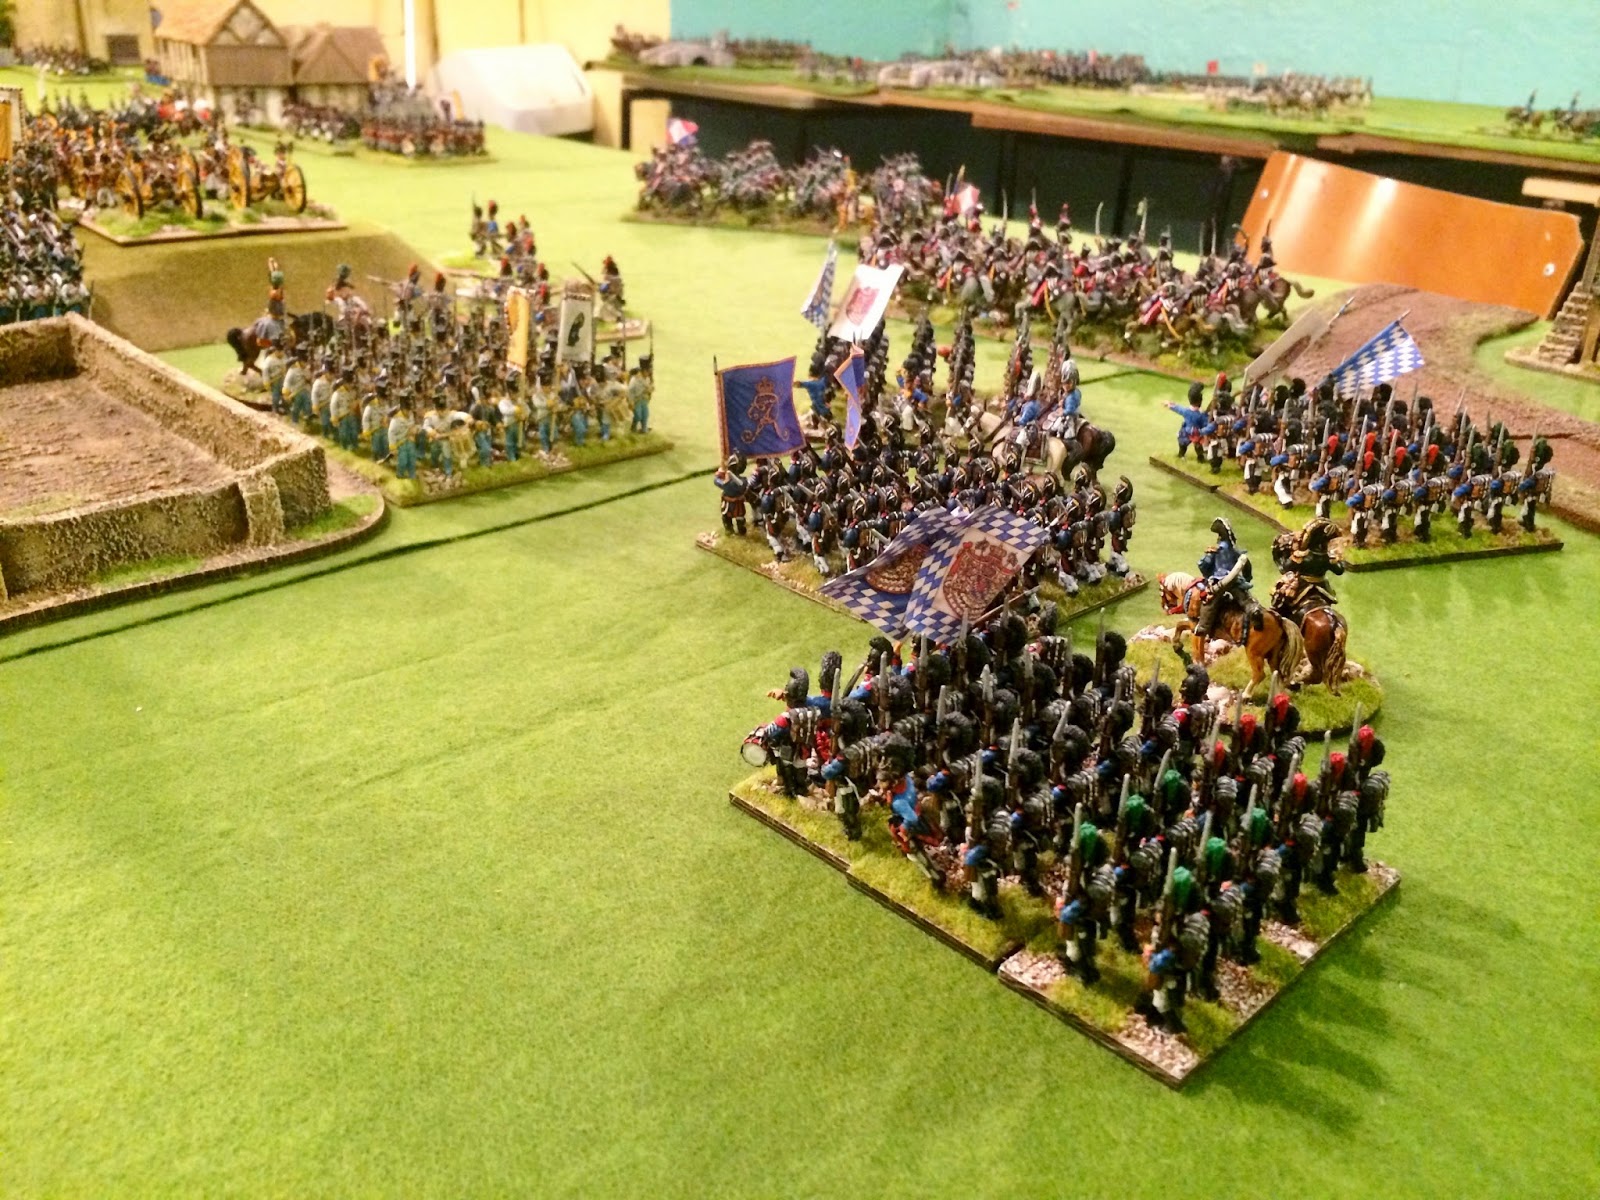
The French allies under Deroy link up with Lannes lads at Eggmuhl.
The net closes in on the Bettelberg. |
 |
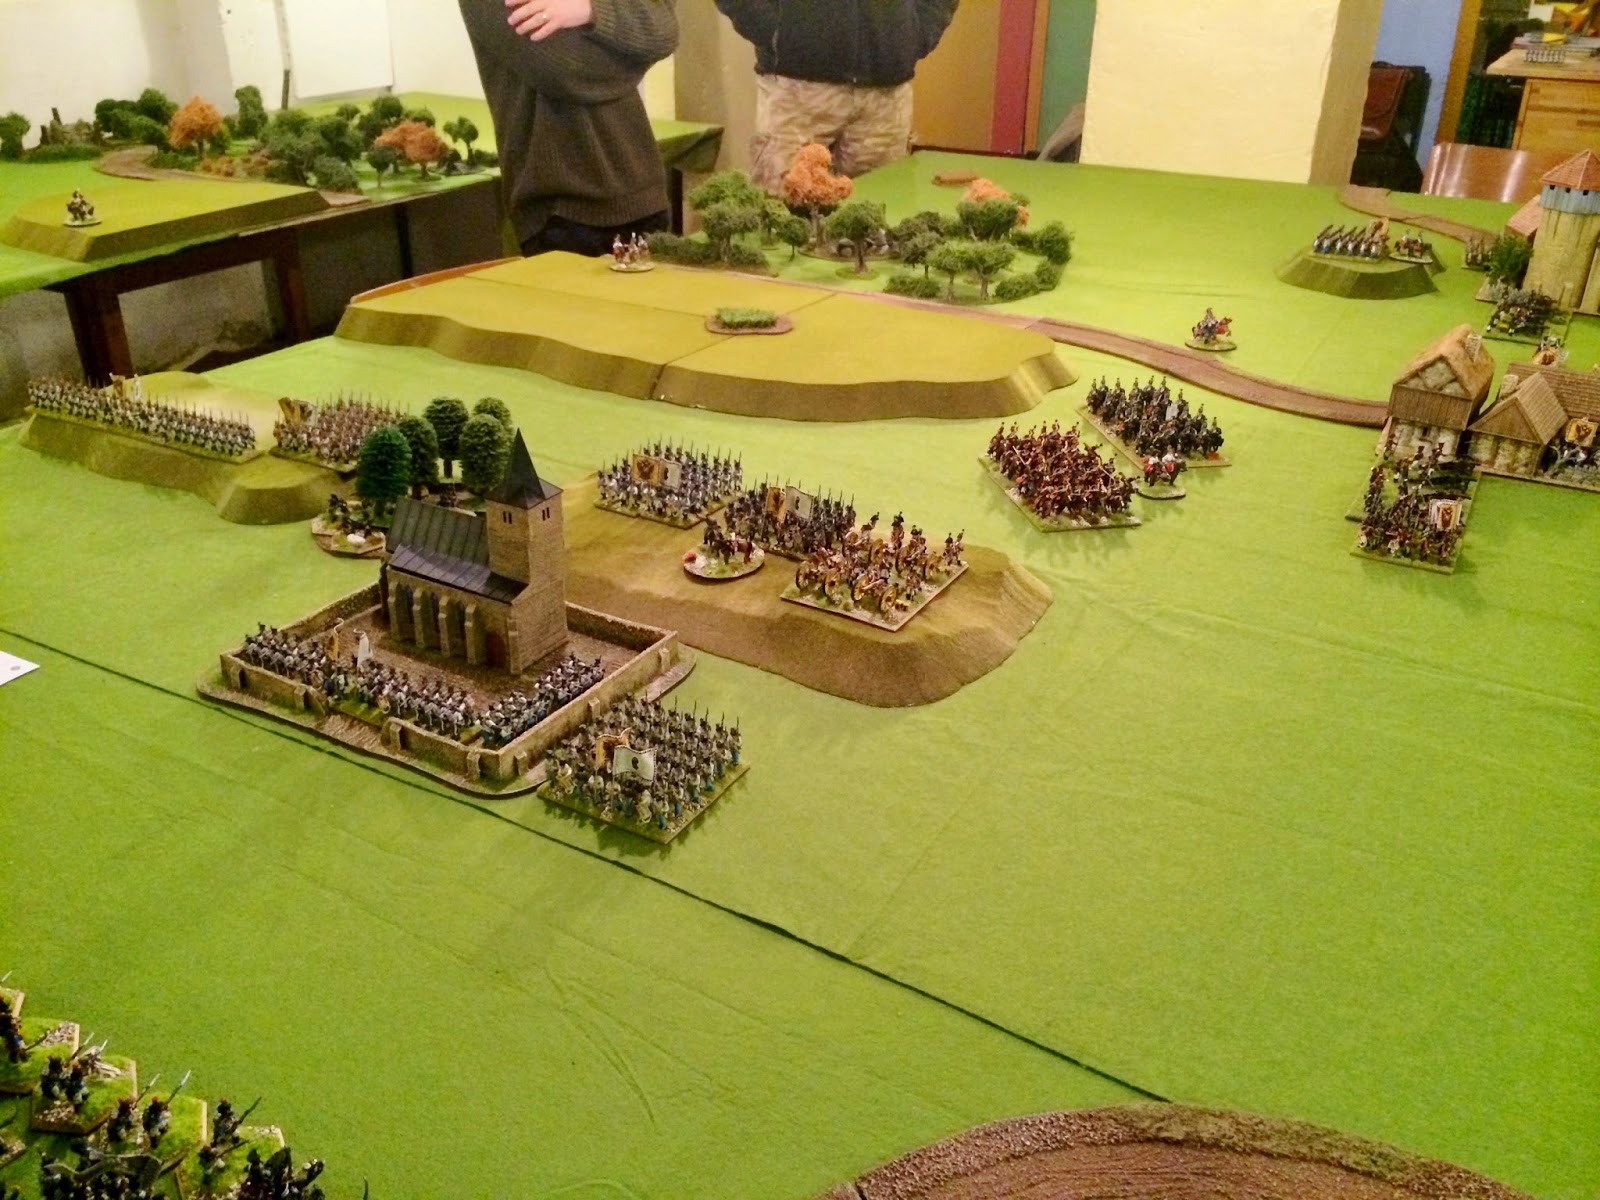
So, here we see Rugging, Eggmuhl, Unterlaichling, The Vorberg and the Hanging Woods are all captured.
The Austrians cling onto the Bettelberg. |
 |
| The French left; Austrian reserve cavalry run down the french battery, the 9th Hussars hold the Austrian dragoons and both withdraw blown. The position is stable and safe. The Austrian garrison at isolated Oberlaiching has surrendered. |
 |
| Tony seeks solace in the rulebook, there is none to be found in there my friend. |
 |
Total victory for the French - utter capitulation for the Austrians.
Tony and I are more unfortunate than the "unfortunate Mack"!
Deplorable. |
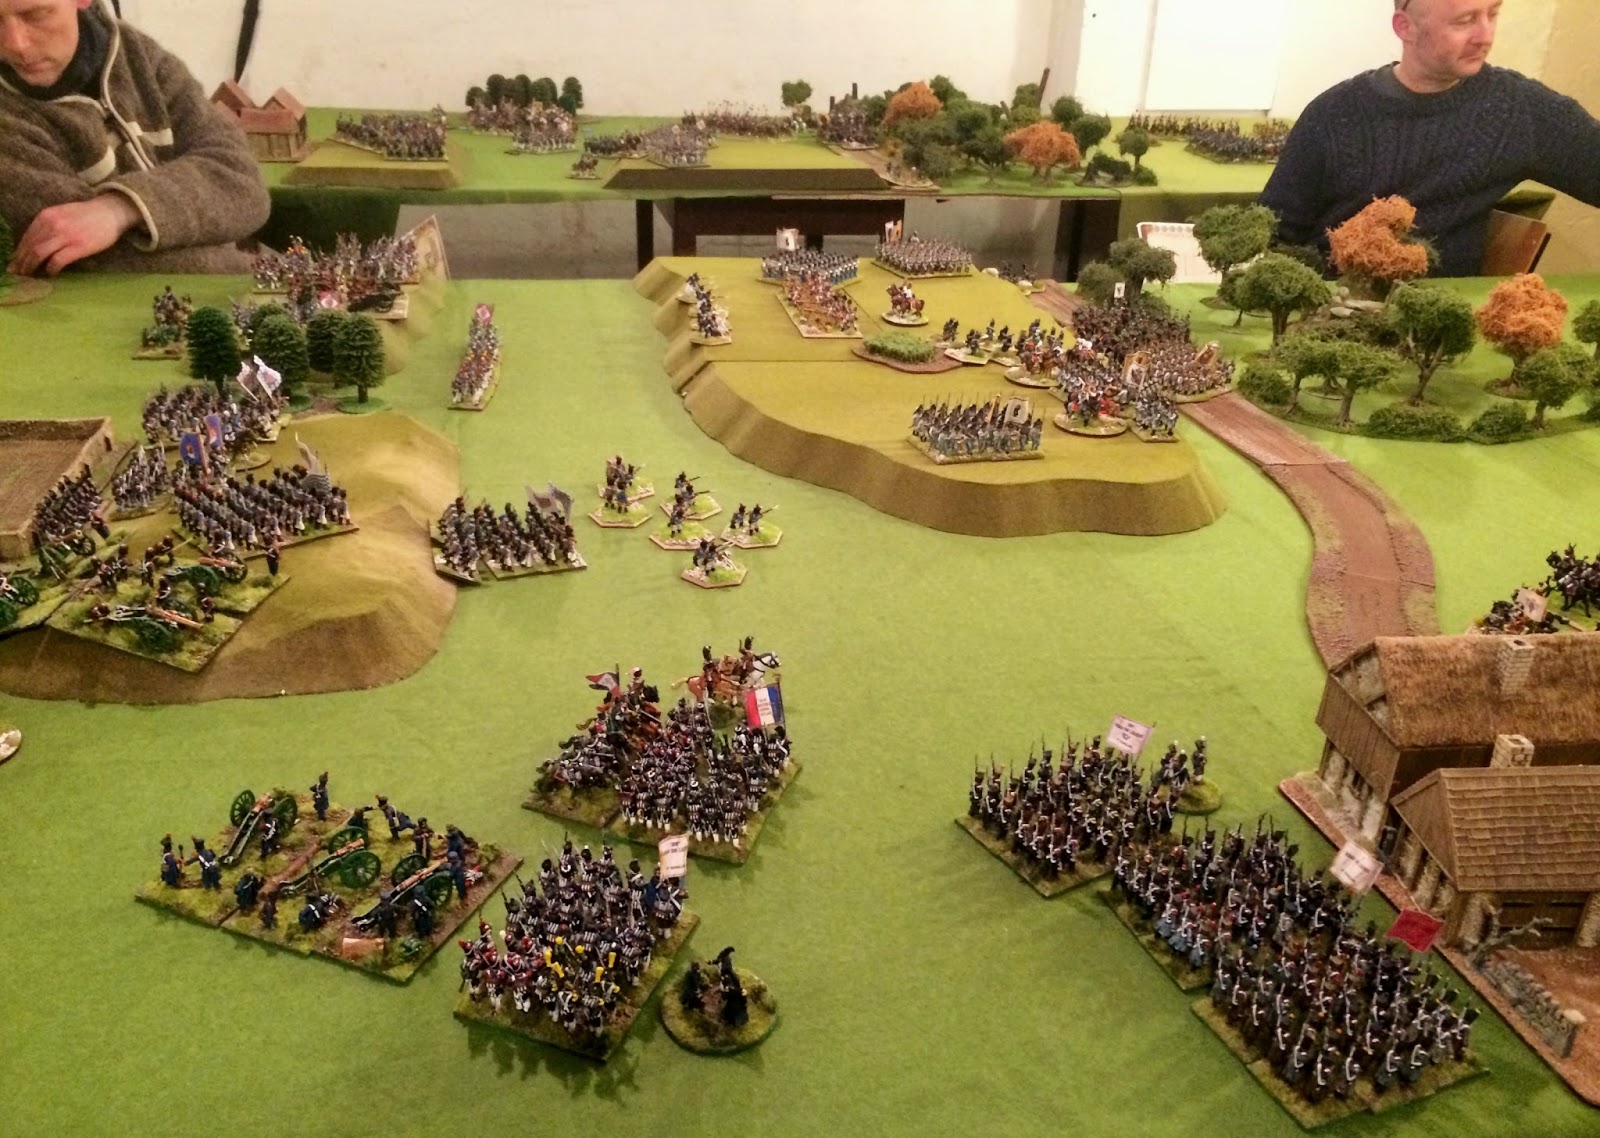
So that's it, what can I say? Tony and I were wrapped up, packed up and blown up by Chris and Rich, Napoleon's marshals. History repeats itself as Napoleon's master plan works yet again.
Next up we have some 100 Days action from Rich's campaign and some new regiments featured as they get based after arrival.
I hope you enjoyed this marathon and want to comment, it was loads of fun to play.
Best wishes,
Jeremy
